
jtthemediocre

1939

35

1
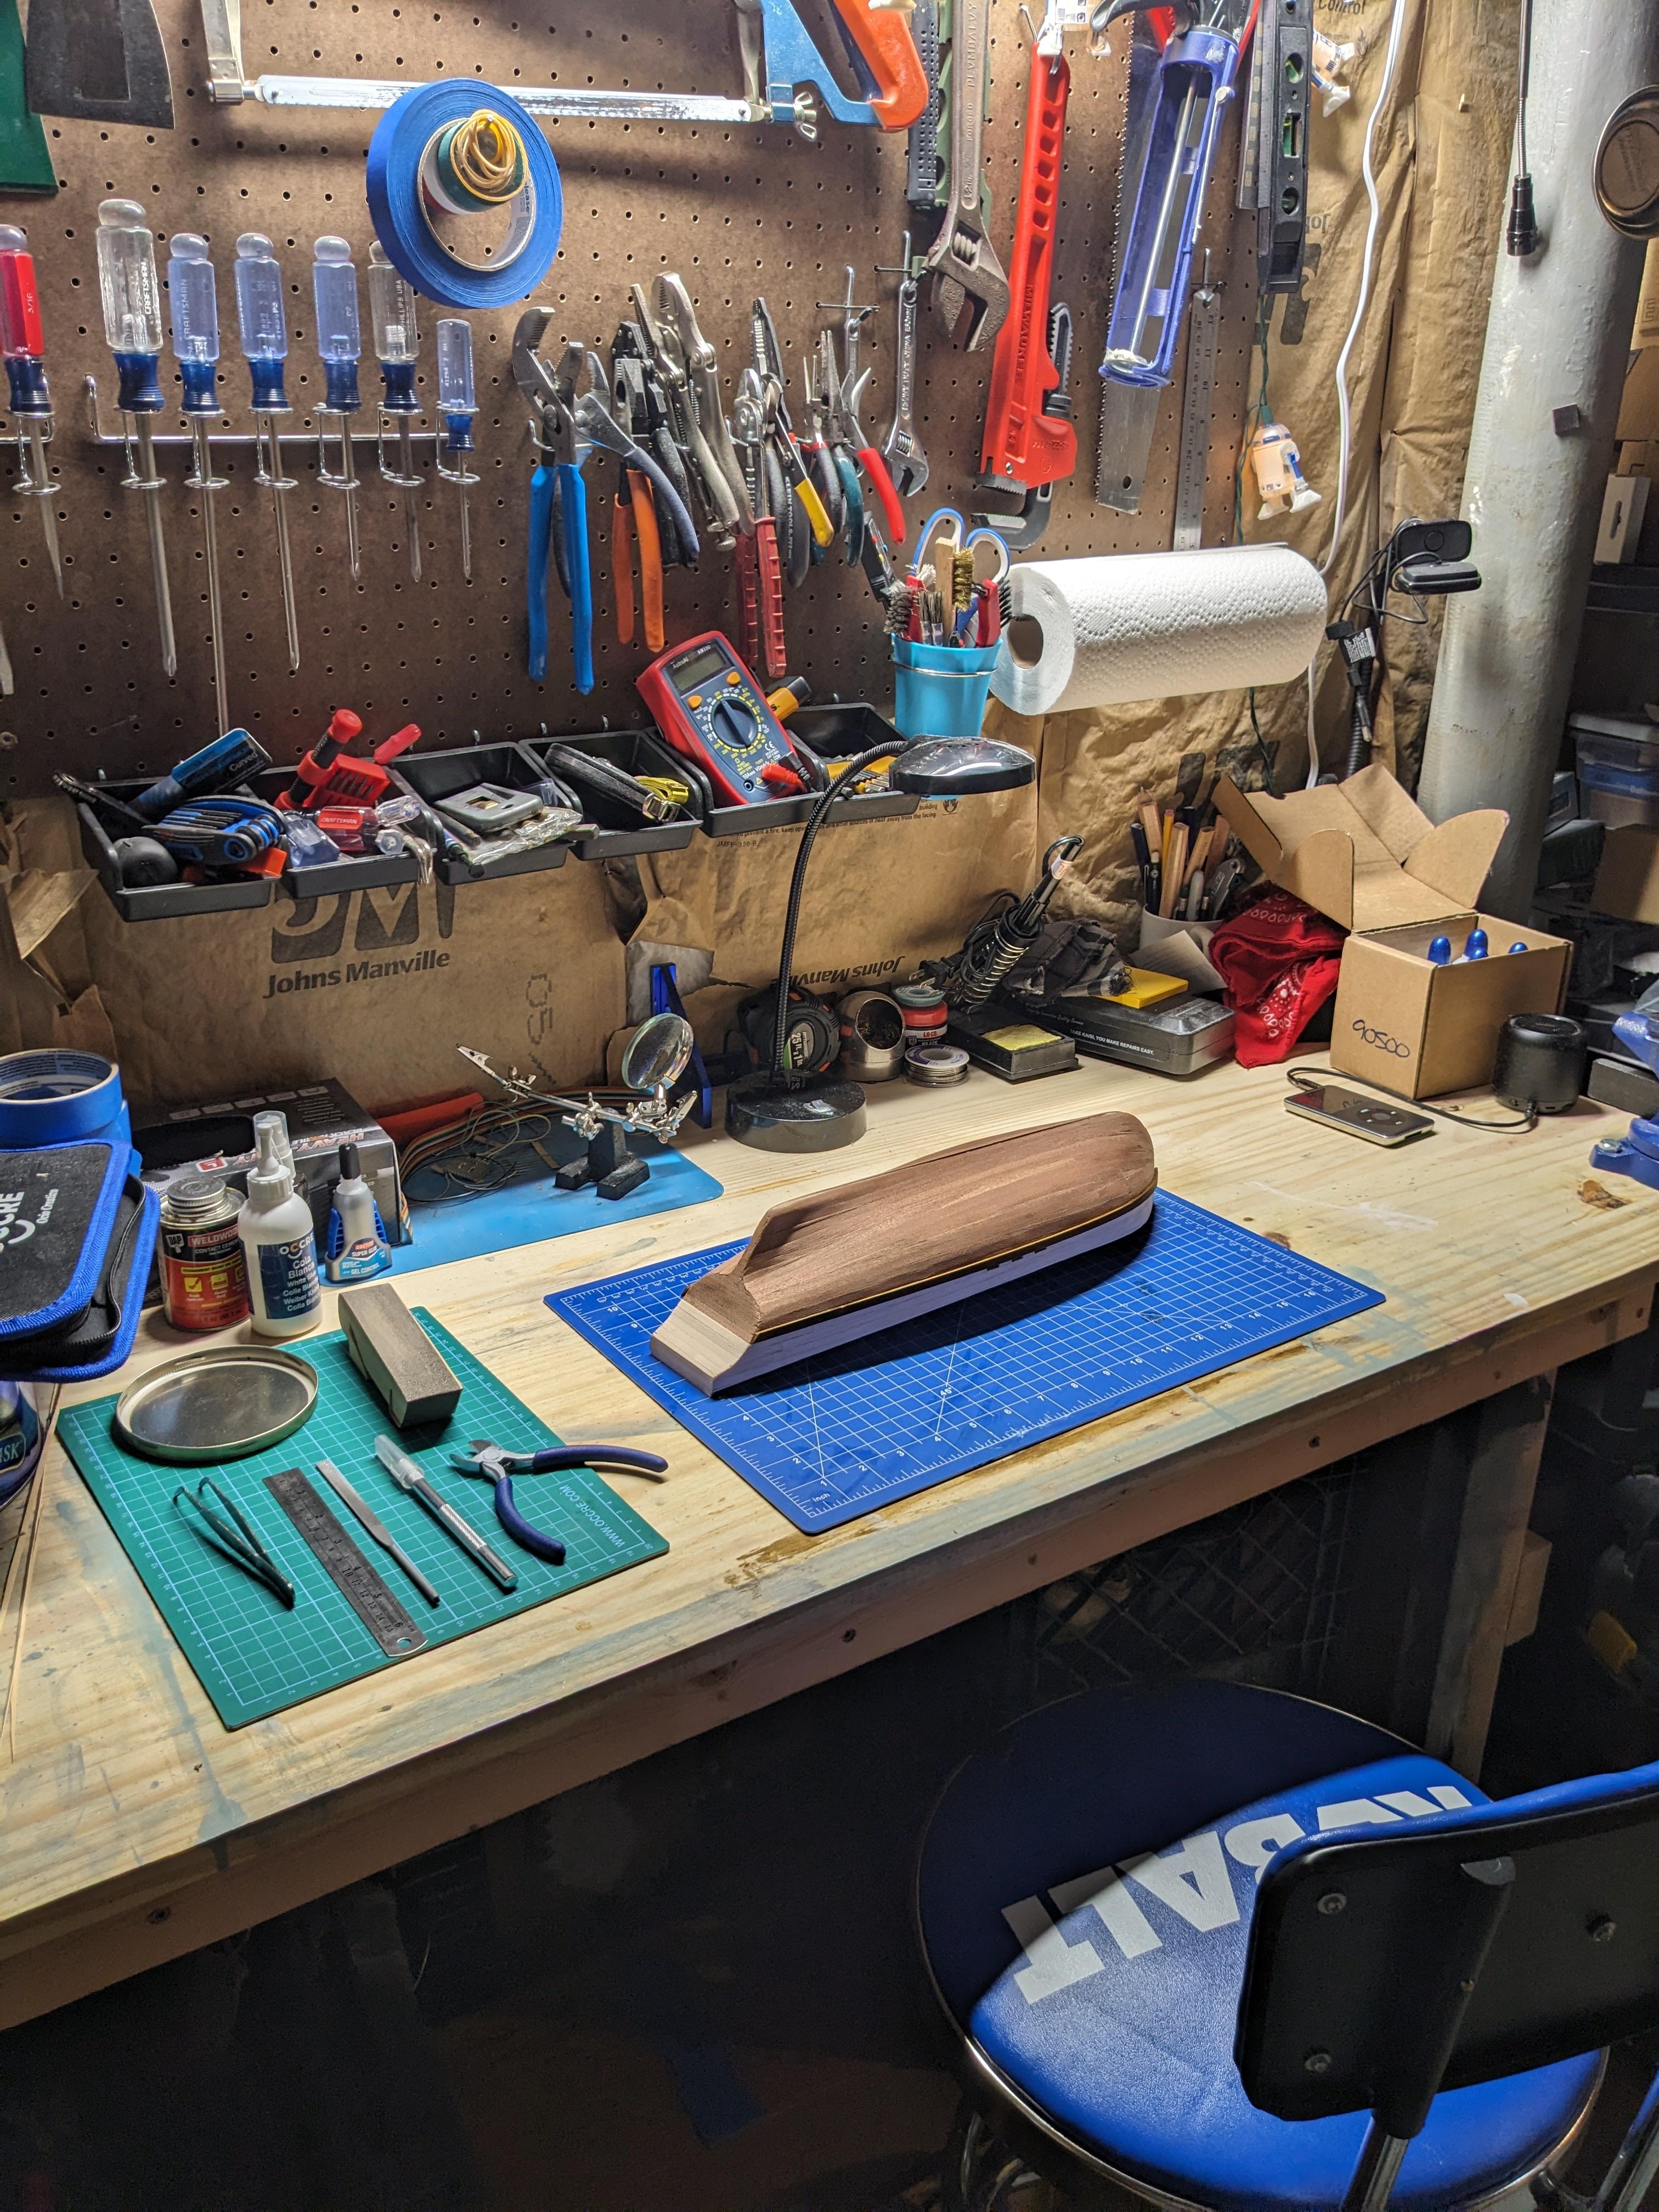
Back at the (now clean) workbench.
Today's music- https://youtu.be/yA5QlaFywOA?si=BASHa1pWmc3pM1ev

Time to attach the stem and the rest of the keel.

Here's where I start.

A little bit of recycled horse...

And it's in!

Looks good so far.

I adjusted it a little bit so that the gap wasn't as noticeable.

Now for the rest of the keel.

I cut them out with the knife and gave them a good sanding.
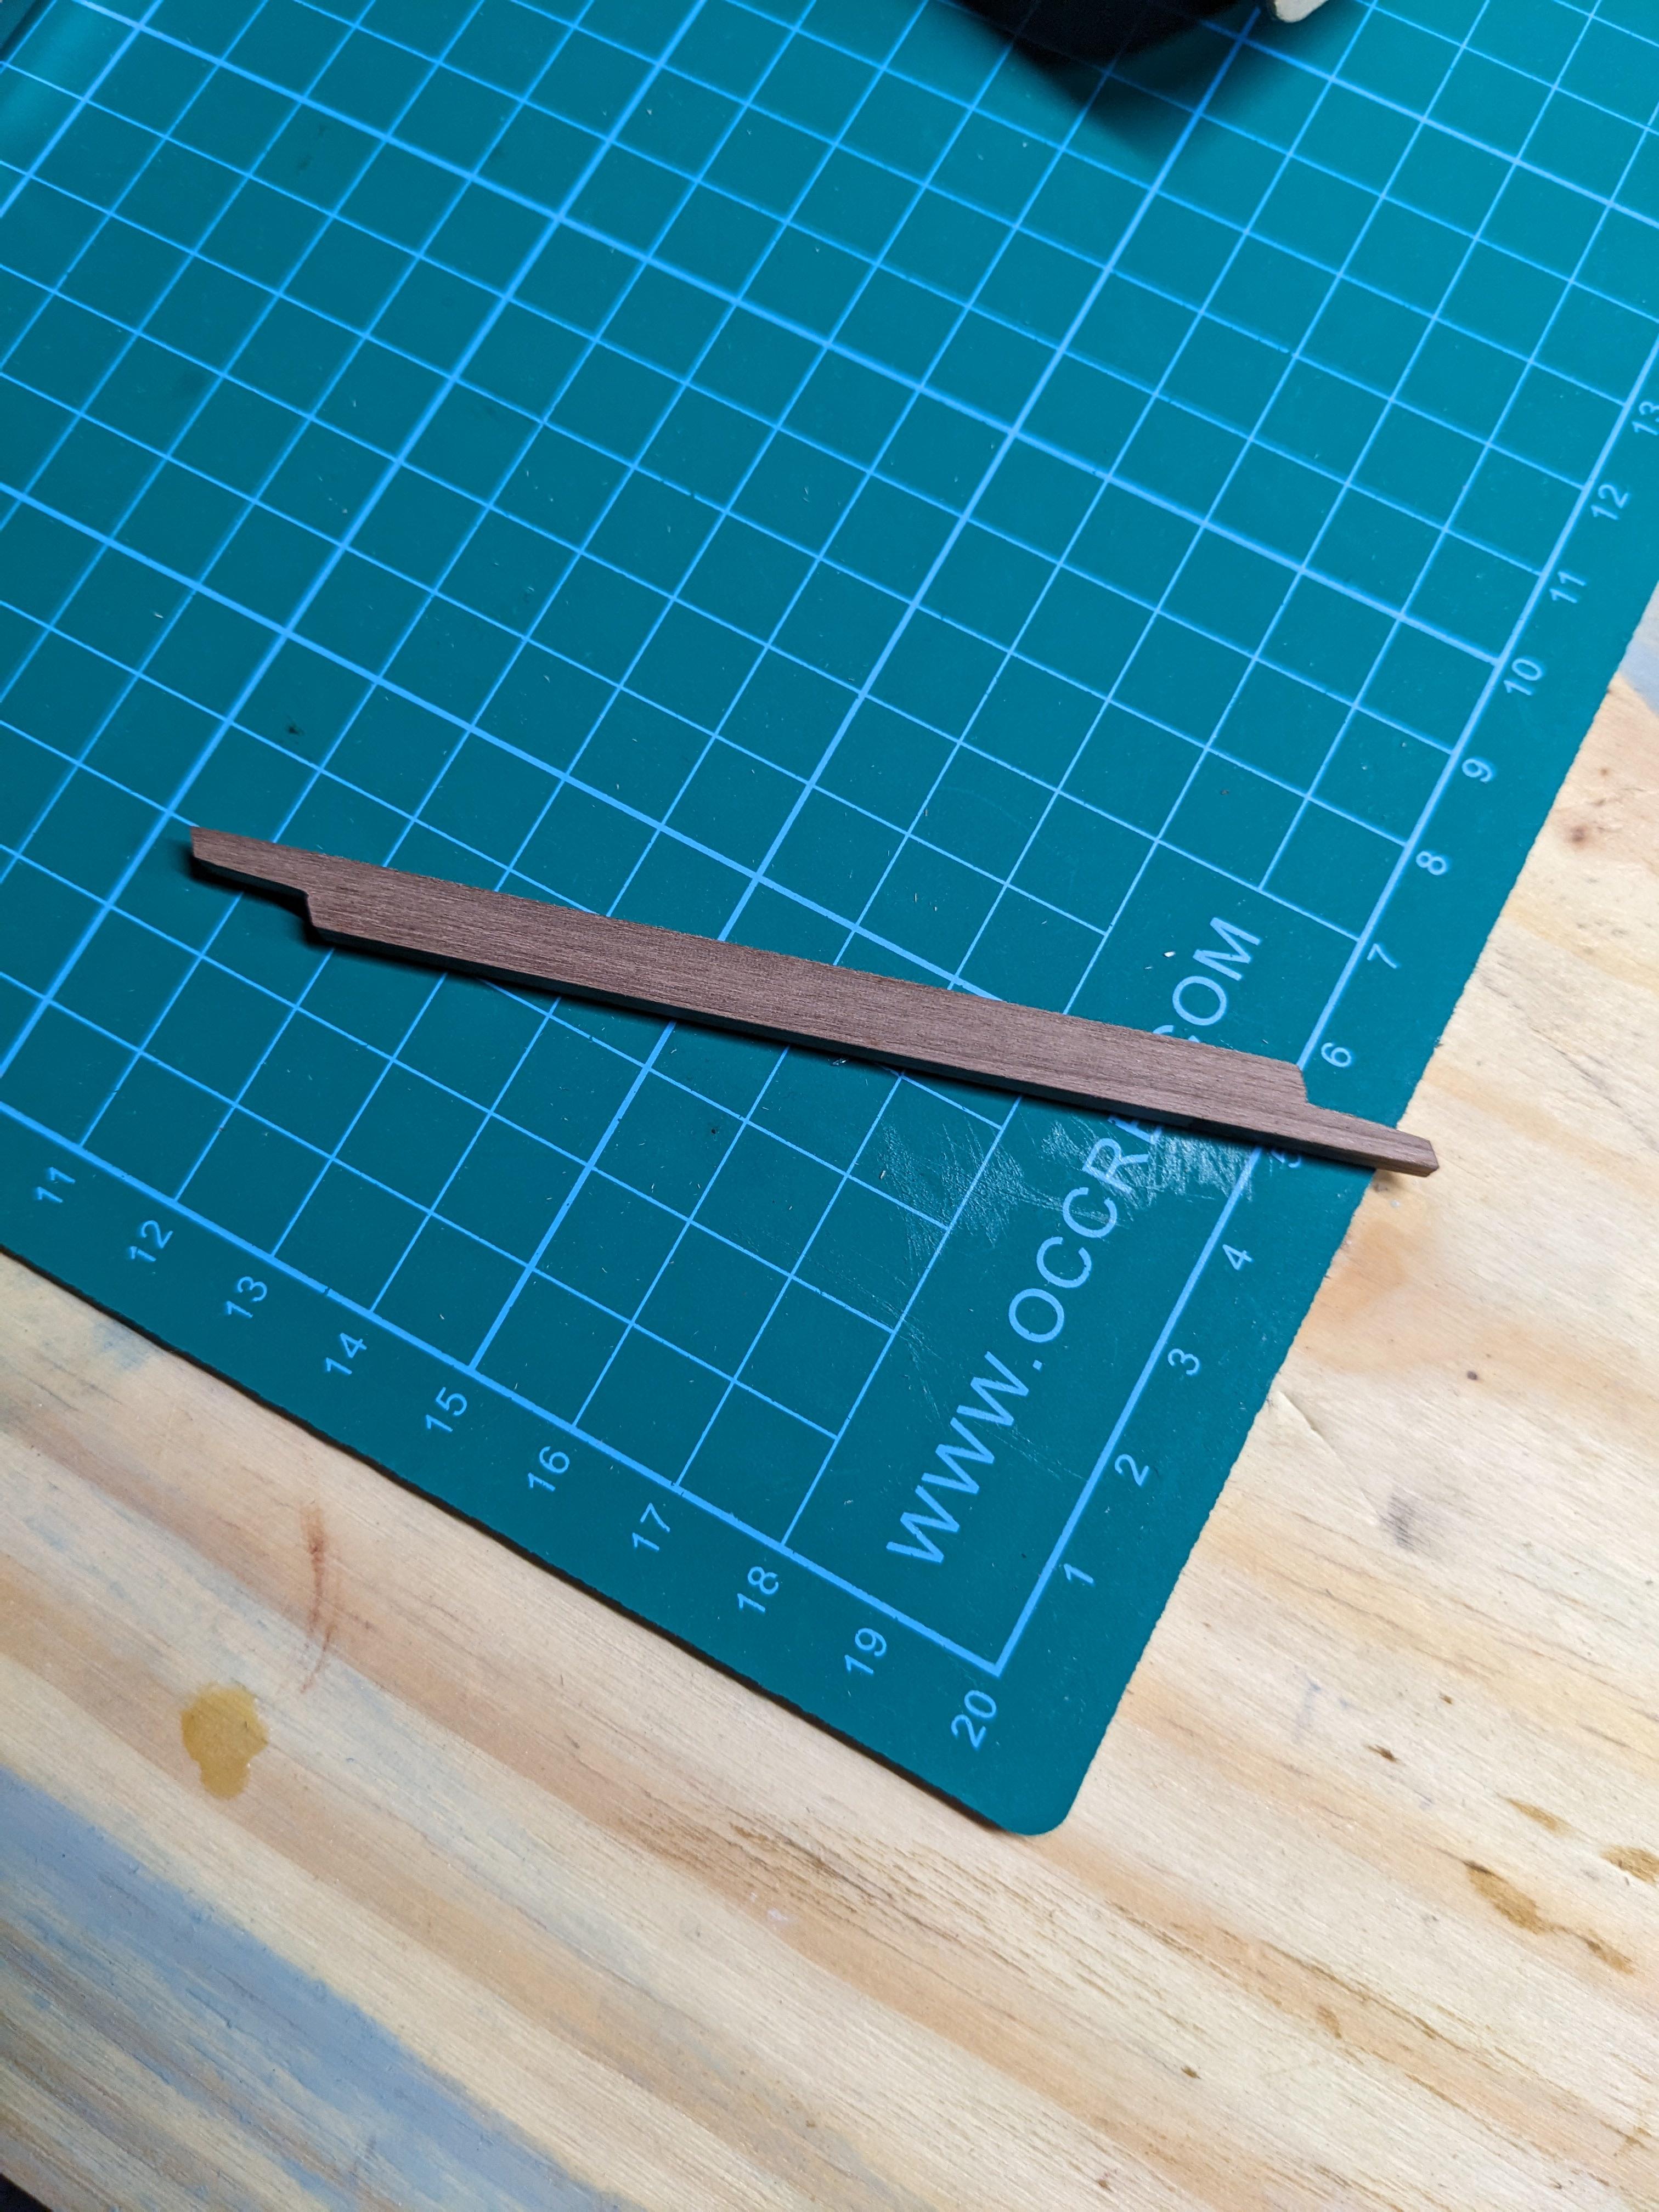
Like so.

Now for some walnut stain.

This stain is very thin and is water-based. It dries fairly quickly too.

Always take care of your good paint brushes. I like to use this brush soap on all my brushes, especially if I use oil-based paints.

Now for the keel.

Always test fit before you glue. The first piece fit with very little issue, so in it went.

Like so.

The next piece was a bit trickier.

The aft end of the keel has a straight edge on it. Always make sure you identify your pieces before committing to glue or paint.

This piece needed a bit more sanding.

It was a really snug fit, so I made sure to file down the groove some more.

Little by little, testing the fit often.

Once I got it sanded and fitting nicely, I stained it.

I really love the look of this walnut stain.

It was around here that I figured out that I have a problem. That is a huge gap.

I decided to take some of the extra material and make a piece to fill in that unsightly gap.

I made some pencil marks roughly where I needed to cut, leaving plenty of extra.

I won't let this little setback get me down, though. Sometimes you just have to improvise.

I also decided to run an experiment. I put some wood filler in some of the extra wood, and then applied the stain to it.

I was also curious about how all the stains would look side by side and with several coats. The three stains you are here are pine, walnut, and sapele.

Meh. Doesn't look that great. I'll see what other products are out there to try.

I put my cutting mat to good use. I determined the angle that my custom gap-filling piece needed to be was 120 degrees to line up with the rest of the keel.

So I made some more marks...

And started shaping it.

Really needed a lot of patience here.

I made some marks on the centerline for the keel.

Just to make sure things line up properly.

The piece needed a lot of sanding down and filing.

Slowly, I managed to fit the piece in the gap.

I don't mind using a little wood filler, but too much would have looked a lot worse.
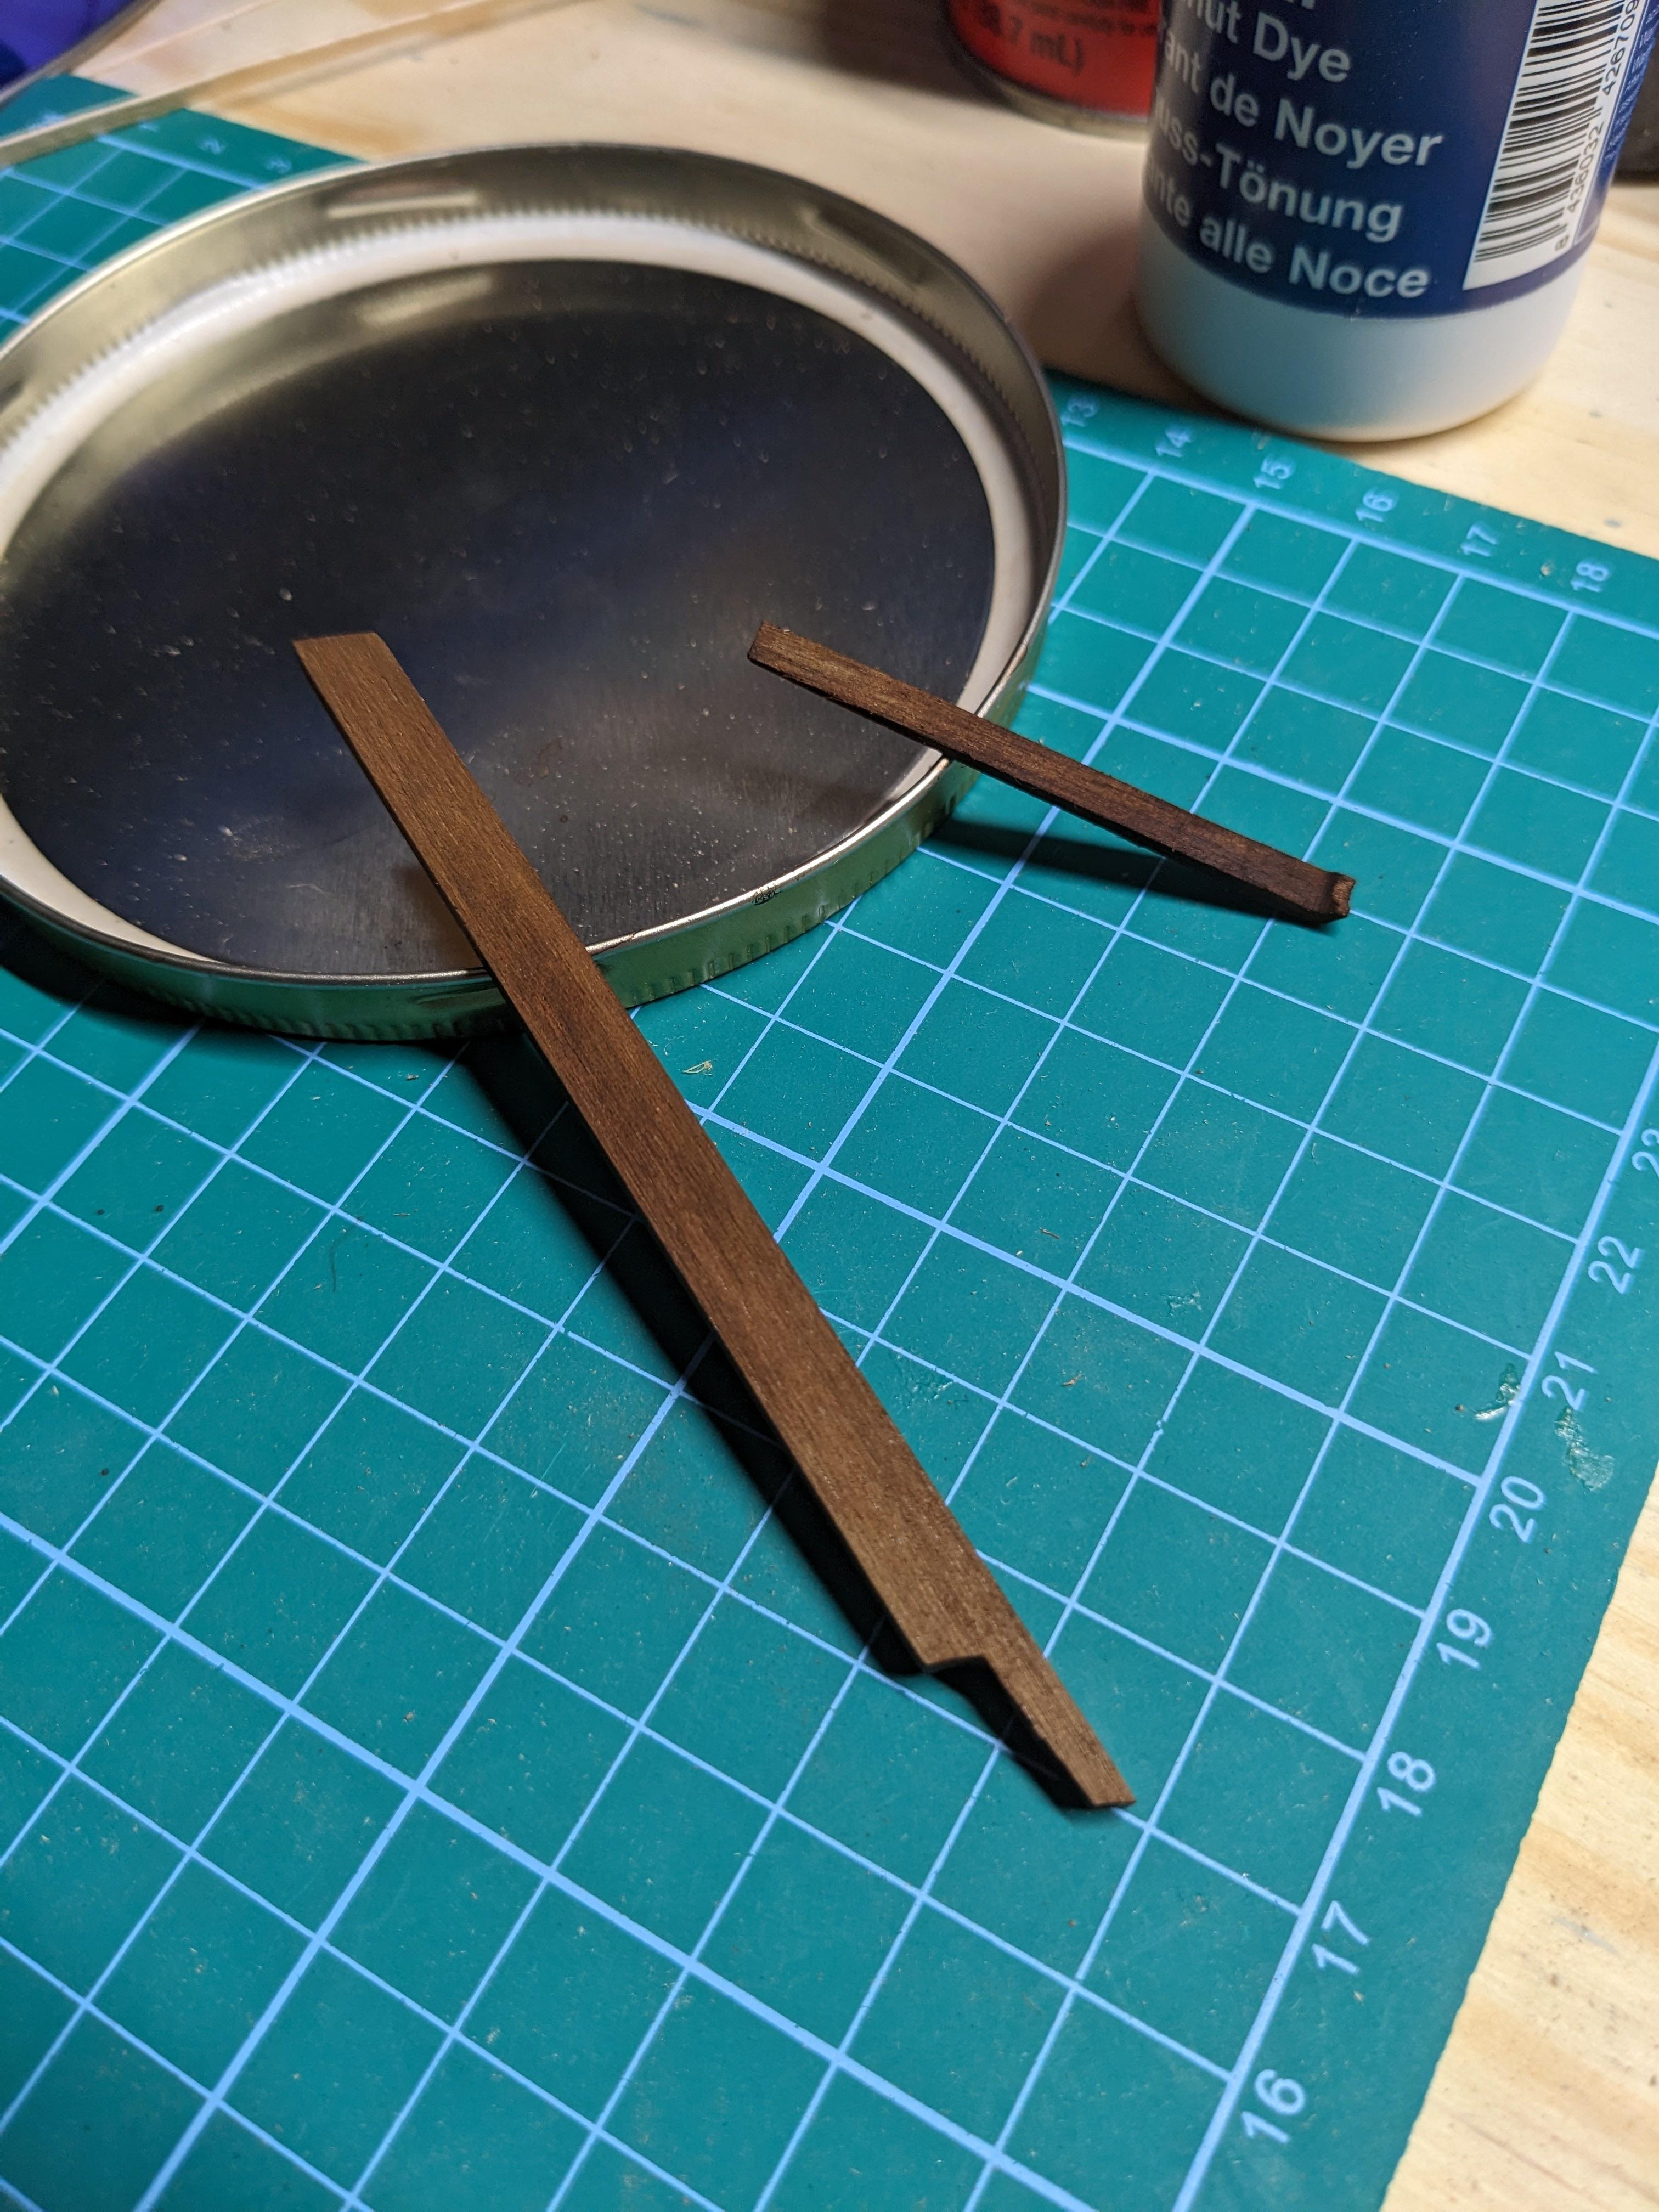
I stained the rest of the keel and my custom piece before fitting them into place.

On the bow, we have some more stuff to add.

These pieces will eventually fit the hawsepipe.

The edges of these need to be sanded down at an angle to fit properly.

Roughly 45 degrees.
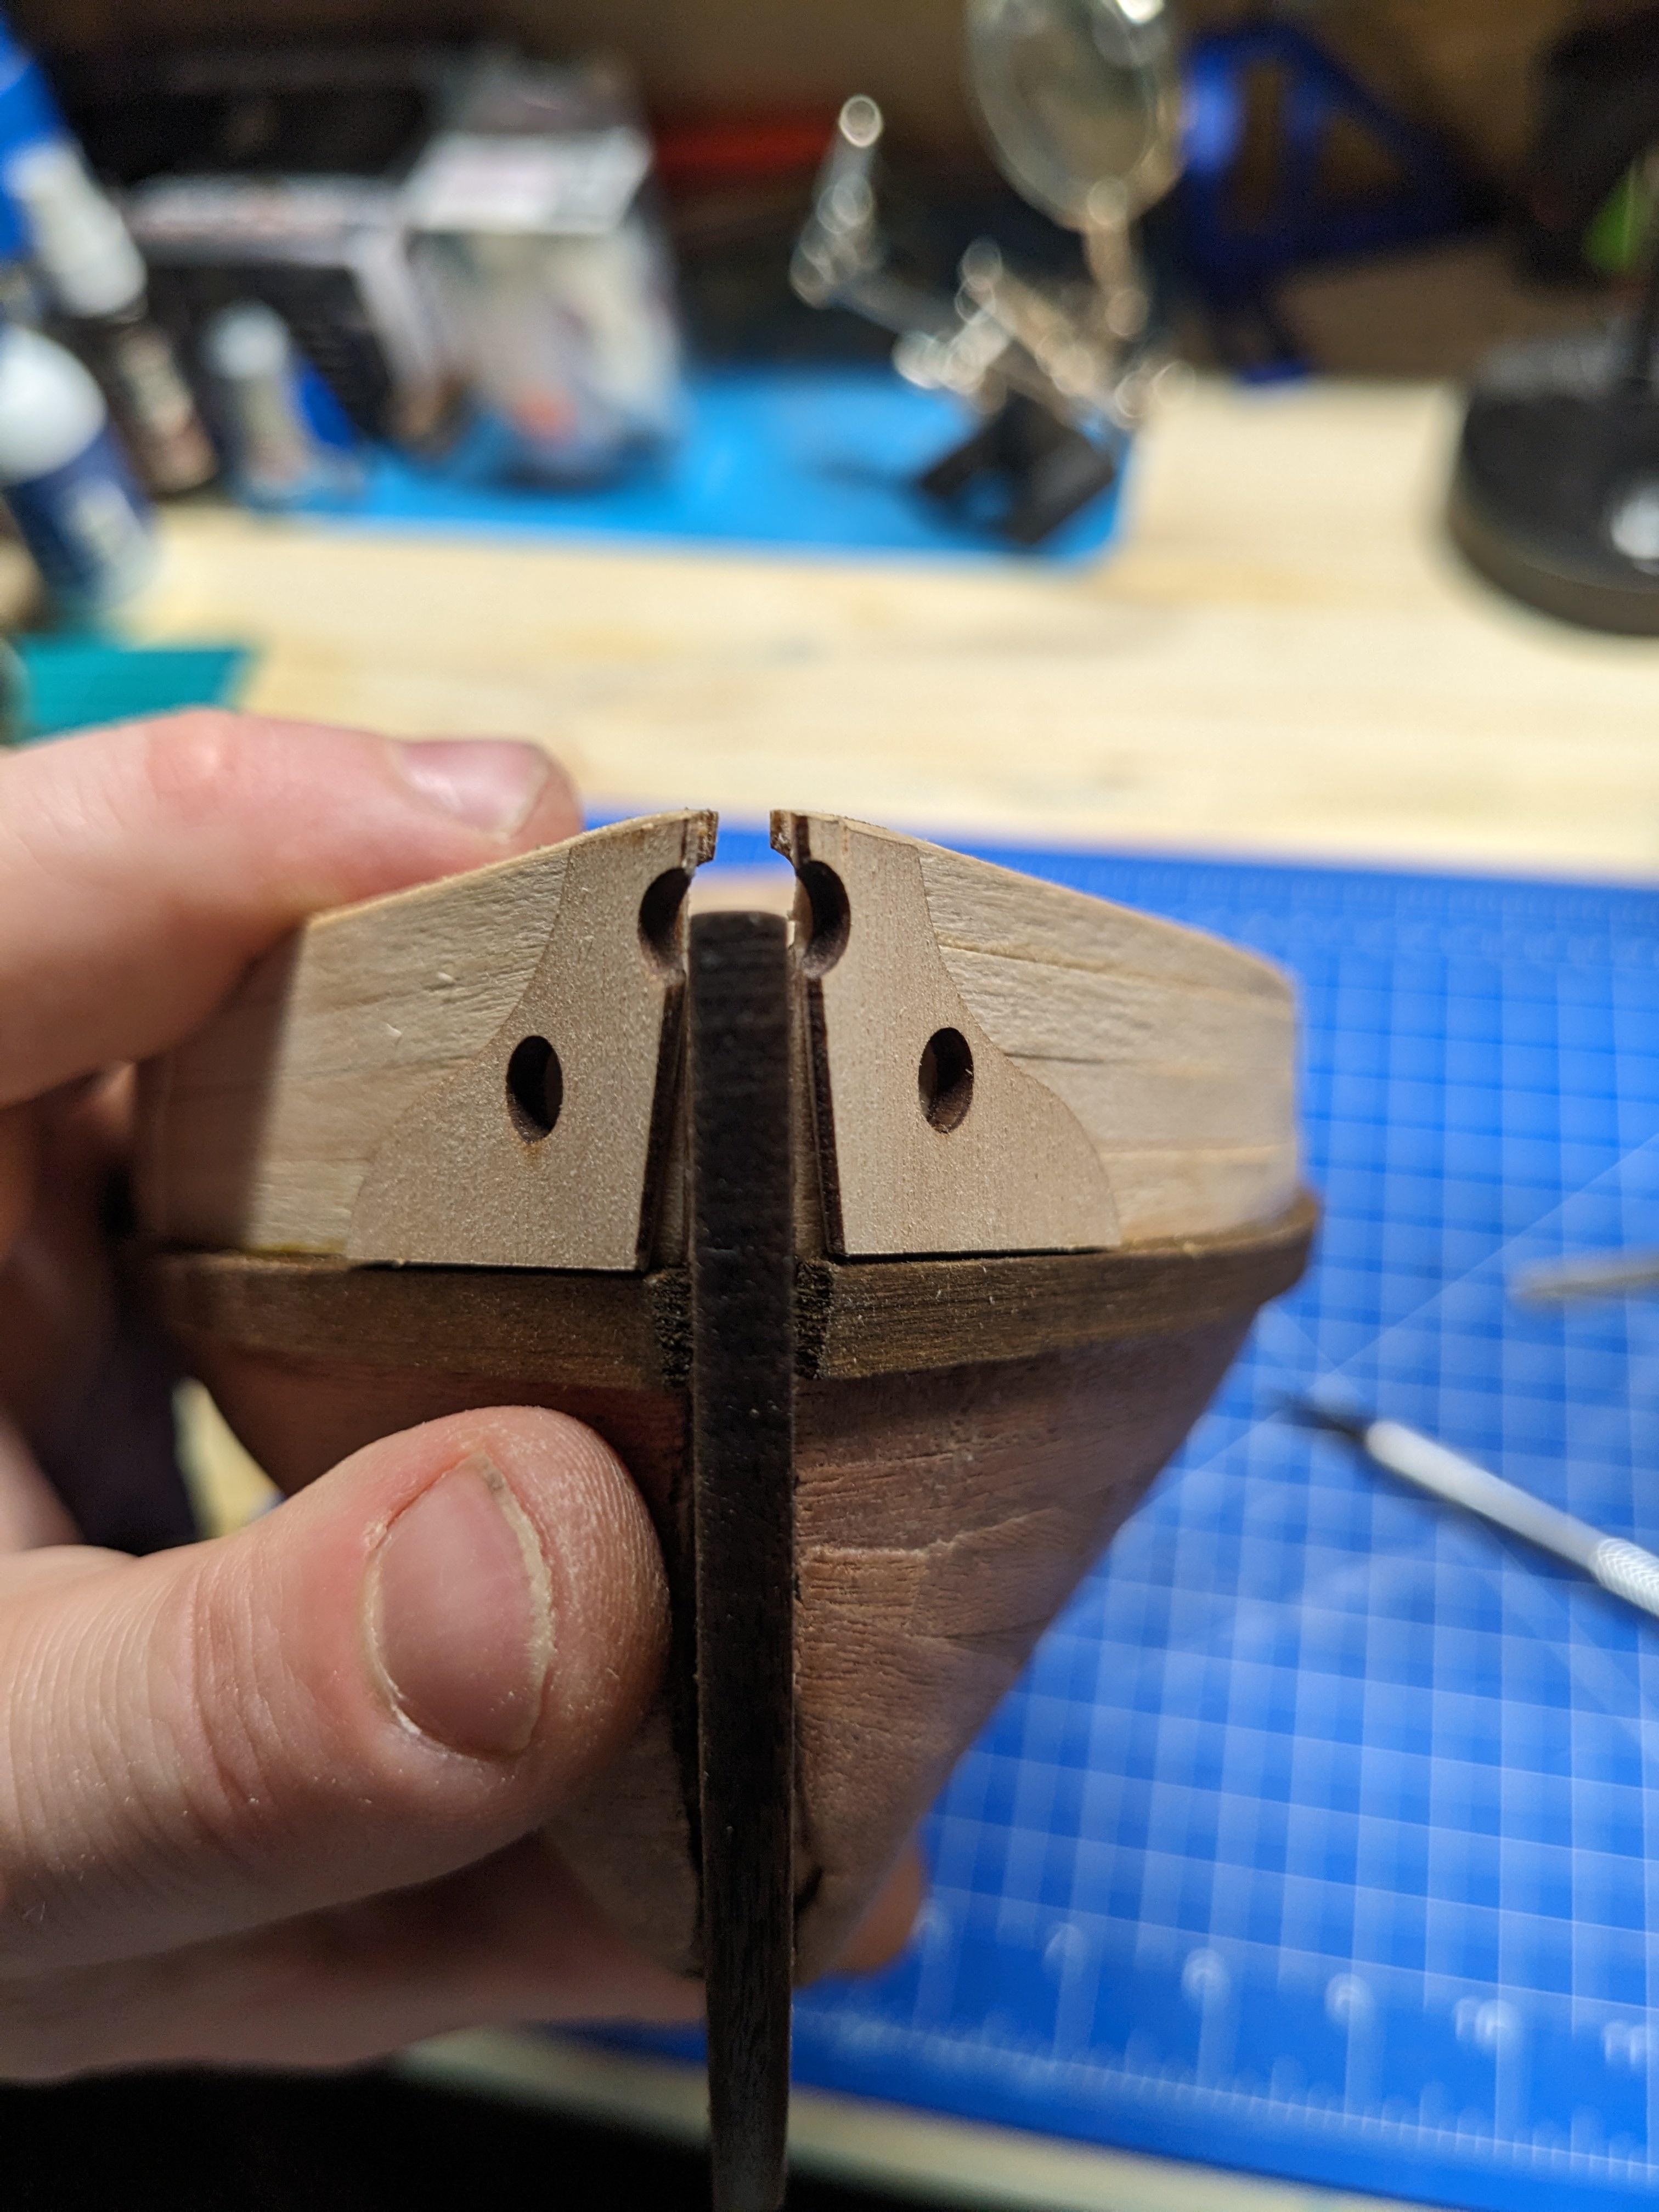
Like so.

Now for some walnut stain. The wood for pieces is much lighter in color than those used for the keel, so the final color will also be a bit lighter.

Now that the stain is dried, I'll finish off the keel.

I used masking tape to keep everything in place until the glue dries.

Beautiful. Eventually I'll drill and file out the hole for the hawsepipe.

Cat Tax!
Thanks for joining me for this build update. Feel free to check out my previous posts to see how far I've come on this project.
Happy Building!
finnwin
Upvoted the workbench by itself +1
Piscivore
Why did you not just shorten the keel peice?
jtthemediocre
I was worried it might mess with the alignment of the rudder that I have yet to install.
Piscivore
That's fair.
SkeletorOverlordofEvil
Got a link for the brush cleaner?
jtthemediocre
B & J Original Brush Cleaner - 2.5 Oz/12ct Display https://a.co/d/67au1Mp