GameboyMicro

1358

30

0

I got this Japanese orange Gameboy Advance from a guy just down the street. It was barely functional, but I got it for about $13, so I figured that I might as well just get it and see if I could improve it.
Problems it had and how I fixed them:
Battery cover: There was none. Not a big problem. Just ordered a replacement. Pretty cheap.
Buttons: the general buttons barely worked, and Start and Select just didn't work at all. They just needed a good clean.
Grubby: It was absolutely disgustingly filthy. Just took at apart and threw everything in the sink with some soapy water. Cleaned the case wist a toothbrush to not damage any electric components.
I'd like to apologize in advance for any bad pictures. I just got a new phone after 5 years, so I'm still getting used to the new camera.

Let's start with some before pics. Here's the A and B buttons. Pretty disgusting.

D-pad. Also pretty grubby.

Start and Select. They might not look too bad on the surface, but they were the most disgusting ones. More on that later.

And the backside. Just needed a good scrubbing.

The tools. Tri-wing and Phillips screwdrivers to open it, rubbing alcohol, cotton buds and paper towels for cleaning and a new battery cover to, well, cover the batteries.
Right, let's get going, shall we?

Opened up. Already here, the extent of the grubbiness is becoming apparent.
Please don't ask me any questions about the components on the board. I know very little about that.

Just the back.

Better view of the insides. Just look how filthy it is on the edges. Good thing the grey parts can be removed.

Left side.
Fun fact: the satisfying click of the on/off swtihc comes from the part you slide. The switch behind it moves smoothly.

Right side.
Ever wondered how the volume wheel looks inside? Well wonder no more. The wires are connecting to the speaker on the other side.

Time to start taking it apart. No turning back now.

Took several pics of this part for some reason.

Just comes right out.

The tiny, smoothyly moving switch behind it.

Better vies of the volume wheel and surrounding area.

Other side. The LED that powers the power light is somewhere on here, but I honestly don't really know where.

Just figured I'd try putting a game in to see how it looks.

Should this be considered NSFW?

Proper close-up of the volume wheel. I don't know why I have so many pictures of it.

Board taken out. Well, almost anyway. One of the pads were stuck to the board. I have no idea how it got that grubby.
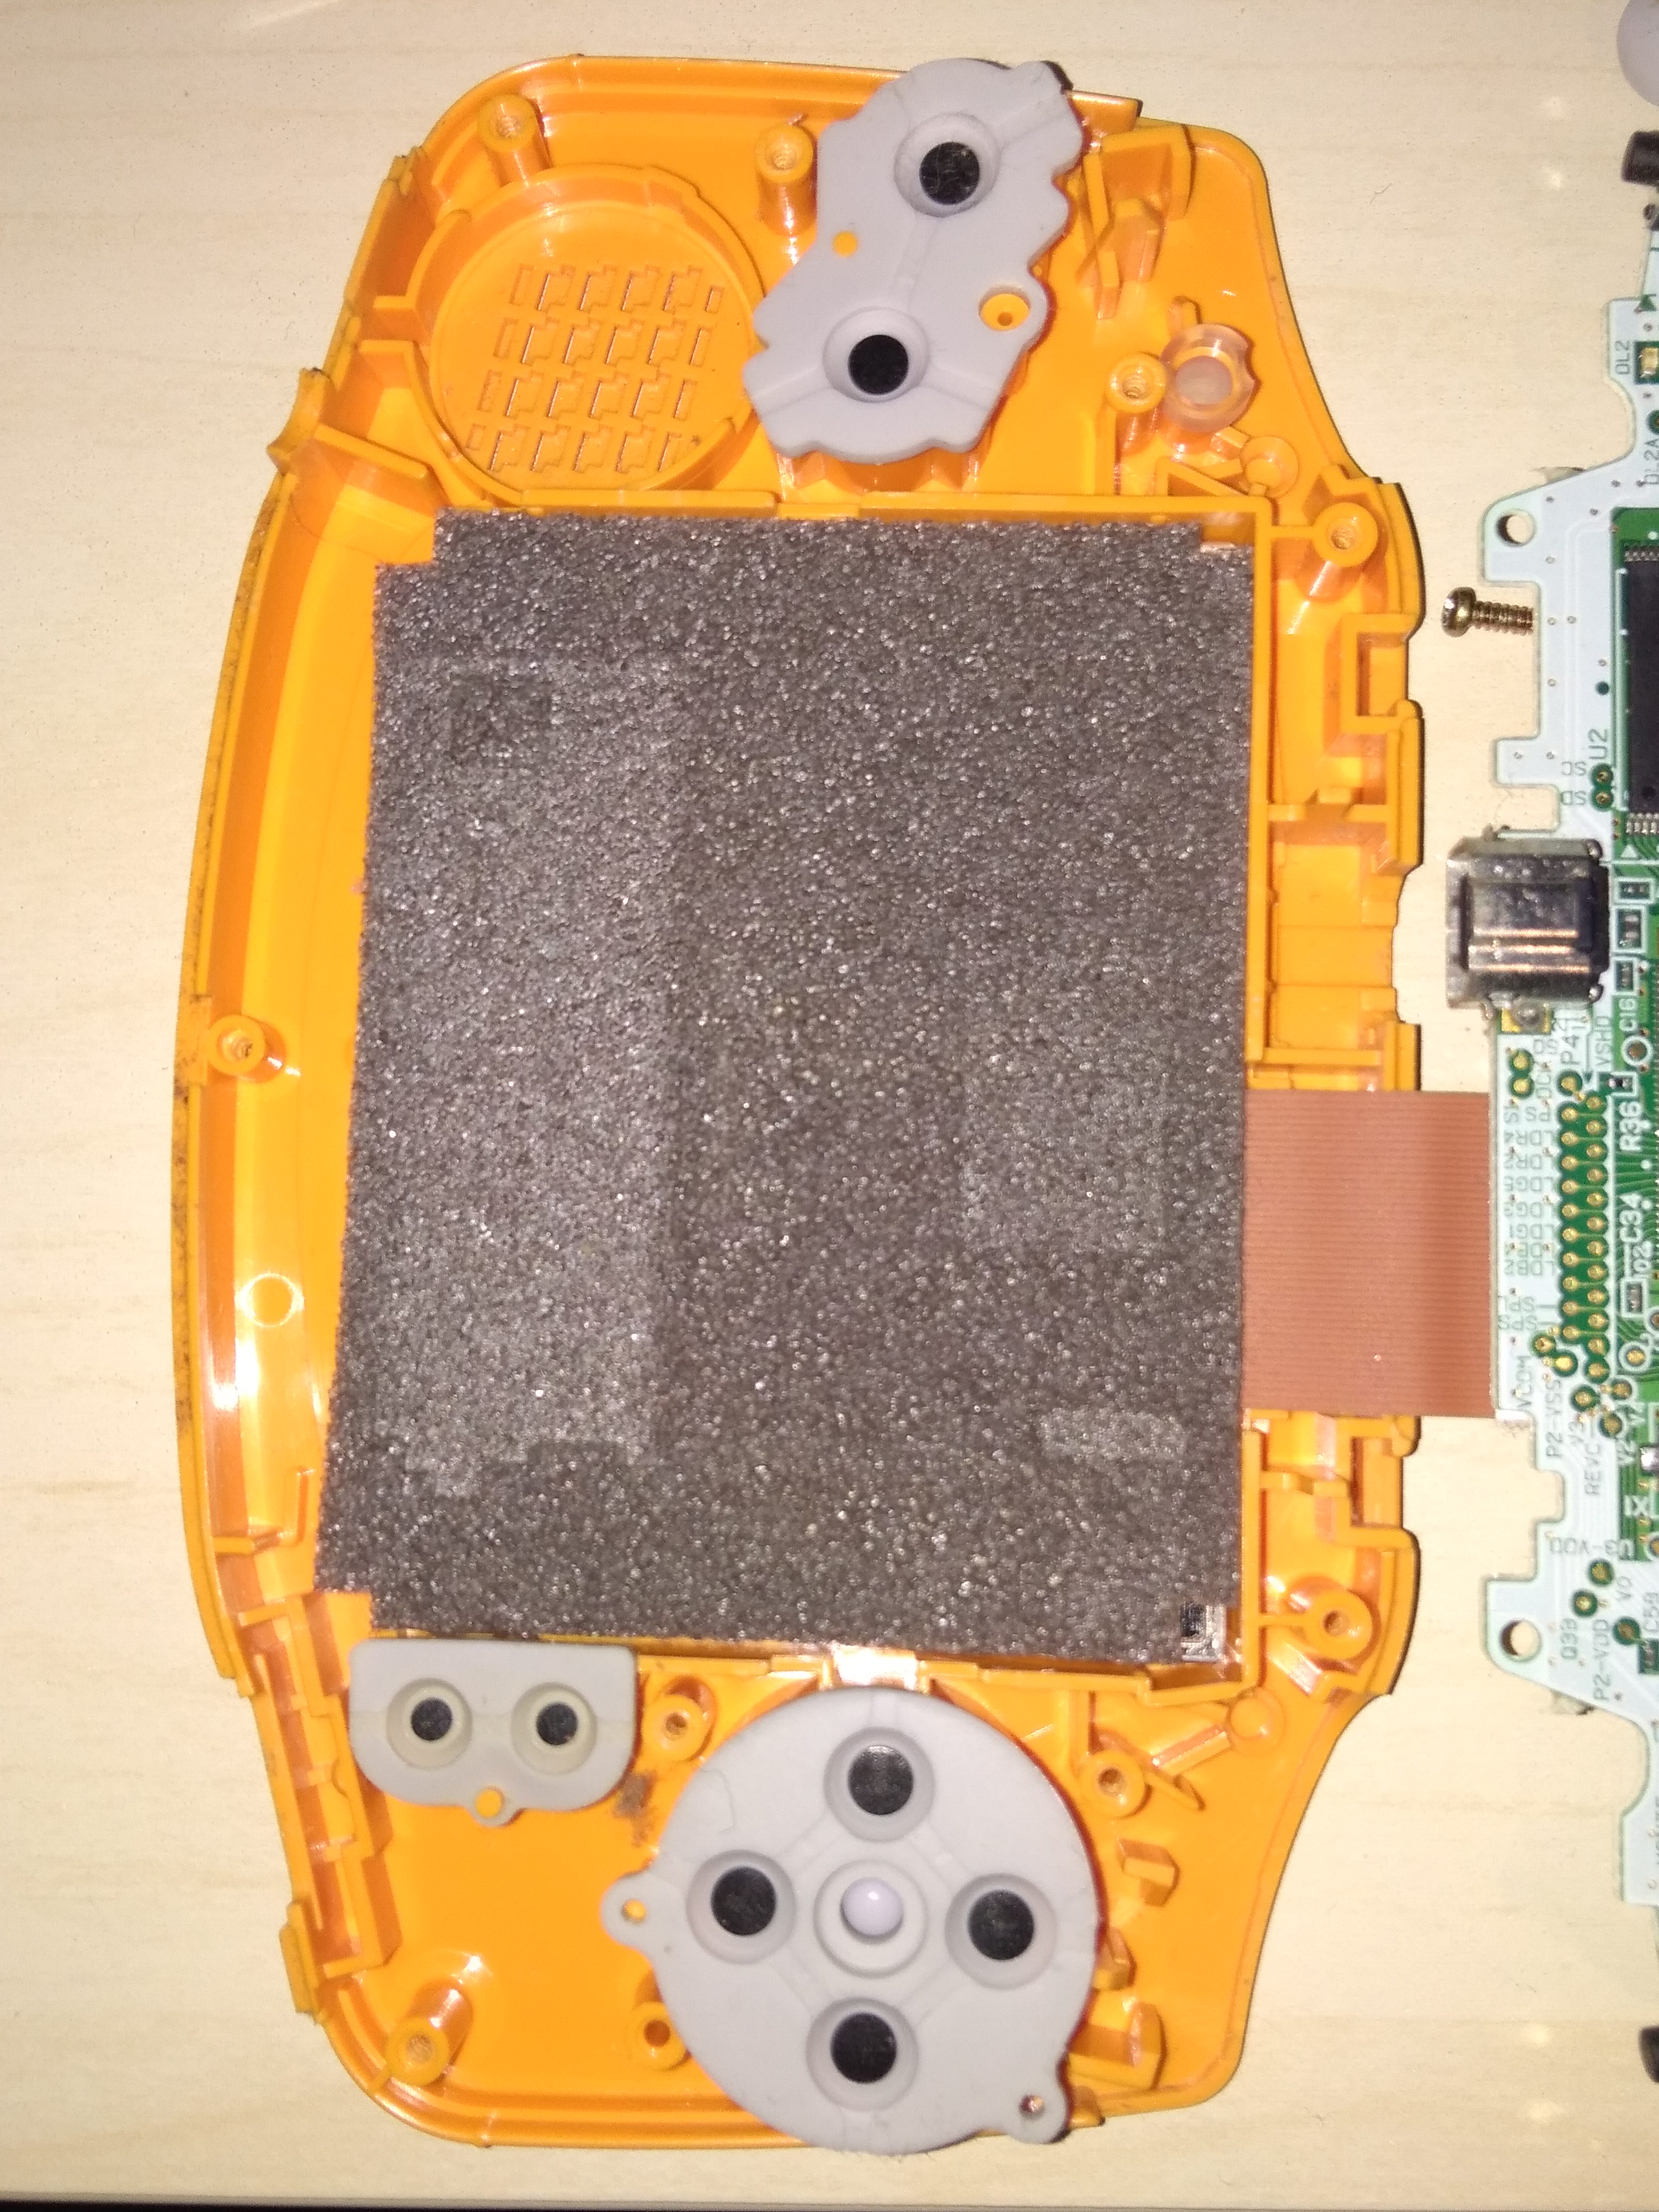
The pads under the buttons. Notice how the little metal-bits have a slight shine to them? That's bad. More on that later.

Buttons and pads removed. This is why it's a good idea to properly clean used consoles.

The contacts on the board. Can you guess why Start and Select didn't work?
A simple cotton bud with some rubbing alcohol is a good way to clean them.

A and B button-contacts.

PSA: this is why you gotta clean your electronics once in a while.

This is where the power-LED shines through.

And the light-piping on its own.

Getting ready for a good wash.
But first...

Gotta fix these first. If these have gotten shiny from wear, simply pop it out of the membrane and run it over some paper. Post-its will do fine. The left one has already been de-shined, the right is about to be.
The shine comes from a layer of.. something that builds up on the contacts when used. If there's too much, the connection will be weaker or, like in the case of these, disappear completely.

This was just from the Start/Select pad.
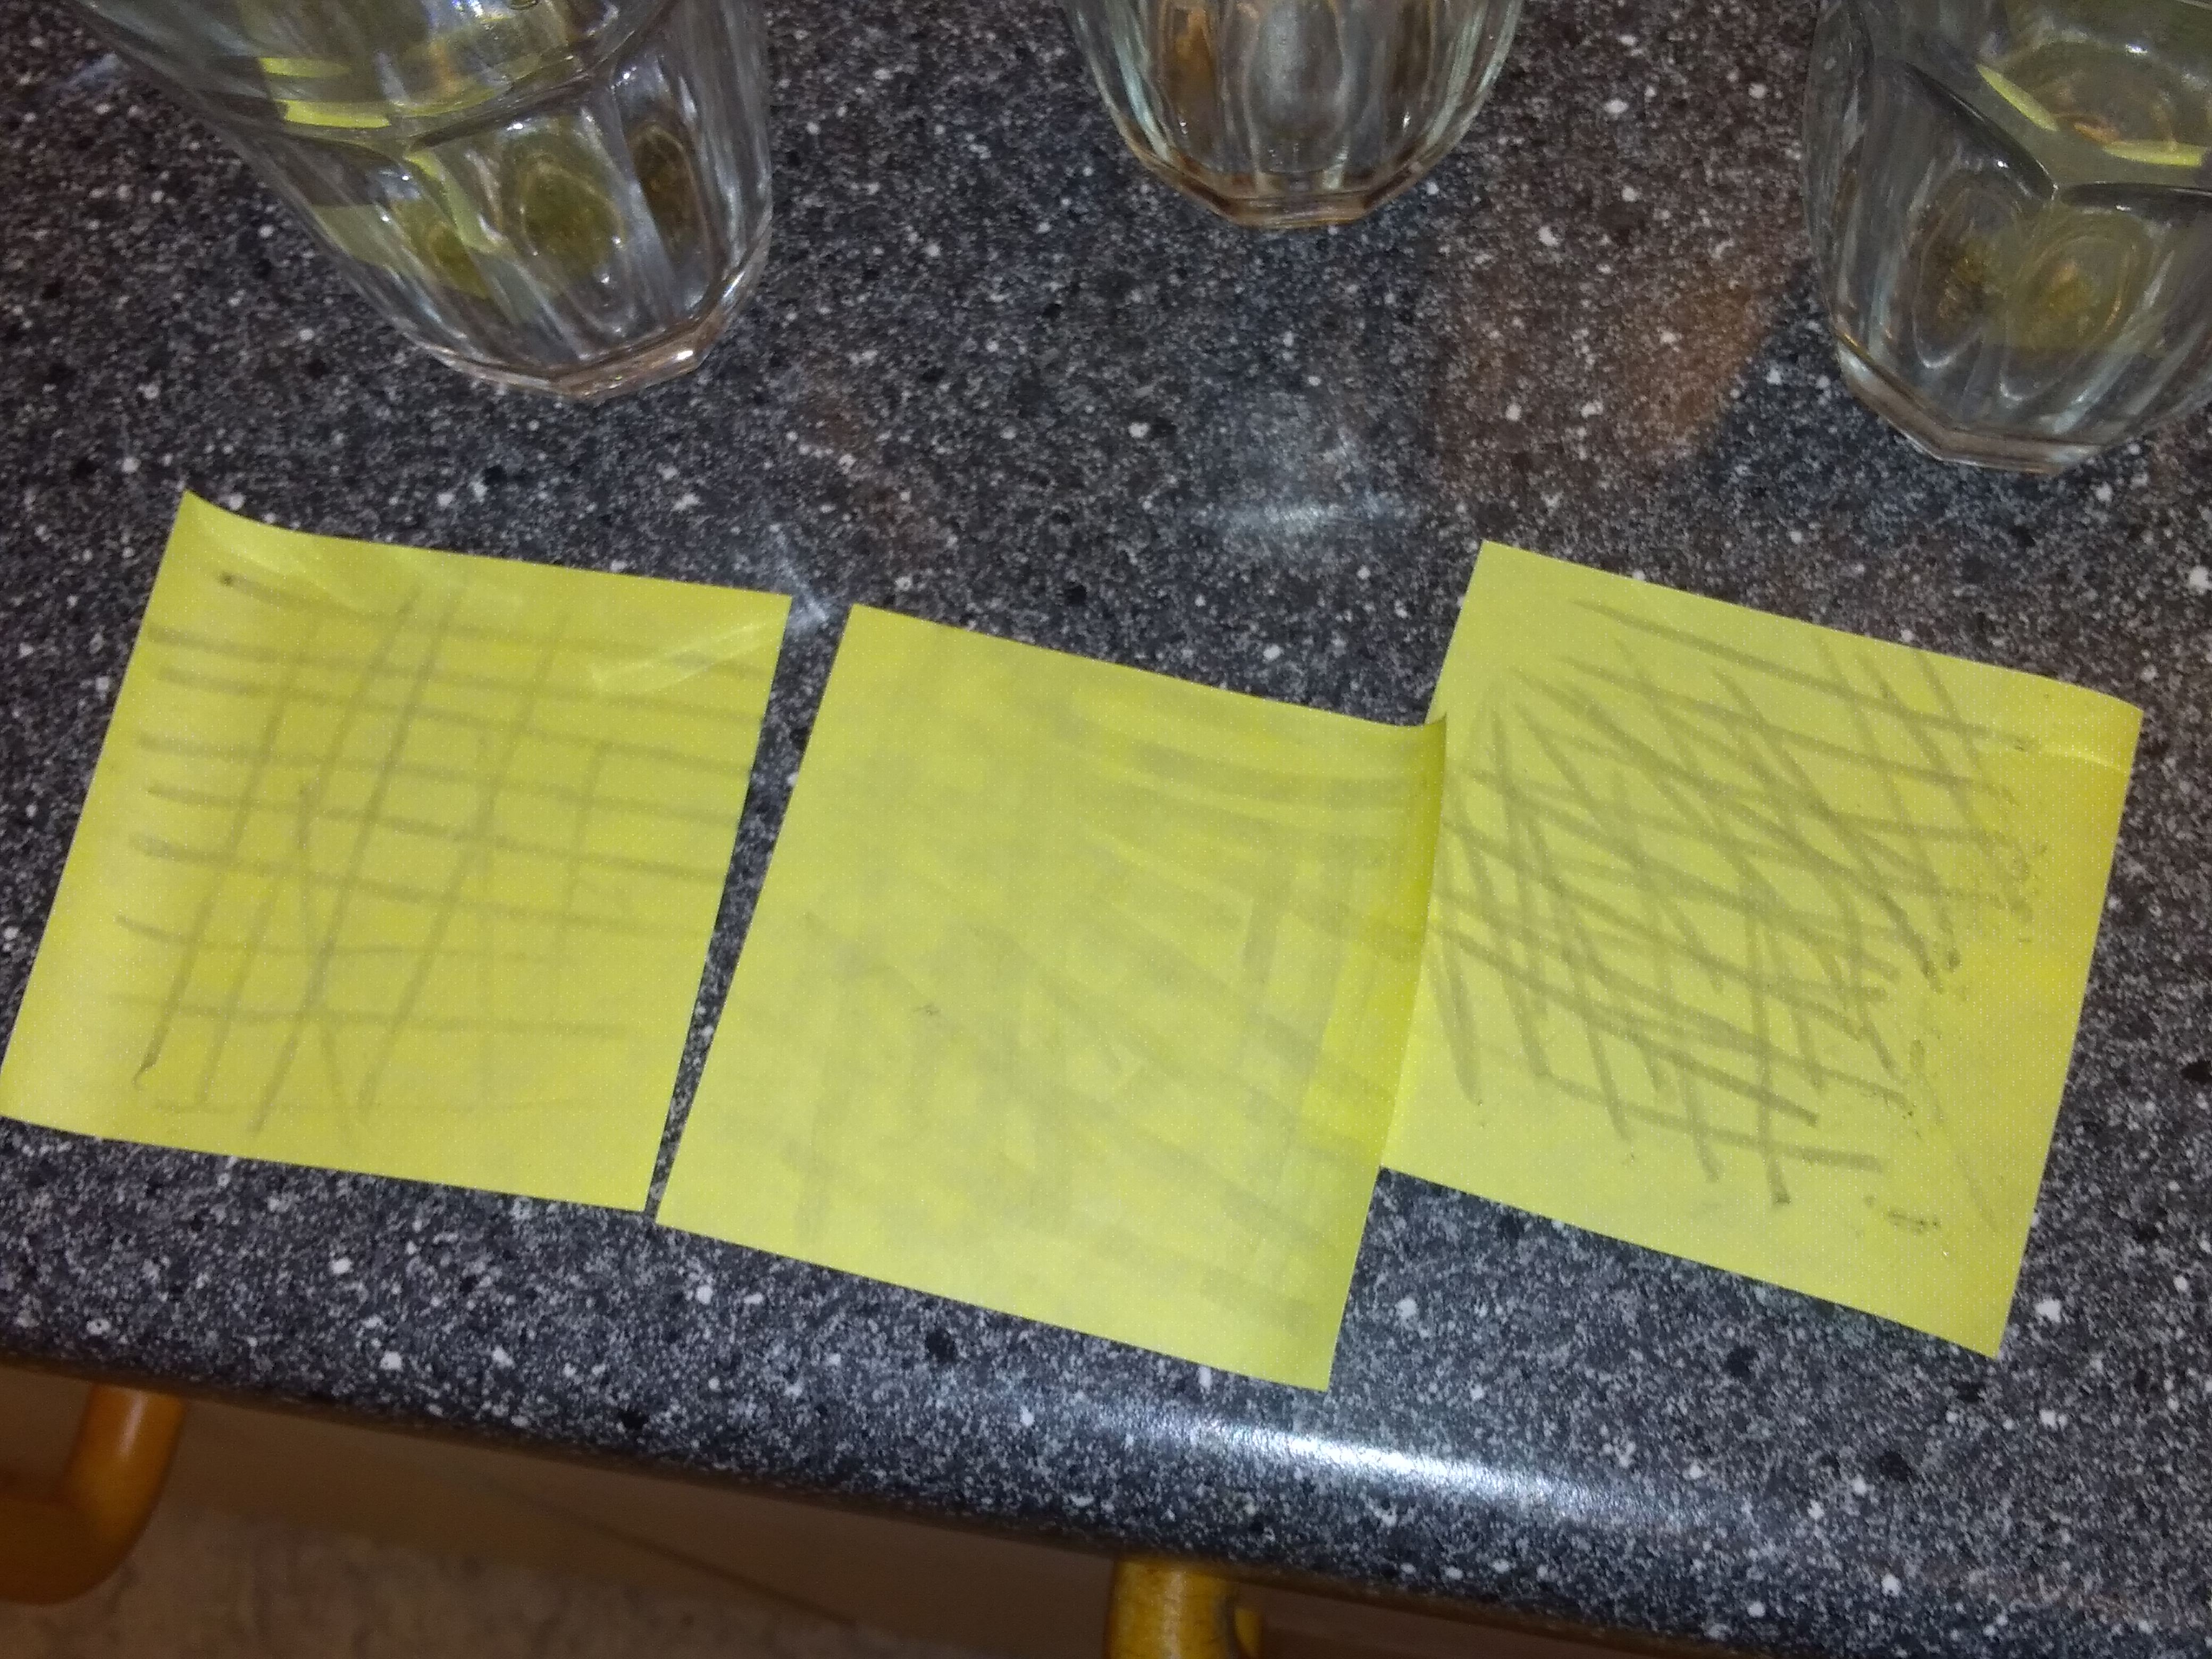
After doing all the pads.

Other side. There was a lot on there.

To avoid destroying the sticker on the back- and the screen on the front-panel, I cleaned those parts manually with a tooth brush and some of these. I think it's safe to say that is was a bit overdue.

More guff.

Everything cleaned. Just look how not disgustingly filthy it all it. Time to put it back together. I should probably have gotten more pictures of the re-assemply, but I was too focused on making sure that it was still working. Maybe next time.
Make sure that all the buttons and pads are completely dry before re-assembling.

And here's the final result. A slightly blurry yet very clean orange GBA.
Complete with a Pokémon game to easily test the buttons, all of which are now working absolutely perfectly.
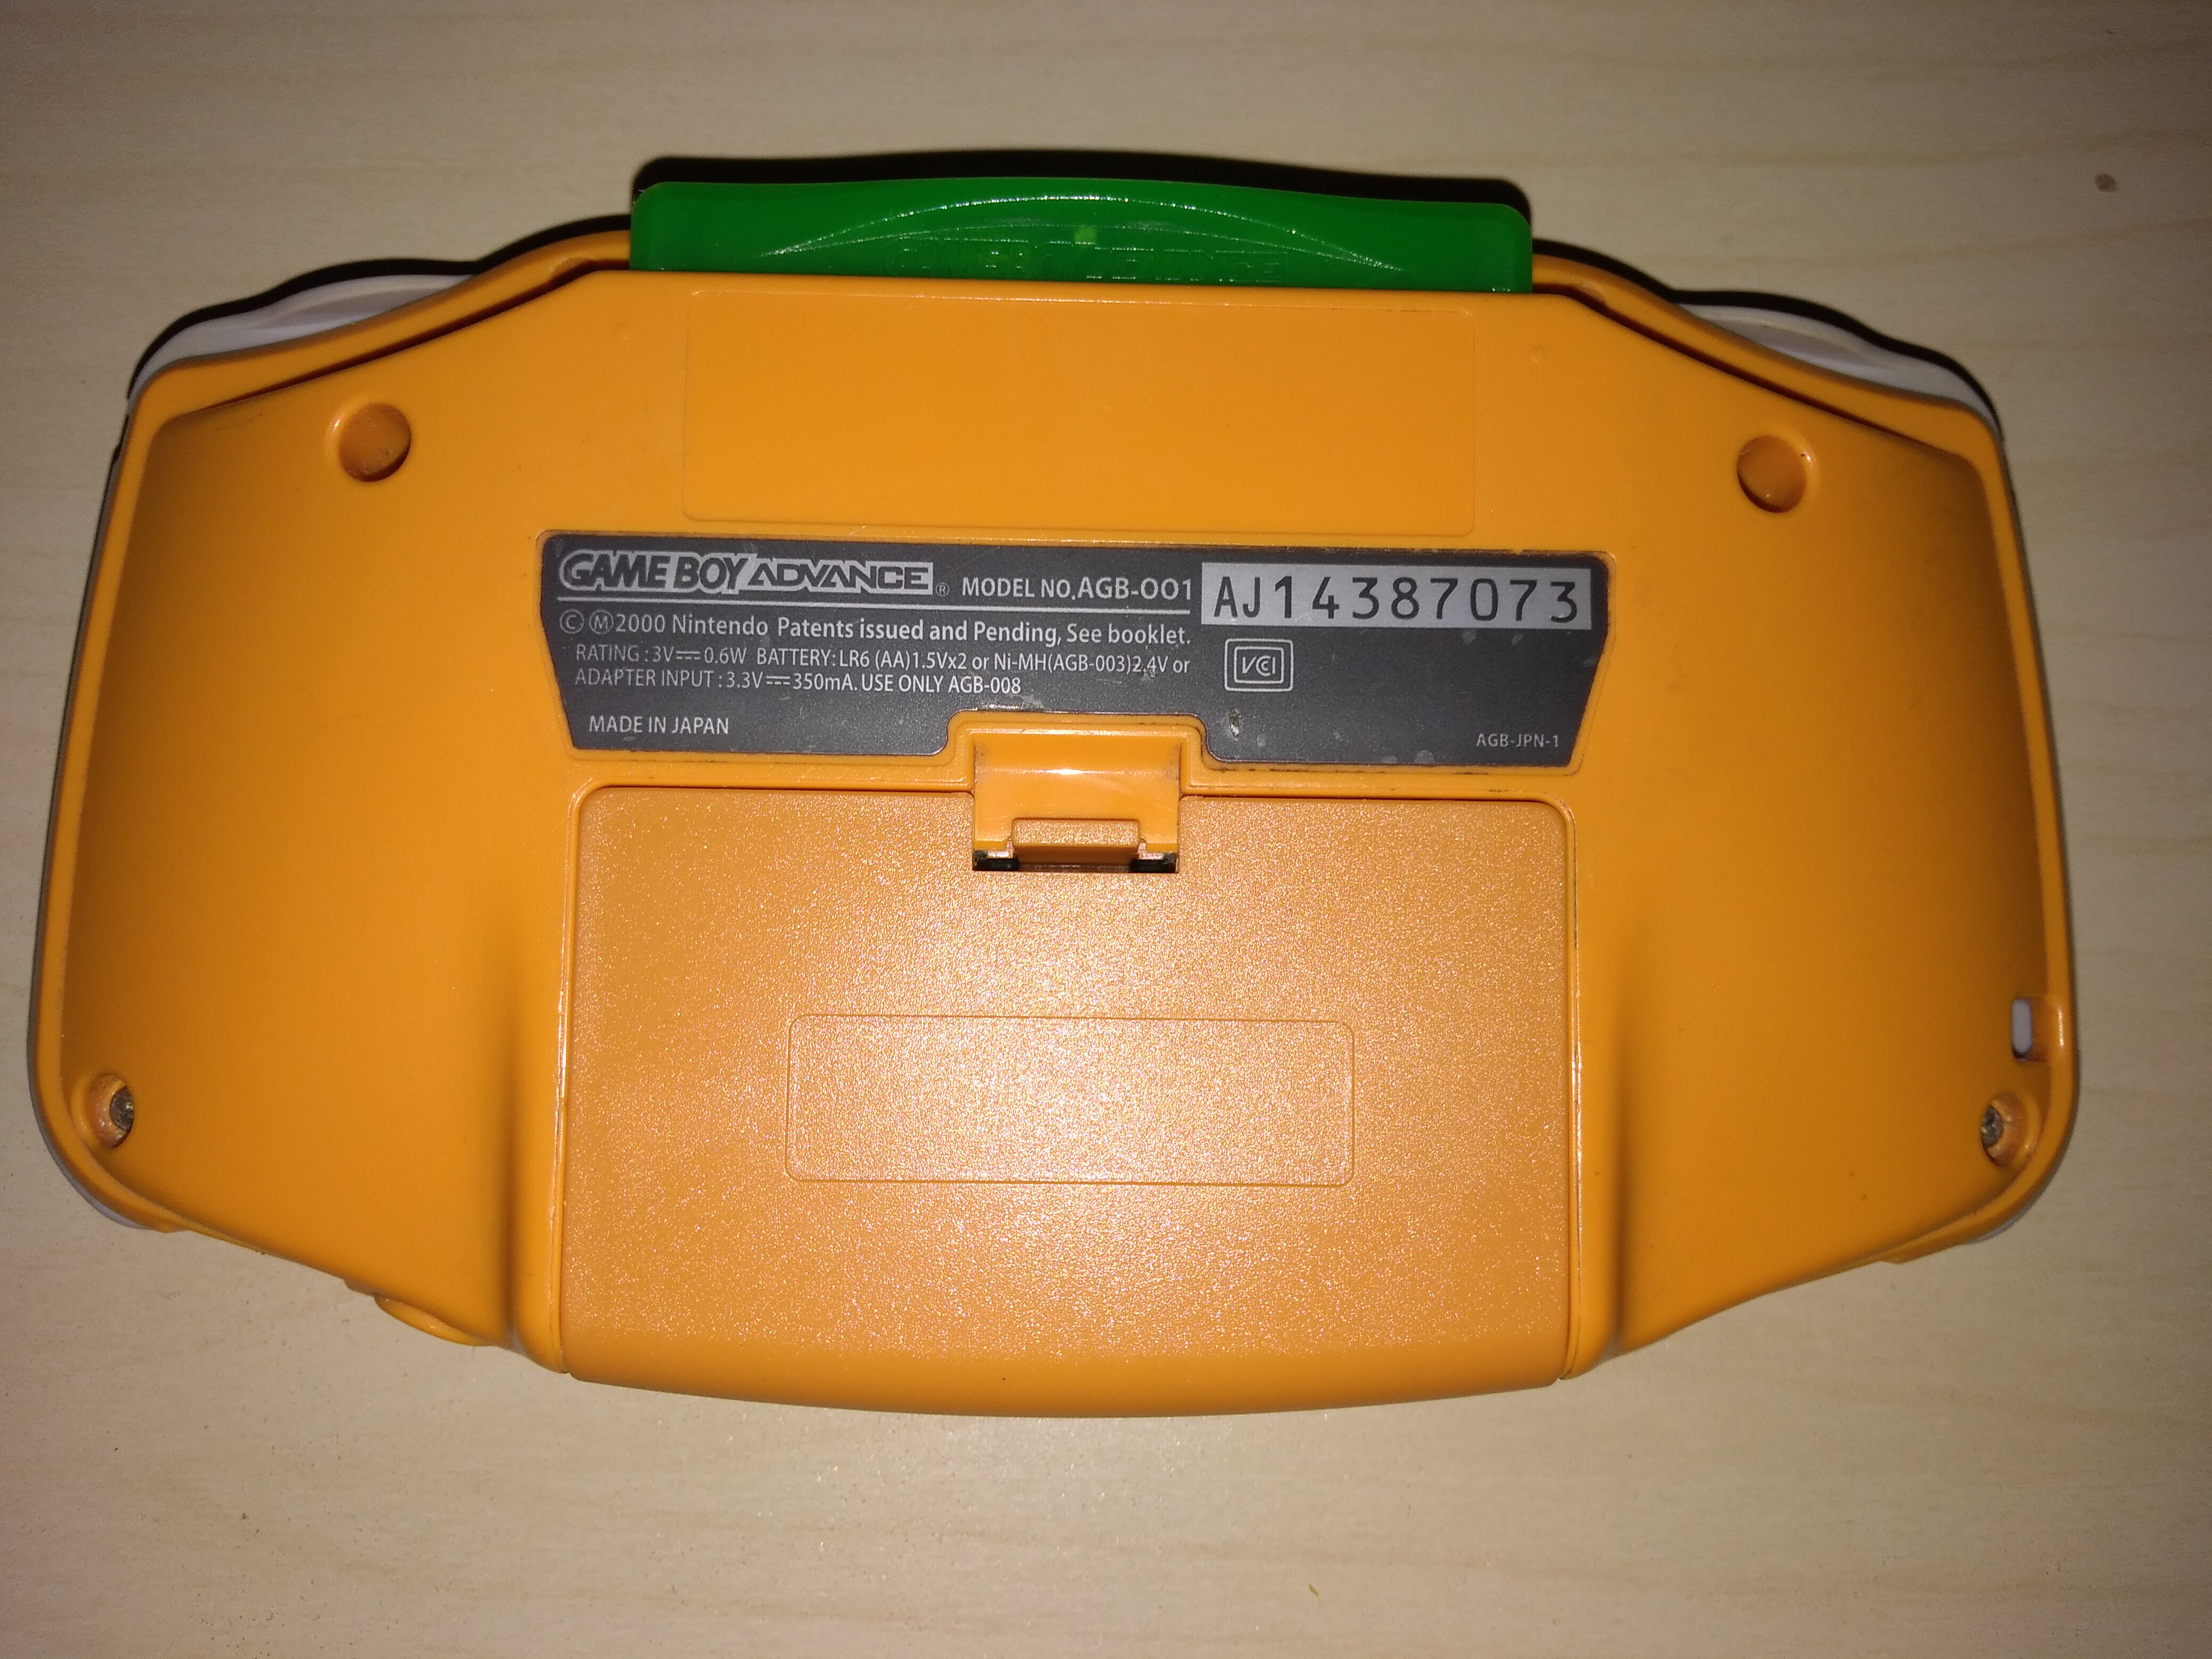
And here's the back with a new battery cover.
It may not have been a super complex and fancy fix, but I'm still very proud of myself.
Churtothechur
Well looks like I'm playing pokemon again. Chur bro nice one
courier31
Very nice.
KillingTheJoke12
Did the same with my original NES Advantage controller. I had forgotten about the grape soda I spilled on it 25 years ago.
GameboyMicro
I want to give mine a good clean too, but I don't want to take off the rubber feet...
KillingTheJoke12
Yeah, they don't go back on right. Maybe check google for some industrial strength adhesive