
Captain77

858

48

1
The project begins

Firstly I wanted to make something epic for my wife for Christmas.
This is my first attempt at trying to make a Arcade Machine.
I had a Raspberry pi just lying around at home, so I had the bright idea of using that to power it, After researching building a machine I got started.
I decided I didn't need the old school depth, so I made it from 1800mm* 450mm * 16mm MDF.
the 16mm makes it really sturdy.
I bolted both the side together in a vain attempt to keep both the sides the same pattern.
Jigsaw the sides

After jig sawing the sides I found the jigsaw wasn't the greatest, both the sides weren't the same size. so I had to rasp and sand them both back till they were as close to possible as I could make it.
Grooves

I routed in some grooves so I can add some edging (T moulding) just as a finish I thought I might make it look better.
Im not great at using routers, next time I would most likely try using a router table (For which I have one), but in this case I thought it would be easier to use it free hand, boy was I wrong.
Slates in place

This I used to add support to the shelf's
some 45 degree cuts

I had to make a special jig for my table say so I could cut lengths greater the 400mm. Something they dont explain when you look at a you beaut Triton work bench.
Putting on the supports

I added slats to help reinforce the top middle and foots. Then I glued and screwed each part in, I used two screws on each side per piece.
I knew my TV was 771mm wide so I cut all the piece to suit that.
Different View

Standing up

I wanted to test to see how strong it was when I stood it up. it was very sturdy

added an extra support part.

As you can see in the pic I pre drilled alot of the holes so I could come along later and just drill them to the front and back to make it easier for me. It also makes it easier rather then changing drill bit with screw bit all the time.
With the front on
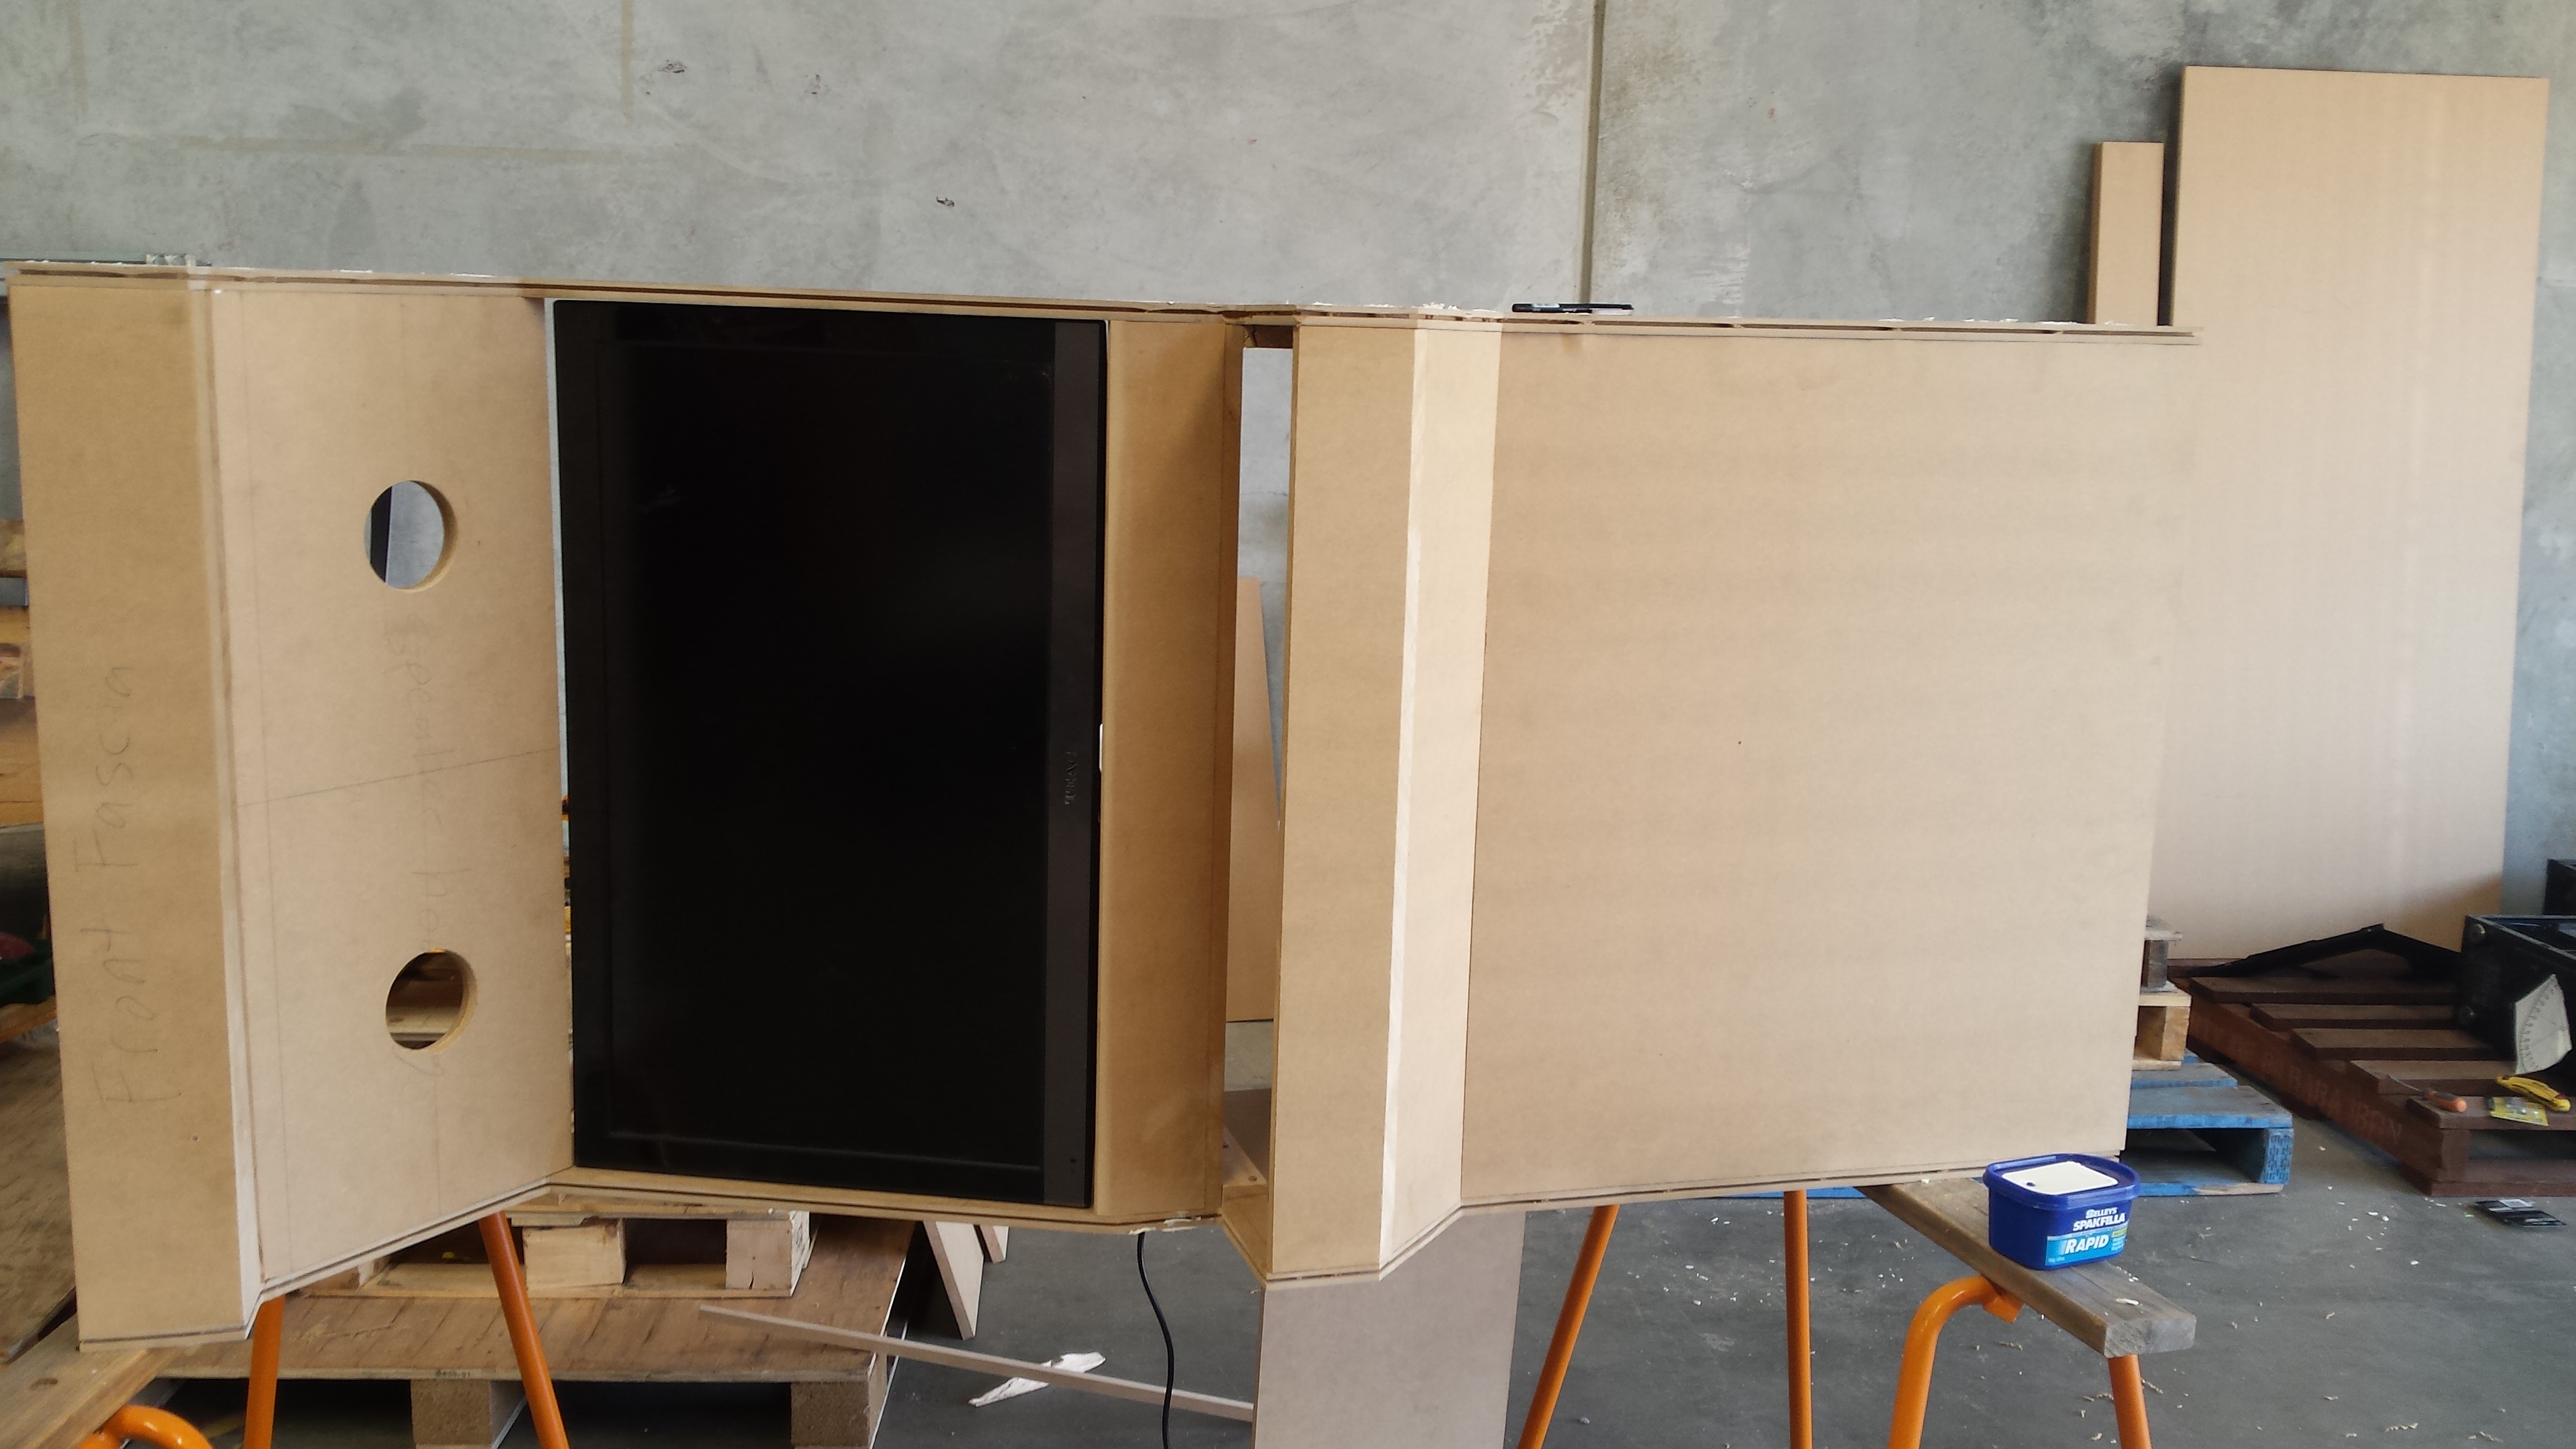
I skipped a few photos of mounting the front and the TV, TV was super easy, all I did was get the visa mounts lined up with some MDF that was the width of the cabinet, mounted the TV to the wood, then screwed the wood to the cabinet.
Drilled the holes for the speakers as well. just little 40 watt stand speakers
It boots up yeah

MDF primmer applied

I wanted to make sure I got a signal from the TV to the Pi.
California games

Got a signal so I decided to try running a game, ran great
Placing the joystick controls

I wanted to see where I could place the joystick and buttons and it how it would work
You can see also where I sanded the edges because of my terrible placing and lining up of the wood. Oh well at least I have learnt what I can do for next time.
I also tried to see if I could Spackle the front just to make the seems a bit more flush
rough placement of buttons and joystick.


Drilling the holes for the Joystick Housing

Once I was happy with where I wanted the joystick and button holes I got to work. I discovered my drill press wouldnt allow me to drill in the place I wanted, so to the corded drill.
Joysticks control area built

I built an extra bit just to extend joysticks a bit. I dont know what they would call this

The joysticks I screwed in just to make it a pain in the butt for me

Reprimmed the edges again. 2nd coat of primmer. Sanding the first coat is very important.

Different view
Idea for the Decals

This is just getting some ideas for where to paint stuff
Everything primed

Getting ready to paint, I was going to paint it in Tardis Blue but I ran out of time.

Everything all together, Notice the screws on the joystick pad, I was going to put everything together and screw it to the unit.
I then decided to use hinges from the front instead, so I could always add or modify the electrics If I wanted to.

All the ground wires installed,
Spent the day with Strippers.

Because the wire that came with the buttons and joysticks didn't reach the USB controller so I spliced the wires, I wanted to rewire all the wires with fresh clamps and pins, but I couldnt find the correct Pins at my local Jaycar or Altronics
My terrible Solder job.

I Haven't used a soldering iron in about 20 years. I dont need to solder now a days everything now is just board swapped.
Electric Tape

My tempory electrical tape solution, i will be putting on heat shrink later on. For which I can get heaps of it from my local CNW or I believe even bunning's supplys it.

Playing some doom with everything installed

Playing some Super Mario. I moved the cabinet into my office so I could work and play games at the same time.
First coat of Black on

Its starting to take shape. Moved the machine to a mates house so we could paint it all before I gave it to the wife for Christmas
Measuring the perspex

Measuring out the perspexs for the front screen
Measure twice cut once

My buddy measuring out everything so we could cut it all out

Taping out where the black paint was going to go on the perspexs to cover the TV

Testing the black paint to make sure that it wouldn't look crap on the perspex.
Sorry for the crap photo. my camera has started running in to problems with focusing, as you can gather from a lot of the photos above.

we took all the buttons off while we painted the black, so this is me re fitting all the microswitchs back on to the buttons.
I added a hinge to the joystick housing to make it easier to lift up and do changes if I wanted to.

making sure all the buttons are installed and not loose
Installing the T-Moulding.

When I routed the grove for the t-moulding it was too big so we had to wedge rubber in it and then glue to help stick it all in place
Ground wires installed

Nearly all done


All the active wires installed and cable tied together to make sure its sort of tidy, a big sort of.

2nd coat of black paint on. After sanding back the primer.
Decals installed, This is about 9 O'clock on Christmas day.

We printed out the pictures we wanted to use, the plan was originally to hand paint the whole thing with different characters.
Decals installed, This is about 9 O'clock on Christmas day.

Tried adding as many old school popular game as we could.
My Wife checking out her Xmas present.

My wife is in the black and white dress. My Mother in-law was looking as well.
Playing some Galaga

My wife had a Gameboy growing up, so I added a few gameboy games (well only added 6 games)
The rest is all Nes, Snes and arcade games.

this is a side on view of some of the decals.

Sitting down getting ready to play with her Christmas present.
Best Christmas present, I win the award for greatest present ever.
I never did anything like this before. I am rather proud of what I have achieved. I have learnt heaps about woodworking, for which I still have heaps more to learn, Now that I have done one I can say its really really easy.
I just went and got my hands dirty and gave it a shot.
$100 for the wood
$100 for the joystick and buttons
$50 for the T-moulding
$200 for the 32" TV, you know we use metric here in Australia I have never understood why we refer to TV's in imperial its silly but we just do. Everything else we use metric.
RiceCatBOI
That is really cool!
dentex
Awesome. Mind blowing.
awesomeojen
You are a very good husband
SuperDiabetus
Thats pretty damn nice OP.
Captain77
Thanks. Put lots of effort.