
NightlyReaper

7135

197

3

Above is an image from a PC game based on Battletech.
Battletech is a tabletop game of armored mech combat which has spawned many variants and PC games over the decades since it was first introduced. (http://battletechgame.com/)
"In the 31st Century, mankind is once again at war. The battlefields of the future are dominated by huge robotic war machines known as BattleMechs. Piloting these awesome weapons of war are men and women, the elite of the elite, known as MechWarriors."
At some point a few years ago... I decided to build a BattleMech simulator... This is a photo essay about that process.
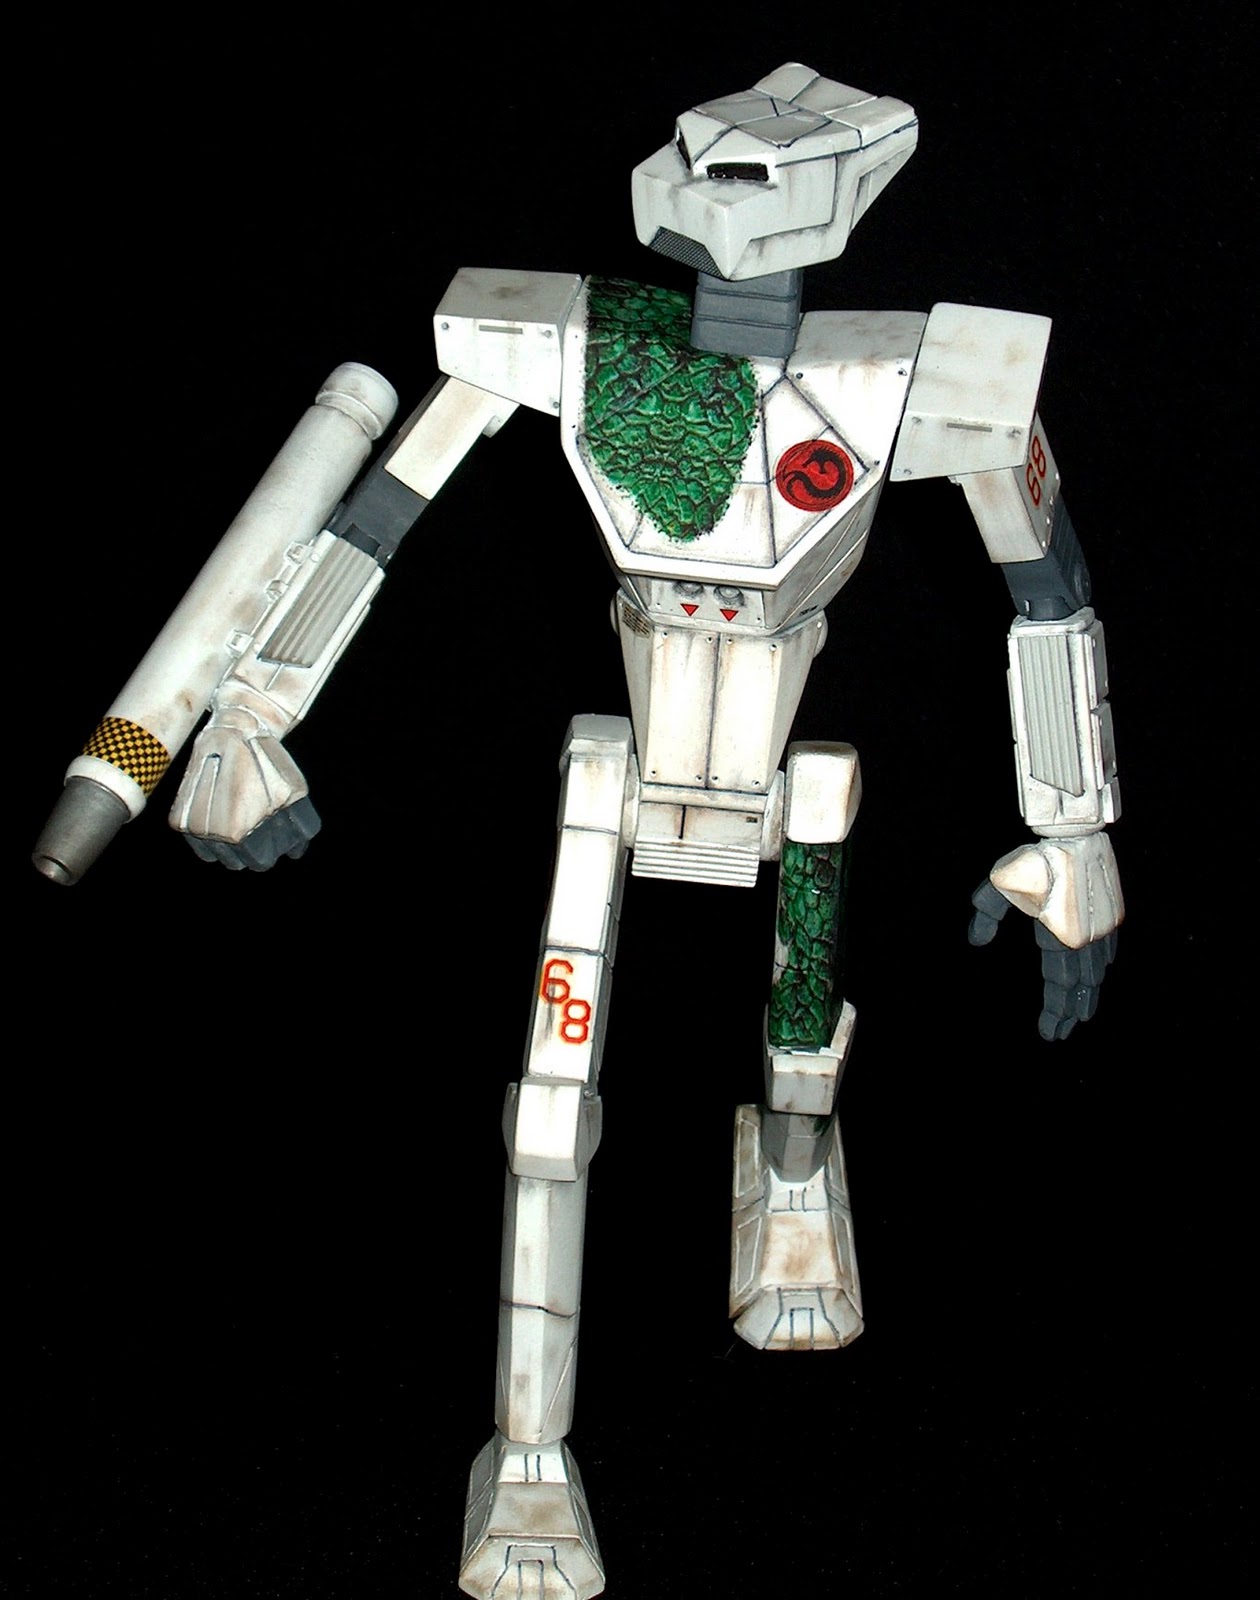
A plastic kit model of a Panther battlemech. http://www.sarna.net/wiki/Panther

Initial Inspiration from Sarna.net

Initial concept sketch I shared with my son.

Concept "Blueprints"

Sneak Preview of finished product.

OK. a little more sneak peak of semi-finished product.

a peek into the interior (recognize the desktop image?)

But what is all this stuff?

What does it do?

Inside.

HOW did we get here? Well, let's go back about a year....

My neighbor was building a workbench, but it didn't pan out for him. I commandeered his discarded materials. Note the subwoofer box hanging out by the door to my shop.

Initial idea and test fitting....


Shelf was originally an IKEA "Lack" coffee table which LACKED structural integrity causing one of my friends to donate it to the curb, therefore to me.

Note subwoofer is a full-range box with piezo horns.

Son for scale.

PC holding up sub to see where things need to be fitted.

Screws are driven into sub box from each side, making it a structural member.

Monitor is a Visio 19" and is small for a reason.

Can see the full screen between the sticks....

can get full drive from the horns in the sub box...

allows for routing wires to either side of screen...

Monitor is small, but....

it's narrow size allows the sticks from the XBOX VT Controller to miss it when controls are tipped for ingress/egress.

Yeah, the monitor has been upgraded to a 24 since these pics were taken and it's still narrow enough to see between the sticks,

But you can no longer flip the controls like this without holding the sticks apart.

This was a test fit.

all this will get rearranged later...

During test fit, had to HOLD VT Controller in place.

Note chair casters in 2x4's nailed to Video rocker. Ghetto Mech.

Note car stereo on shelf in background. Will one day be commandeered to serve in this mech, and then will be FRIED by an errant PC power supply.

initial mouse concept was wireless. That didn't last long.

gluing the top pieces together.

Clampy clamps

My old trusty triangle and enough sawdust in the air to make a haze.

starting to take shape.

Steel Battalion aficionados are CRINGING at the amount of sawdust and debris on those expensive pedals.

I do understand that this is shoddy build quality.

measuring for fit, width, and angle needed.

cutting the angles for the hatch.

hatch assembly... I think that half my caloric intake for that year must have come from sawdust, cigarettes, and wood glue fumes.

flourescent lights and surround speakers in the hatch.

top construction done mostly via wood glue and biscuit joins. Could have been better, but the sawdust and glue particle board scraps (old bookcases and entertainment centers) that this thing was built from were barely able to be referred to as "wood". Someday, when I am sure it will not be moved again, and I have a concrete floor under it, I will rebuild the entire thing using 3/4" MDF. It weighs about 500 pounds with my fat ass sitting in it and that's about my limit for second-floor shenanigans.

original sound was via an old Pioneer stereo. It didn't last long... Note the X-box. Can't have Steel Battalion if you don't have an X-Box. https://en.wikipedia.org/wiki/Steel_Battalion

Testing for clearance, fitting side framing where it will mate up with the sides.

More gluing operations.

marks there the biscuit joins went in.


Sawdust makes for dusty conditions.

armrests are made from old dresser drawers, sawn to shape.

Razor Arctosa Keyboard has square cutouts top and bottom which allowed screws to hold it in place.

Gluing reinforcements onto the hatch for solidity.


REALLY starting to take shape.

NOT professional grade workmanship in any measure of the word.

These chains have been replaced by struts in the modern age.

Seat was initially a video rocker, mounted on casters, bolted to the back panel. casters roll in channels on the base.

Somewhat snug.


incursion by local deer

This piece of tempered glass would have cost $800 to replace, so it eventually got replaced by plywood.

Measuring for the bracing.

Cable management blocks inside.


locating saloon doors for the lower jaw.

two pc's one for older games, one for newer games. KVM switches between. Pedals nestle between. Makes for a tight footwell.

The FACE of death.

Notice plastic sheeting keeping winter air out of shop.

disassembled for painting.


20+ years in the Navy. Haze Gray is the only way to go.

Battletech TRIVIA: The Panther is a Draconis Combine Mech. Both the 3rd Dieron Regulars and the 1st and 2nd Genyosha use a uniformly grey color scheme, but I don't know that I have nailed down this particular Mech's fictional pedigree.

"Hood Scoop" covers holes for intake fans to cool pilot.

Good picture of the tracks for the chair.
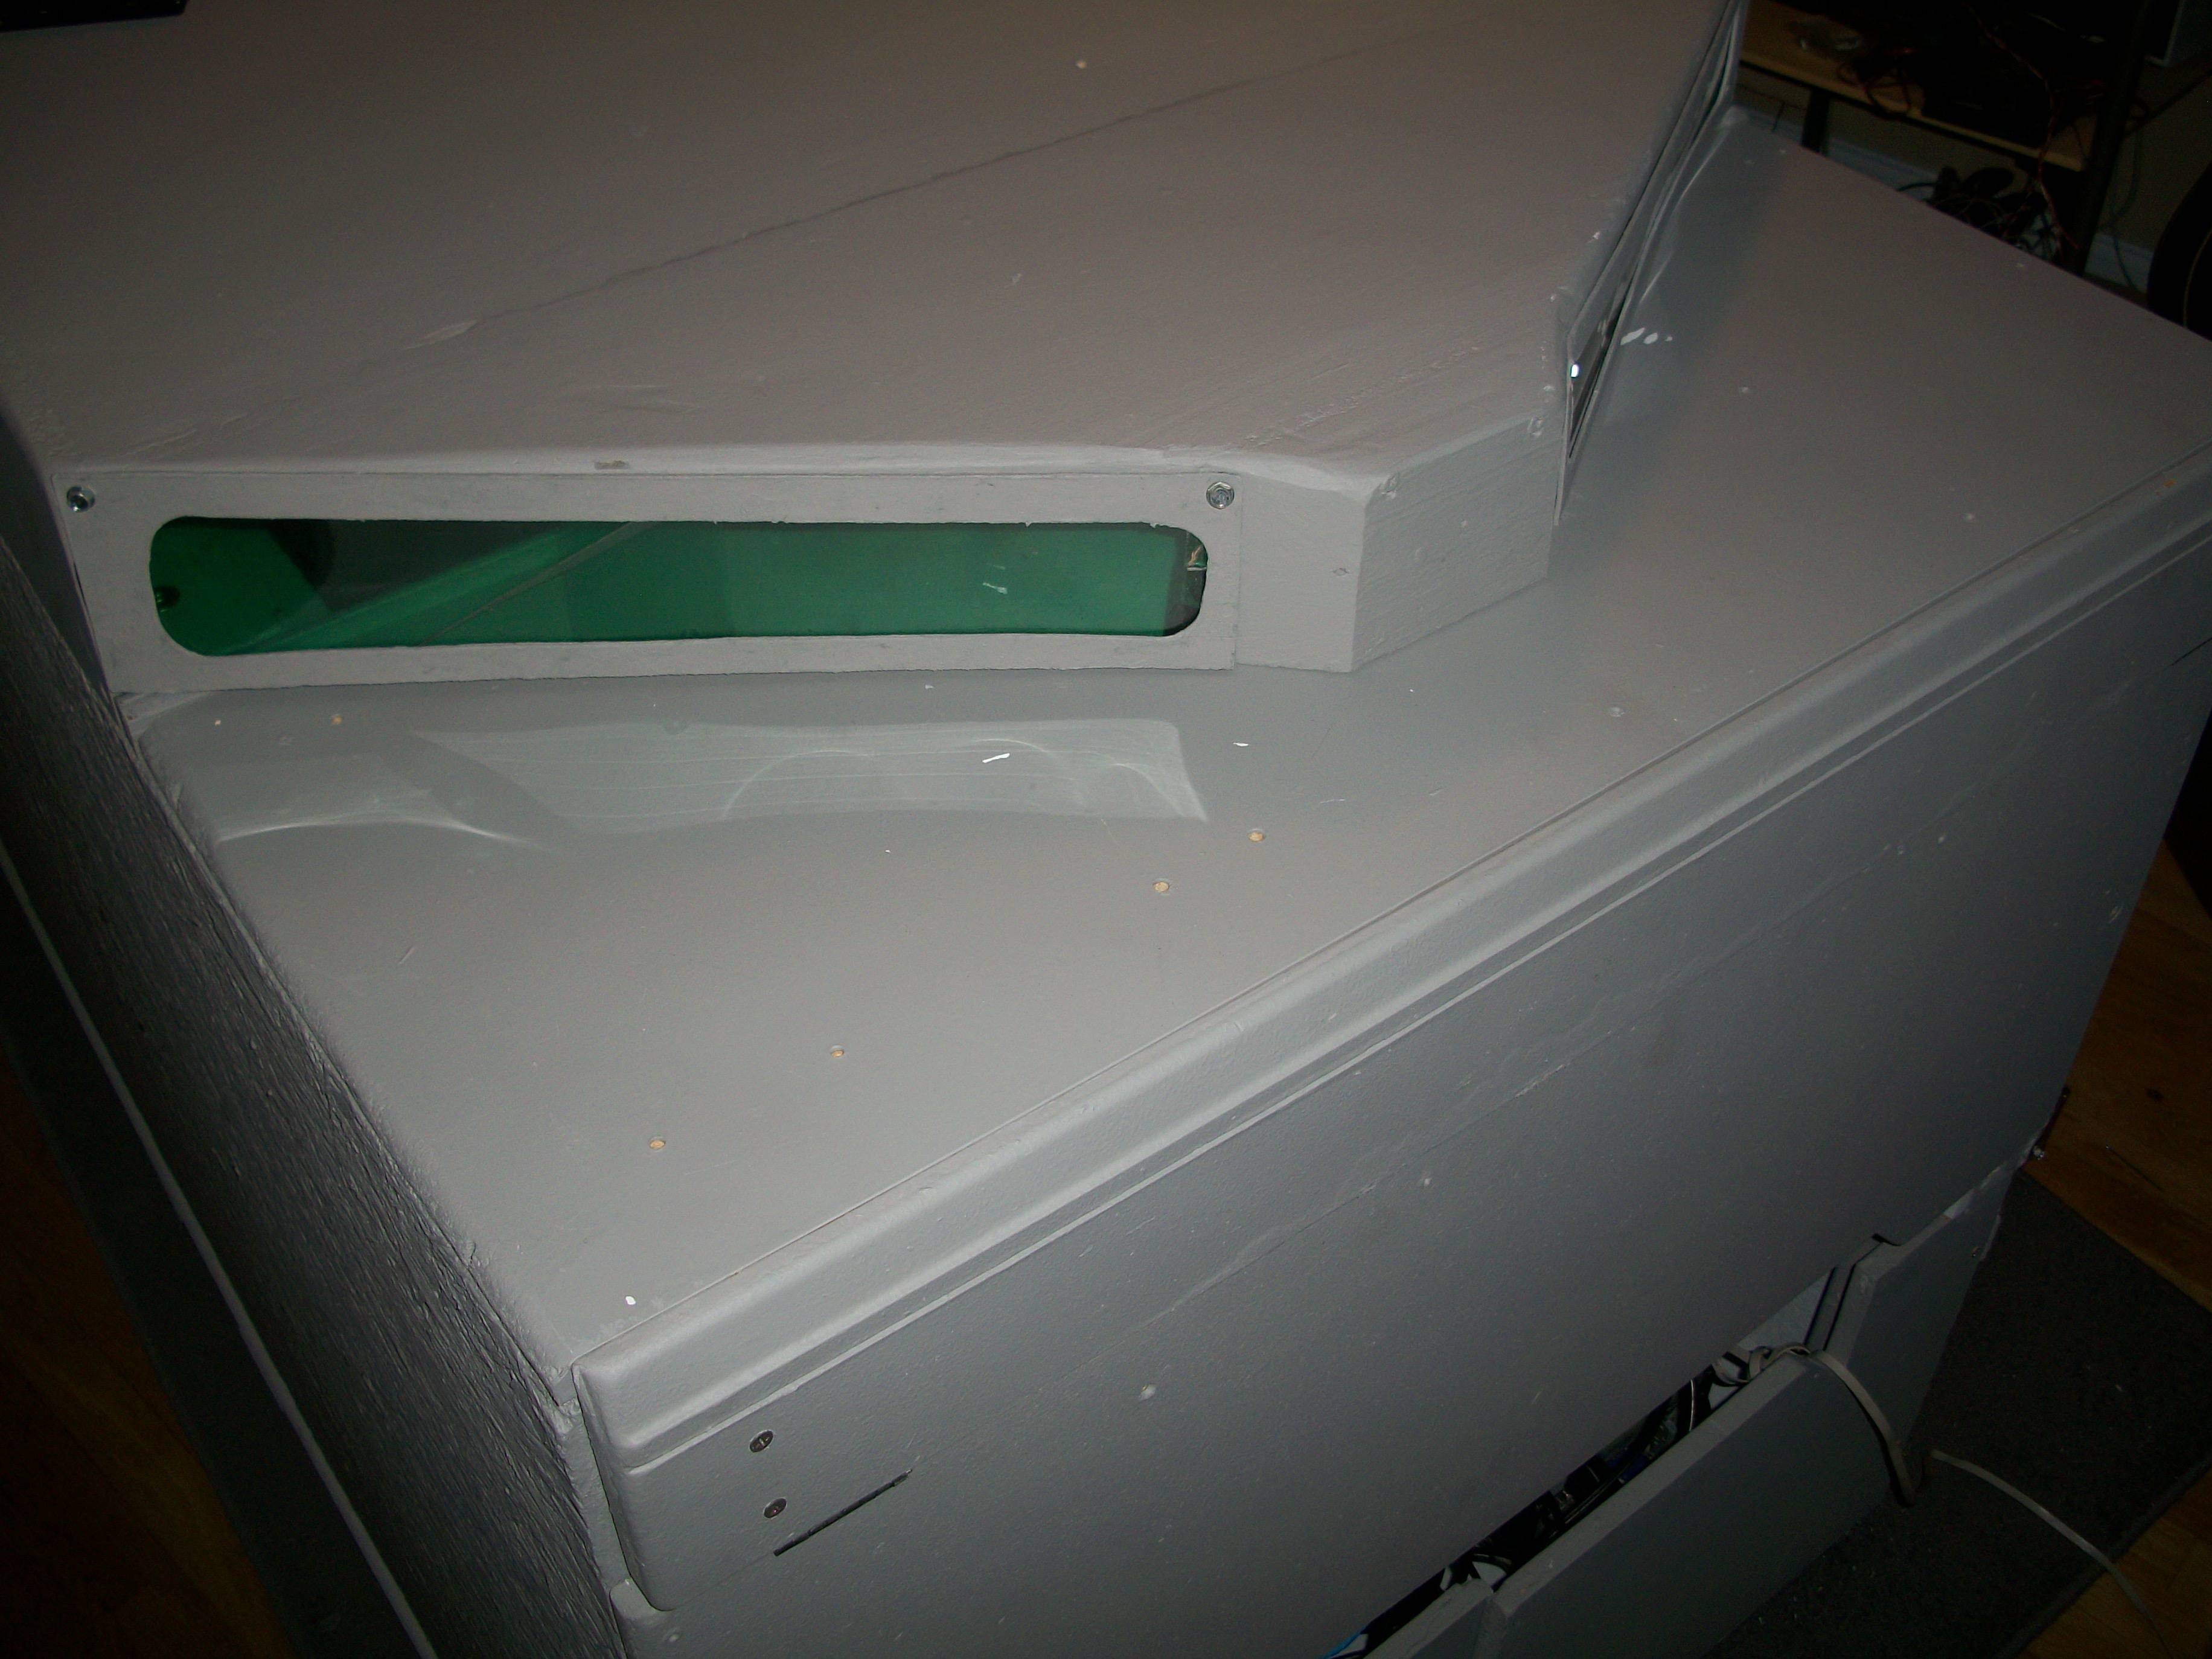
Plastic sheeting used for eyes.

Too bad it had to face into the corner in this room.

Looks like it's chewing on a mouthful of cables.

Air gap at front of scoop allows insertion of compressed air nozzle for fan cleaning.

Great picture of extraneous screw holes created during imprecise assembly. Yay me.
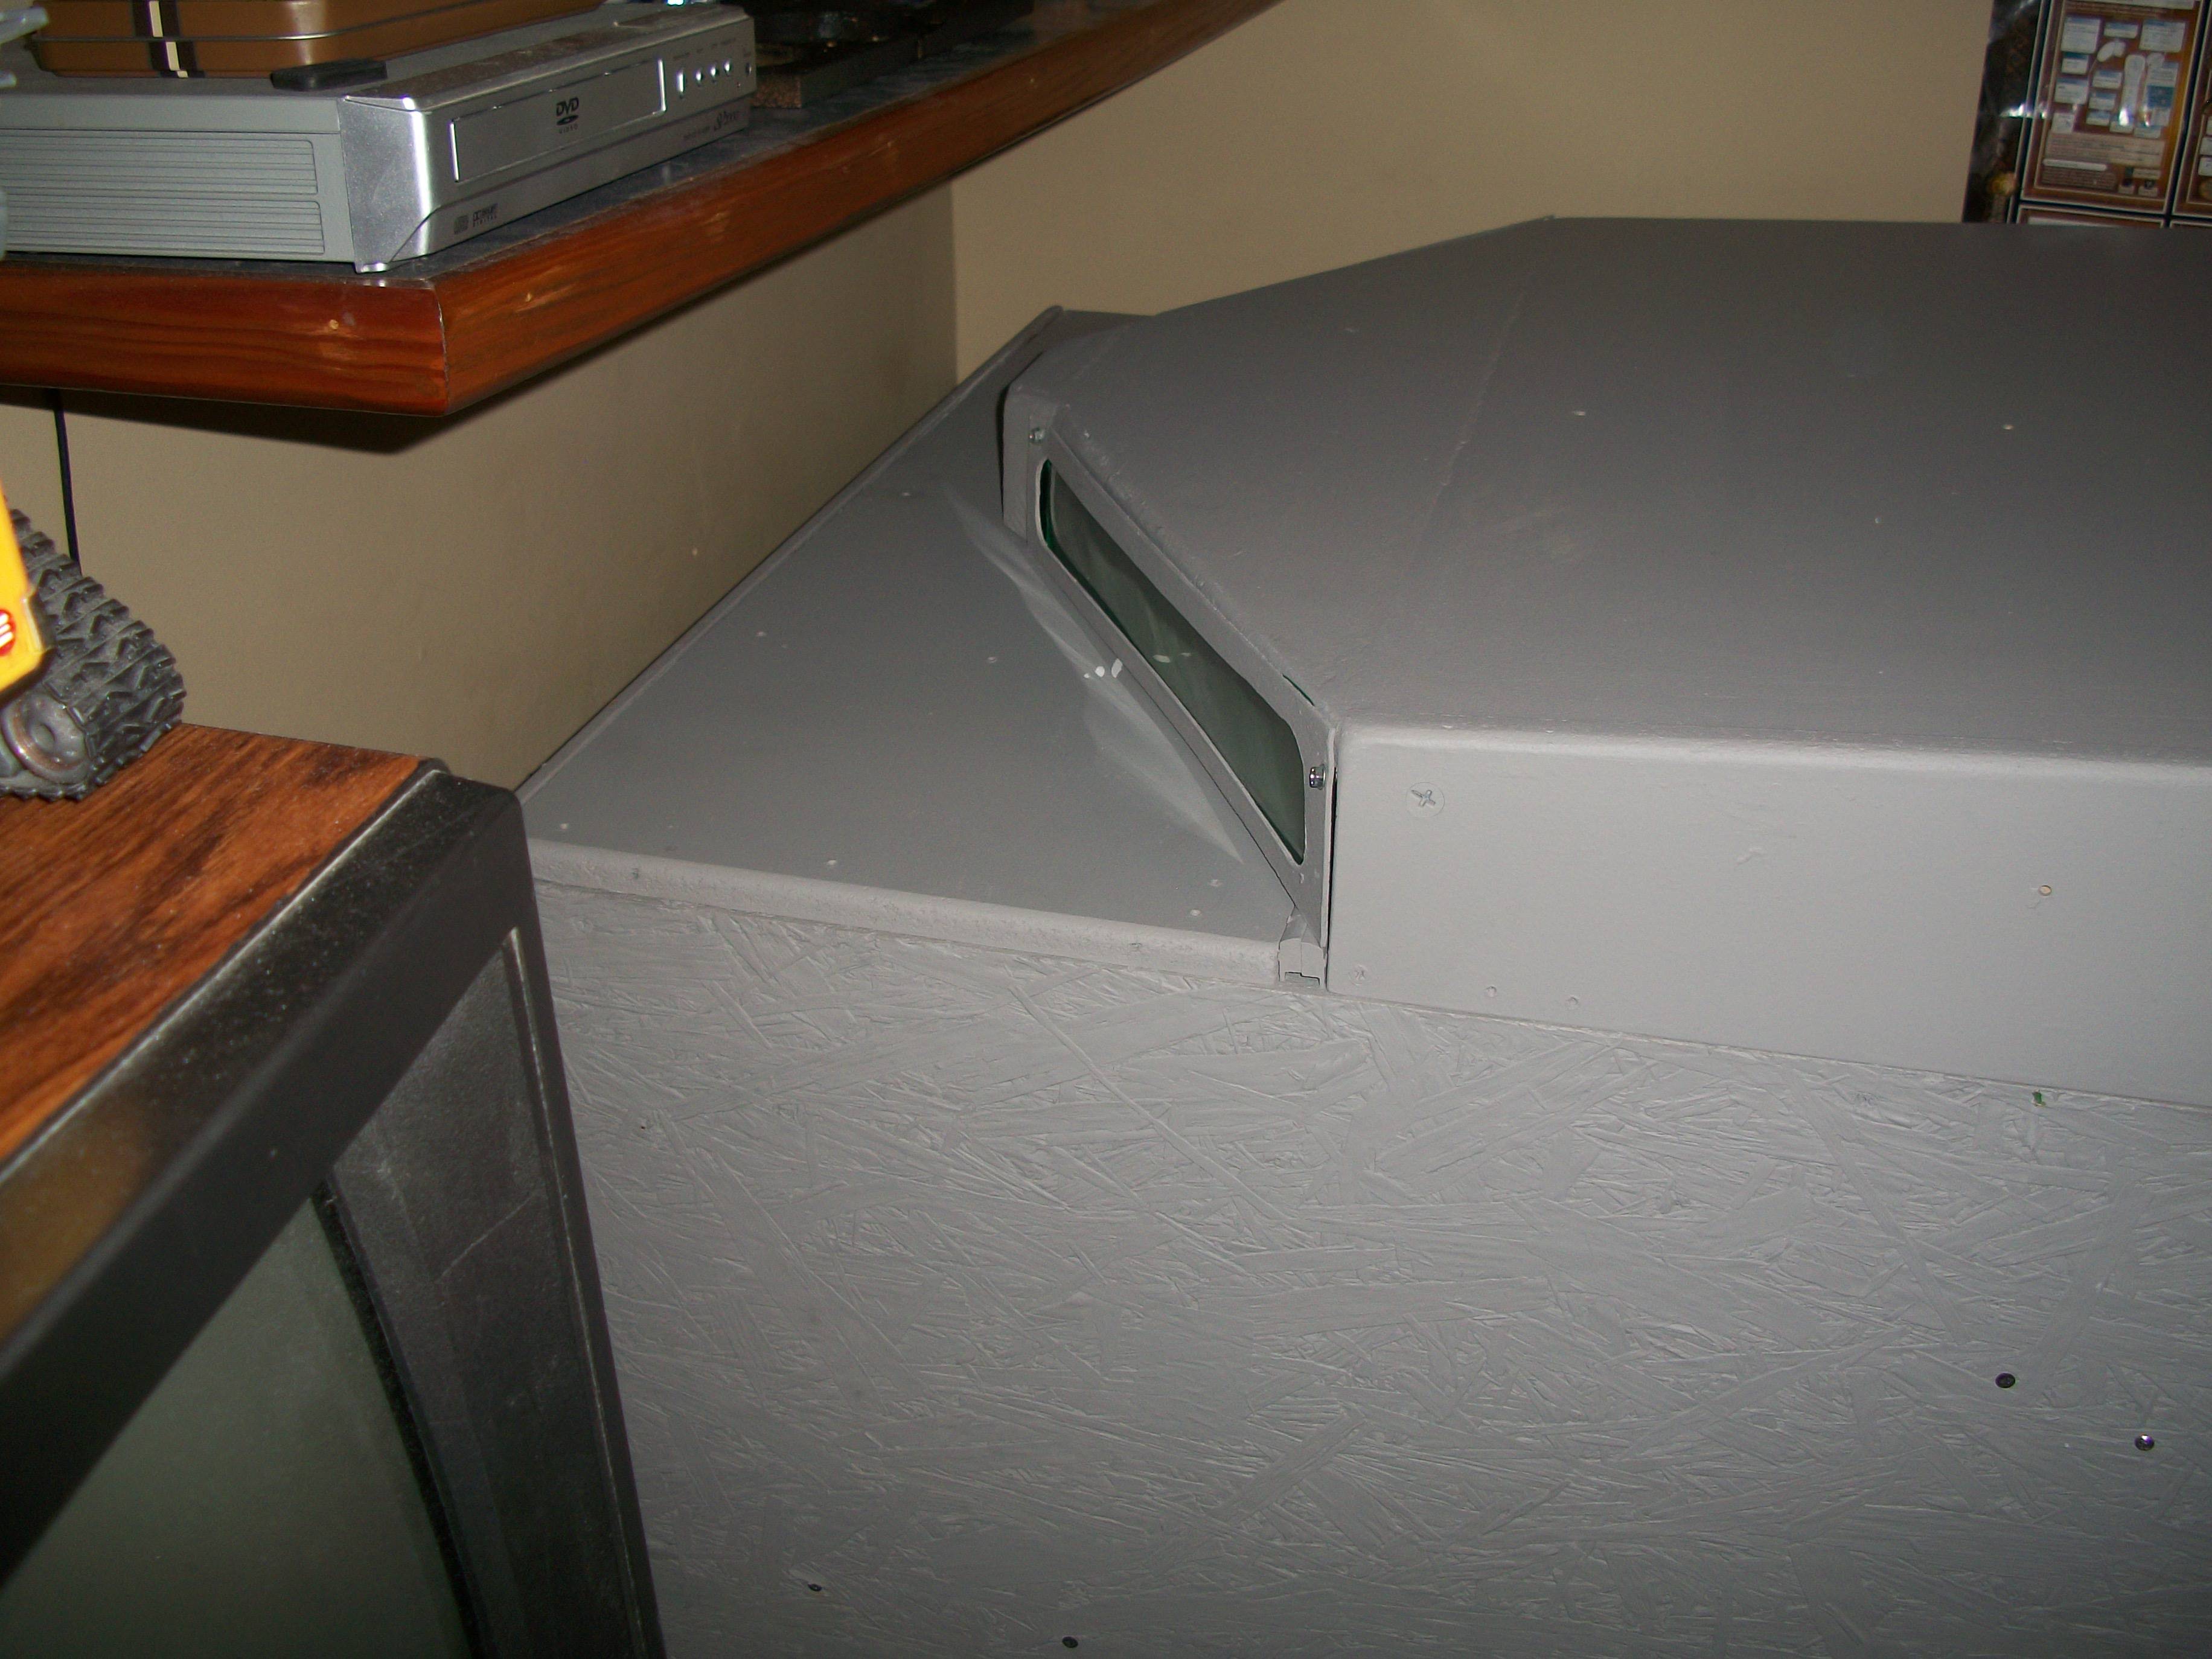
Eye frames created from HD pasteboard.

only about 4" clearance in corner.

Pedestal base takes up the exact footprint of a twin-bed mattress (was once used under box spring)

Fit and finish is not perfect. It was built from SCRAP.

much work yet to be done.

Hatch not QUITE level with TOP. I'm OK with this.

DO NOT LIKE how this gap turned out.

Finish already taking a beating... signs of modifications yet to come.

Chains would eventually be replaced with struts from my Xterra.

Those little brown boxes in the corners would eventually become front tweeter holders.

Small black thing on left cockpit wall is a mounting point for the clip that holds the keyboard/sticks in UP position which they are tilted out of the way.

The four bolts in the back attach to the video rocket that was the original (uncomfortable) chair.


water bottle holder functions holds remotes for TV and XBOX DVD player when not in use holding water bottles.

Note the addition of the Logitech G13 as well as the cradle for my Motorola Milestone 3G phone (newish at the time)

Cover for video rocker seat is an old woodland camo rucksack cover from my days in Naval Coastal Warfare.

It's nice in here, but too grey and blank. More changes to come.

A snug but comfy cockpit.

The speaker grilles to the left and right of the screen were just stretchy black school-book covers stretched over some packing styrofoam pieces to both conceal the gaping holes to either side of the monitor AND to allow the sound from the Sub box flow unimpeded.


Note location of remote controls in the overhead in this pic. Those would be moved and that whole area redesigned more than once.


Mechwarrior online in it's earliest days....


Switch panel controls lights and master power. Pioneer stereo died and was replaced by a 12v power supply from an old PC, and audio duties fell to an old knock-off brand double-DIN car stereo.

Logitech G13 aux gaming keypad.


View through the "scoop" before fans installed.

Dark

Let there be light.

Flourescent light fixture with green plastic covering the bulbs.

Lousy pic of PC fan ventilation.

Behind the monitor.

behind the sub.


beginning of the wiring...

NOT elegant, but functional and vibration resistant. connections were soldered where needed.

Clock lighting matches stereo matches flourescent bulbs matches XBox. It's GREEN in here.


8 port switch.


See those brown pasteboard things...They were shipping blocks from an old speaker or something. Remember them.

Interior panel mockups... Bottle caps, pasteboard, thin plywood, Laser-printed panels. Red buttons are sliced crayons. It's all just non-functional set-dressing.

But this is too big a space to leave blank.

Design inspired by my favorite aircraft, The McDonnell-Douglas F-4 Phantom II: Proof that if you mounted two General Electric J79 axial-flow turbojet engines on an apartment building, it could fly.

large caged buttons made from sectioned broomstick.

caged buttons get glued INSIDE inverted bottle caps.
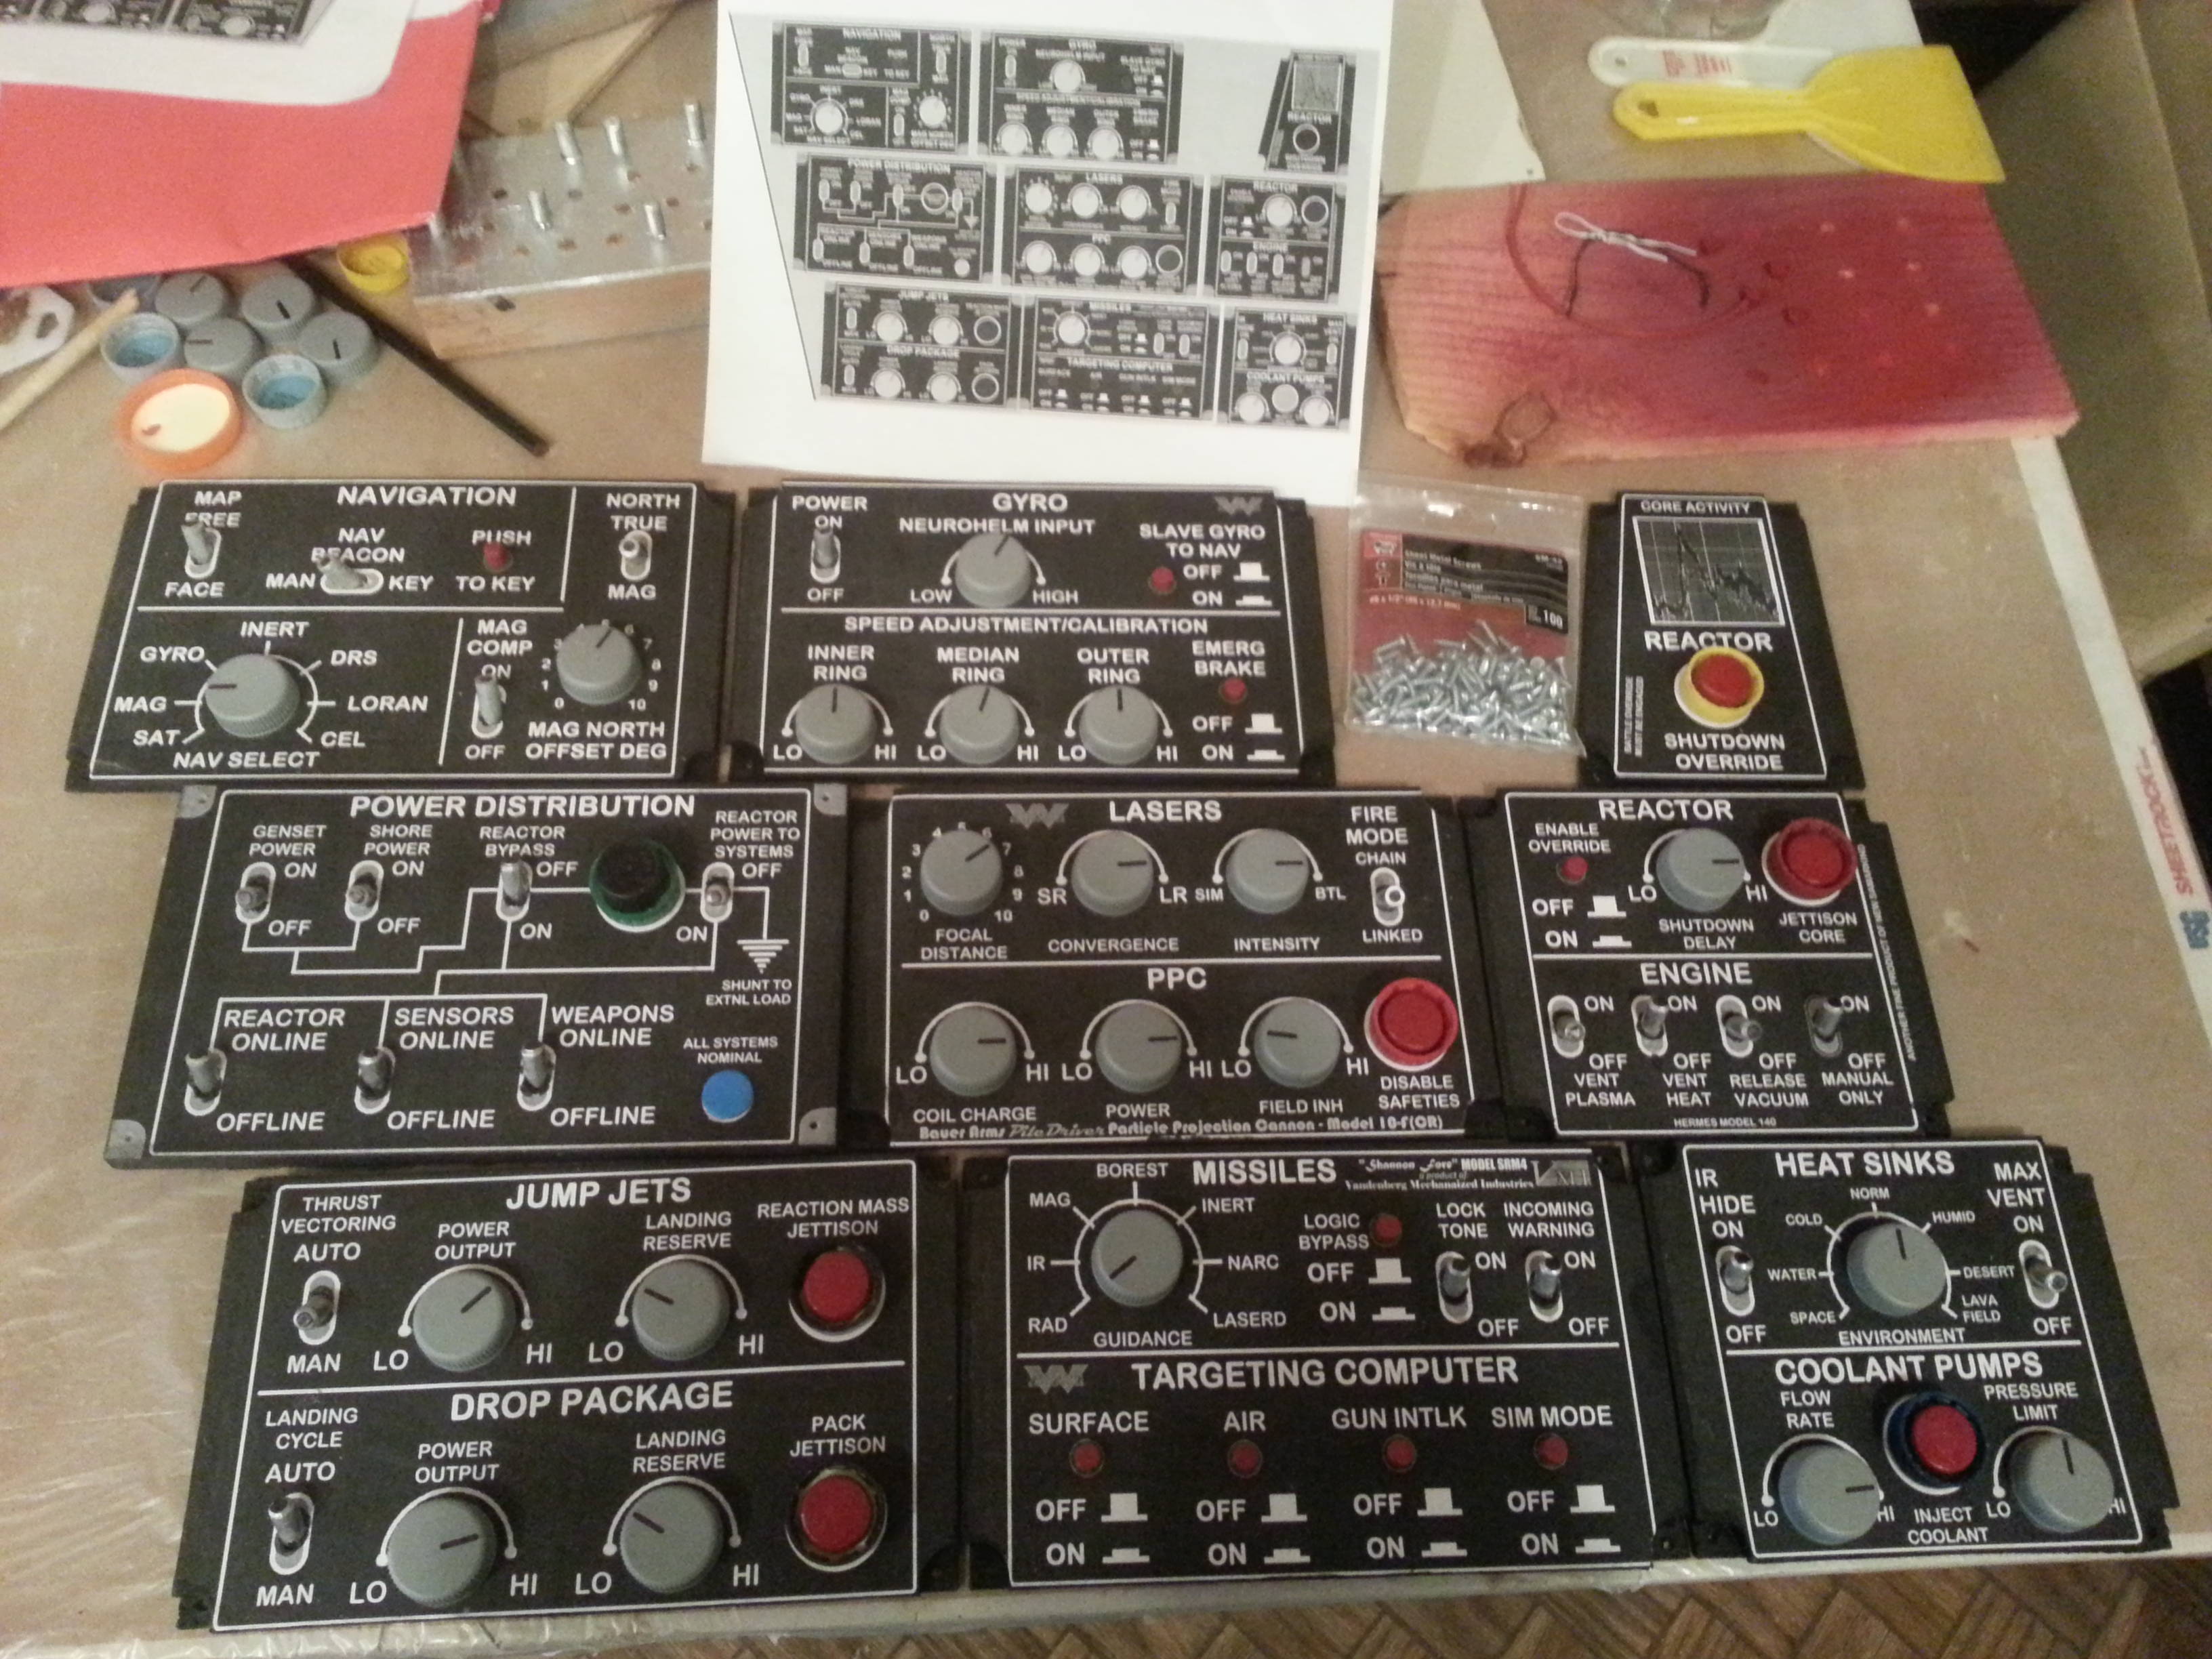
Note the detailed plans. PORT SIDE

STARBOARD SIDE

some details not yet in place.

BOTH.

note silver switches on block getting ready for black tip touchup.

Silver switches (fake) installed.

Switches made of sliced pencils, rounded by dremel, painted silver with black tips.

Still some details missing.

These were made from sheets of 1/8" MDF sheet, cut to shape, the corners rounded out by a dremel, covered with laser-printed sheets, holes for switches drilled, super heavy (classic door-panel grade) pasteboard backing (w/screwholes in the pasteboard).

While I would love to rewrite MechWarrior 4 (Firestorm) and make some of these switches/dials functional, there is no way that I could afford that many pots and DPDT switches at the time this was built, so it's all just set dressing.

But it is set dressing with an attention to detail that I prided myself on.

Adding some color via printed labels and decals. I fabricated and designed all these from scratch, inspired by the books and games as to what controls one would expect to find in a battlemech. There are LOTS.

Alshain Weapons is a wholly owned subsidiary/partner operator of Wakizashi Enterprises who manufactured the Panther PNT-9R (and other models) on planet Alshain.

Miniature black box is a matchbook with decals.

These could stand to be reprinted and new photos taken.
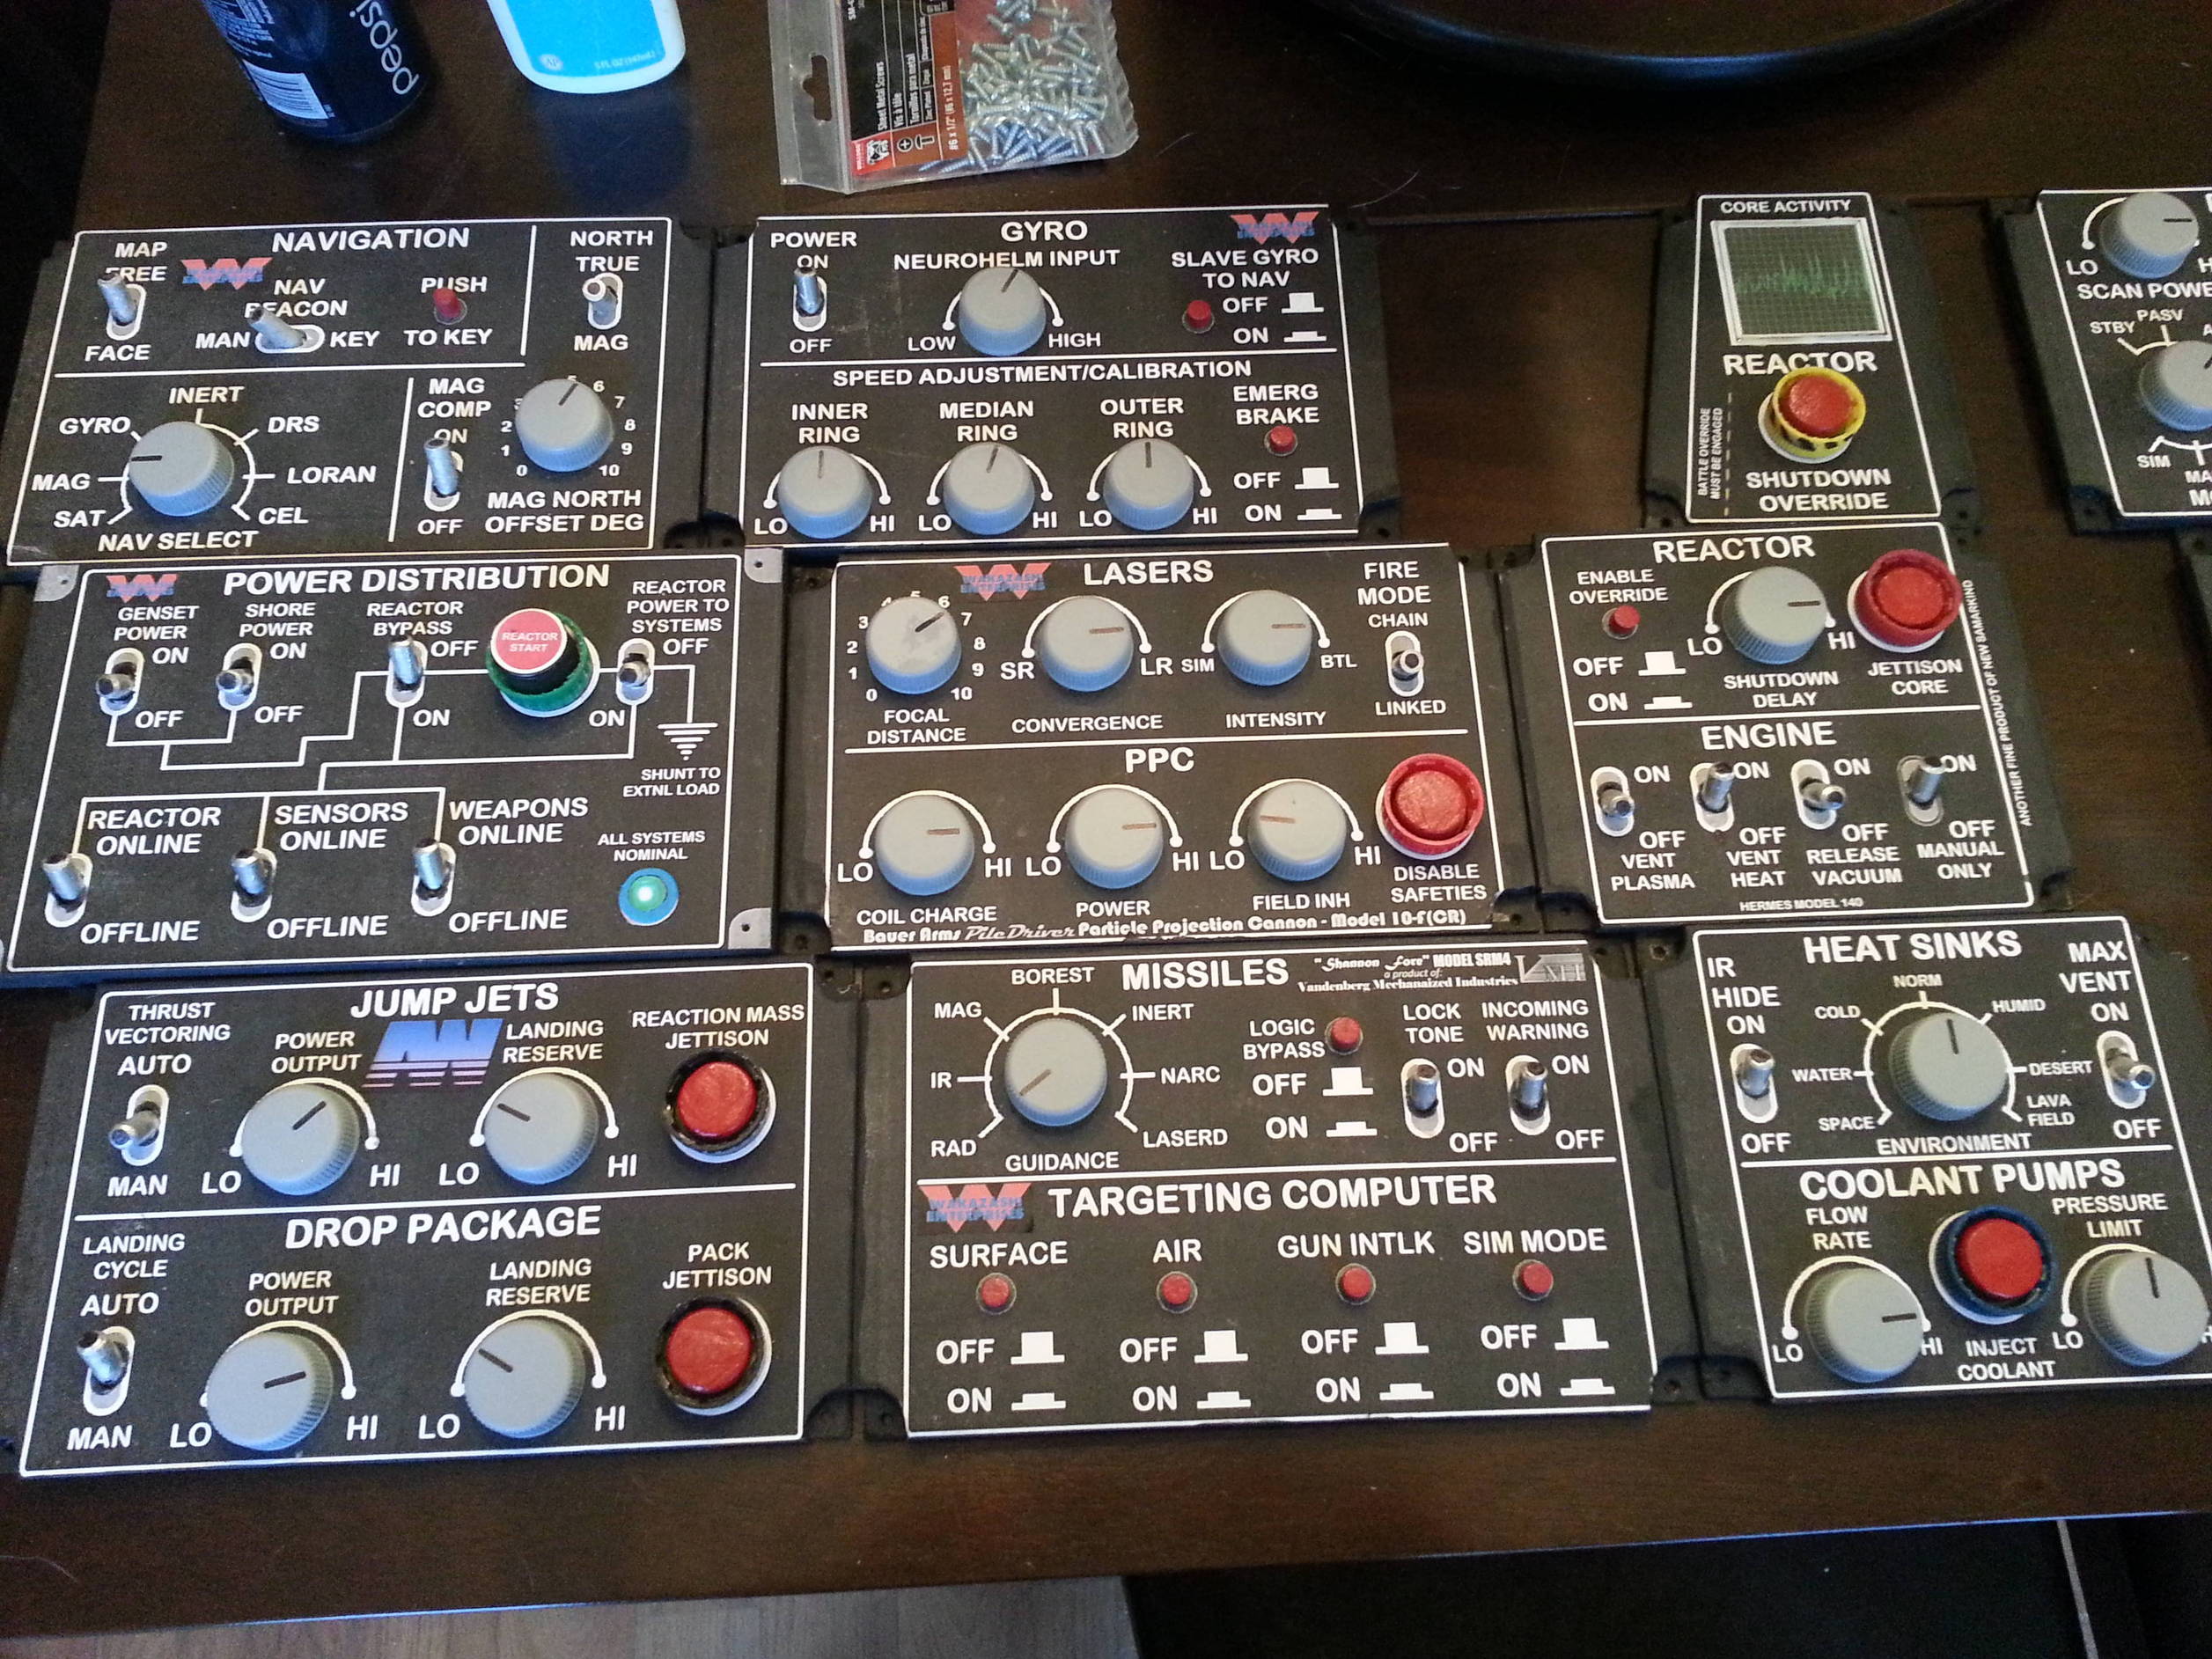
So proud of these. Revel in the attention to detail and note the settings. NONE of it is by chance.

Every setting is BY DESIGN.

Looks so much better than bare grey walls, even if none of it works.

Wait, this is a Panther mech right? Panther's don't have lasers!

As this simulator's backstory is that it was once a PNT-10K model Panther, but after it fell in battle, it's HEAD has been retrofitted as a training simulator (PNT-10T), that explains why weapons such as lasers have control panels in this cockpit. It can emulate any weapons configuration for training purposes.

Drone panel added due to controversy over 3rd person perspective in MW4, MWO.

Green Flourescent Lighting makes it look decidedly tactical in here.


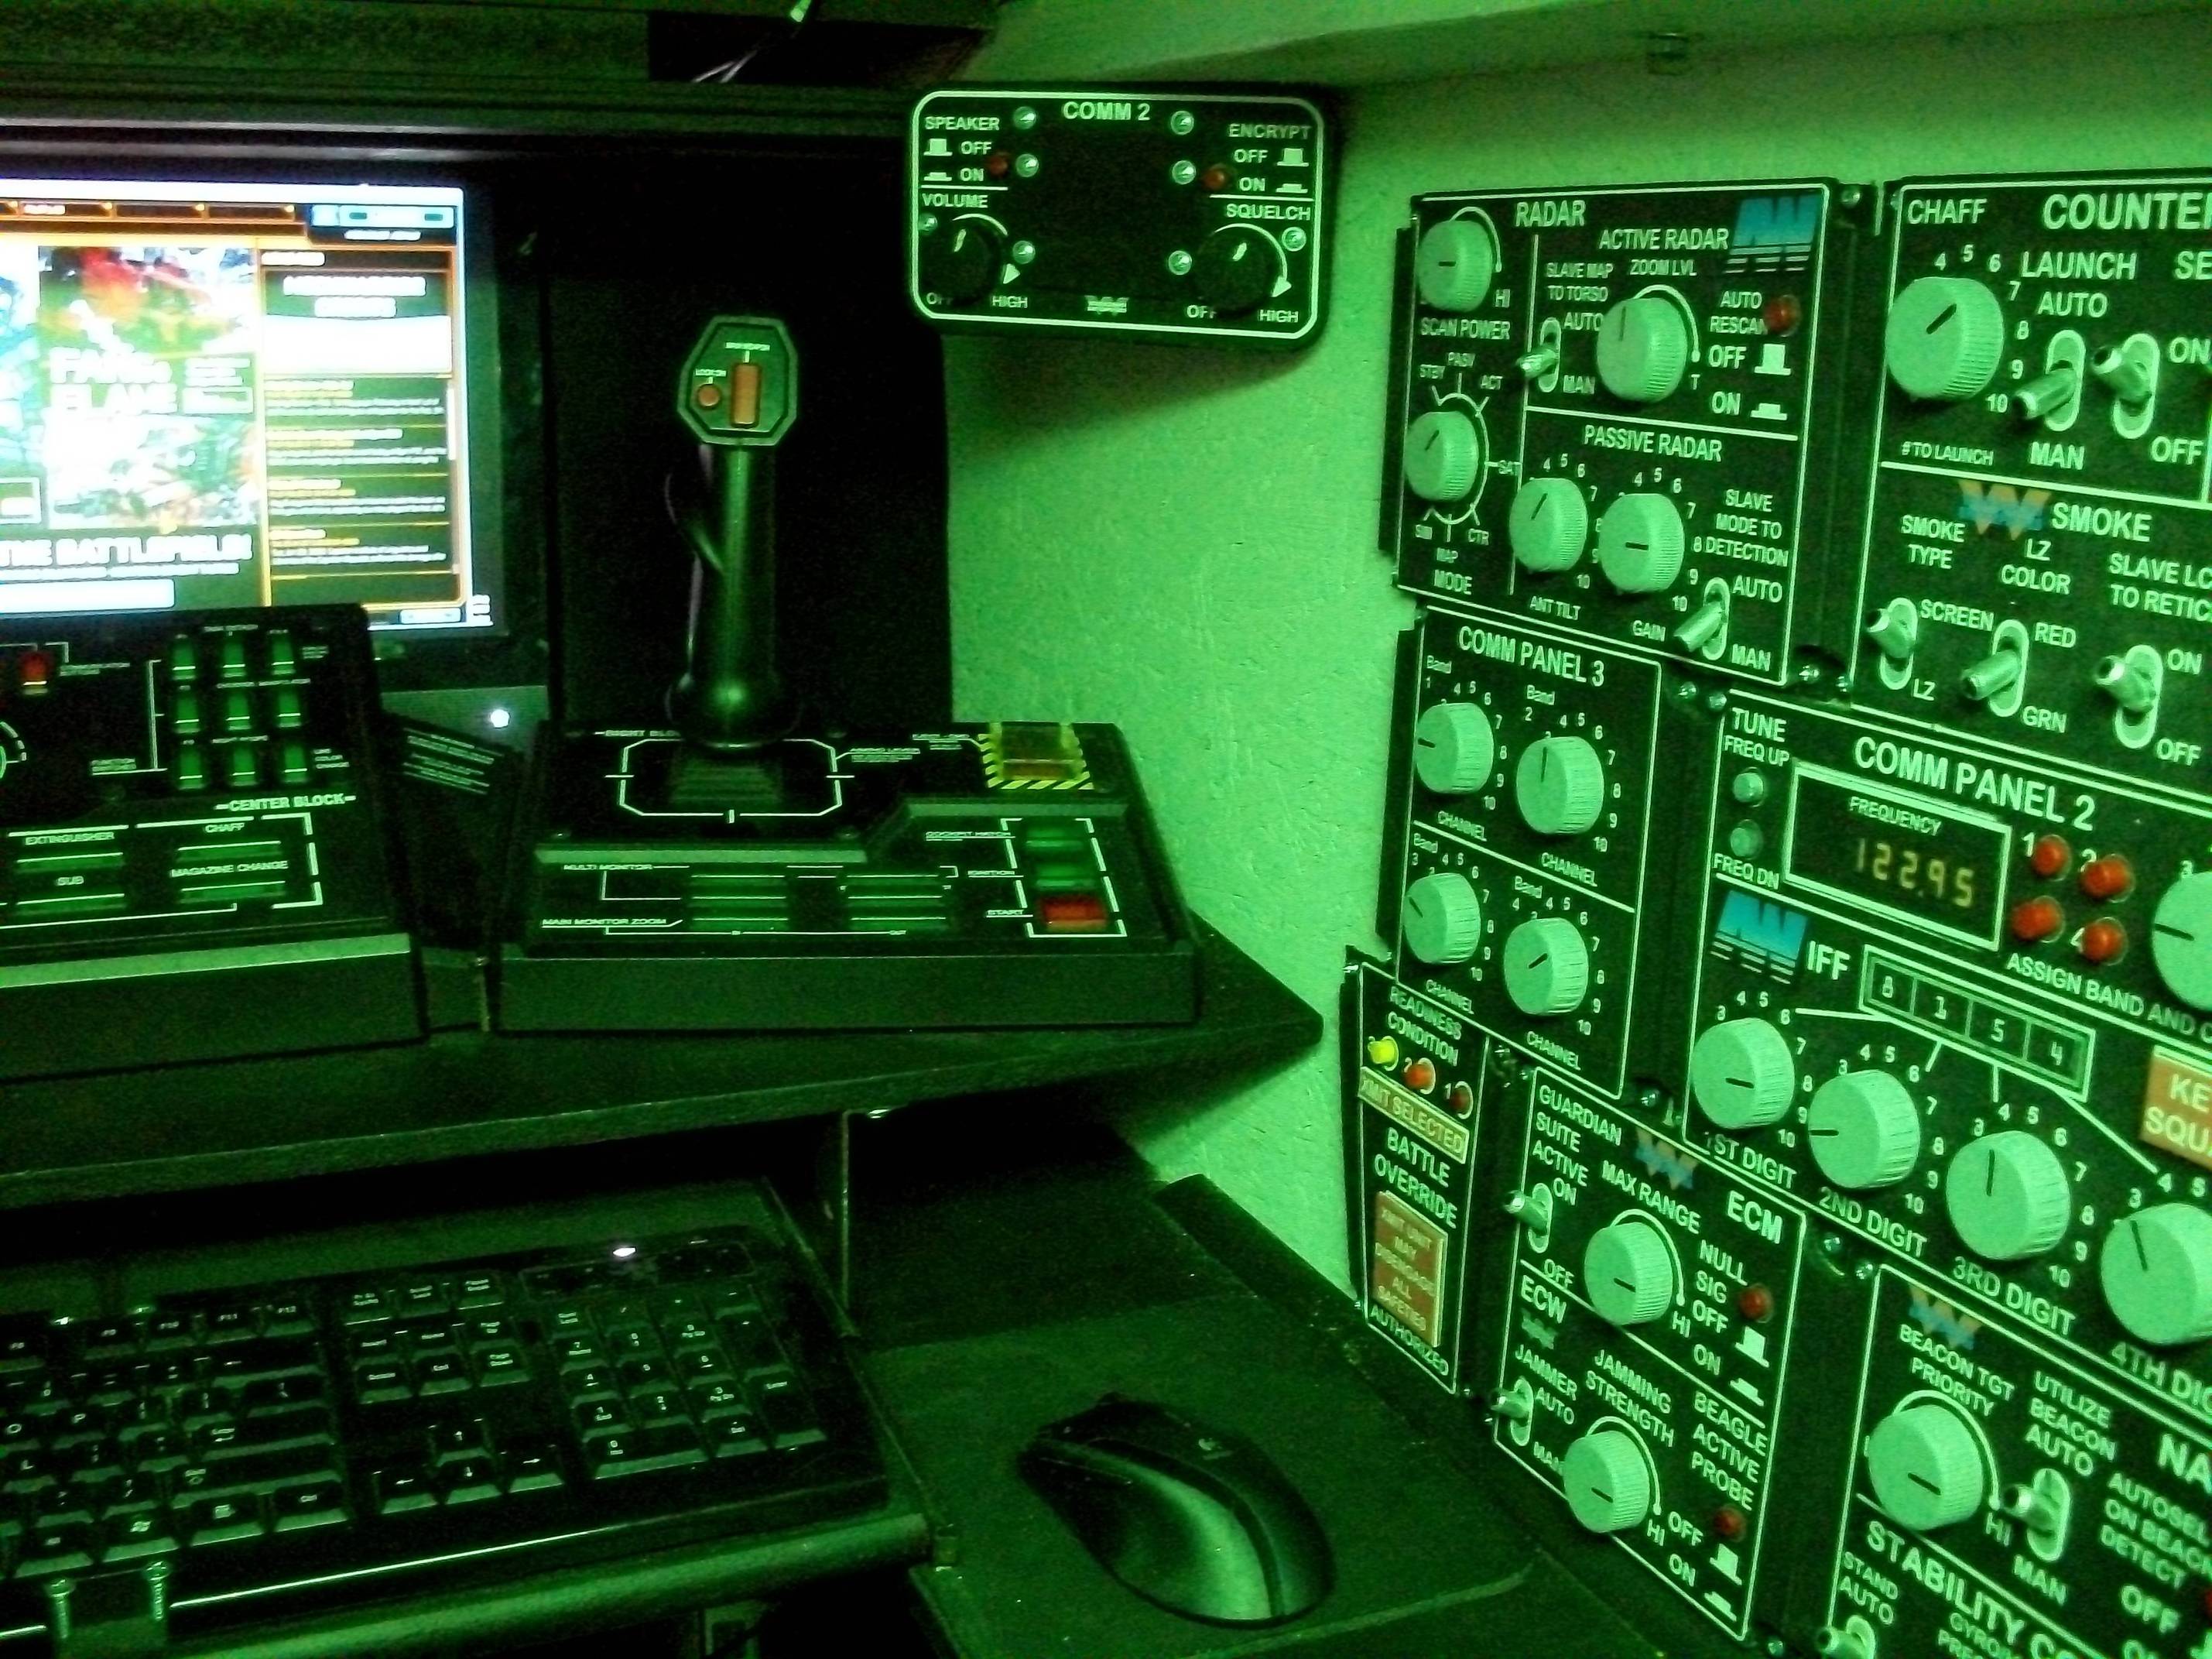
Note the COMM1 and COMM2 panels in the above speakers. Modeled after military speaker boxes, I made them from those old pasteboard shipping corners and put a small but full-range speaker and grill in each. They provide clarity amid the BOOM of the sub.


Note the Pedals from the VT controller. Also functional.
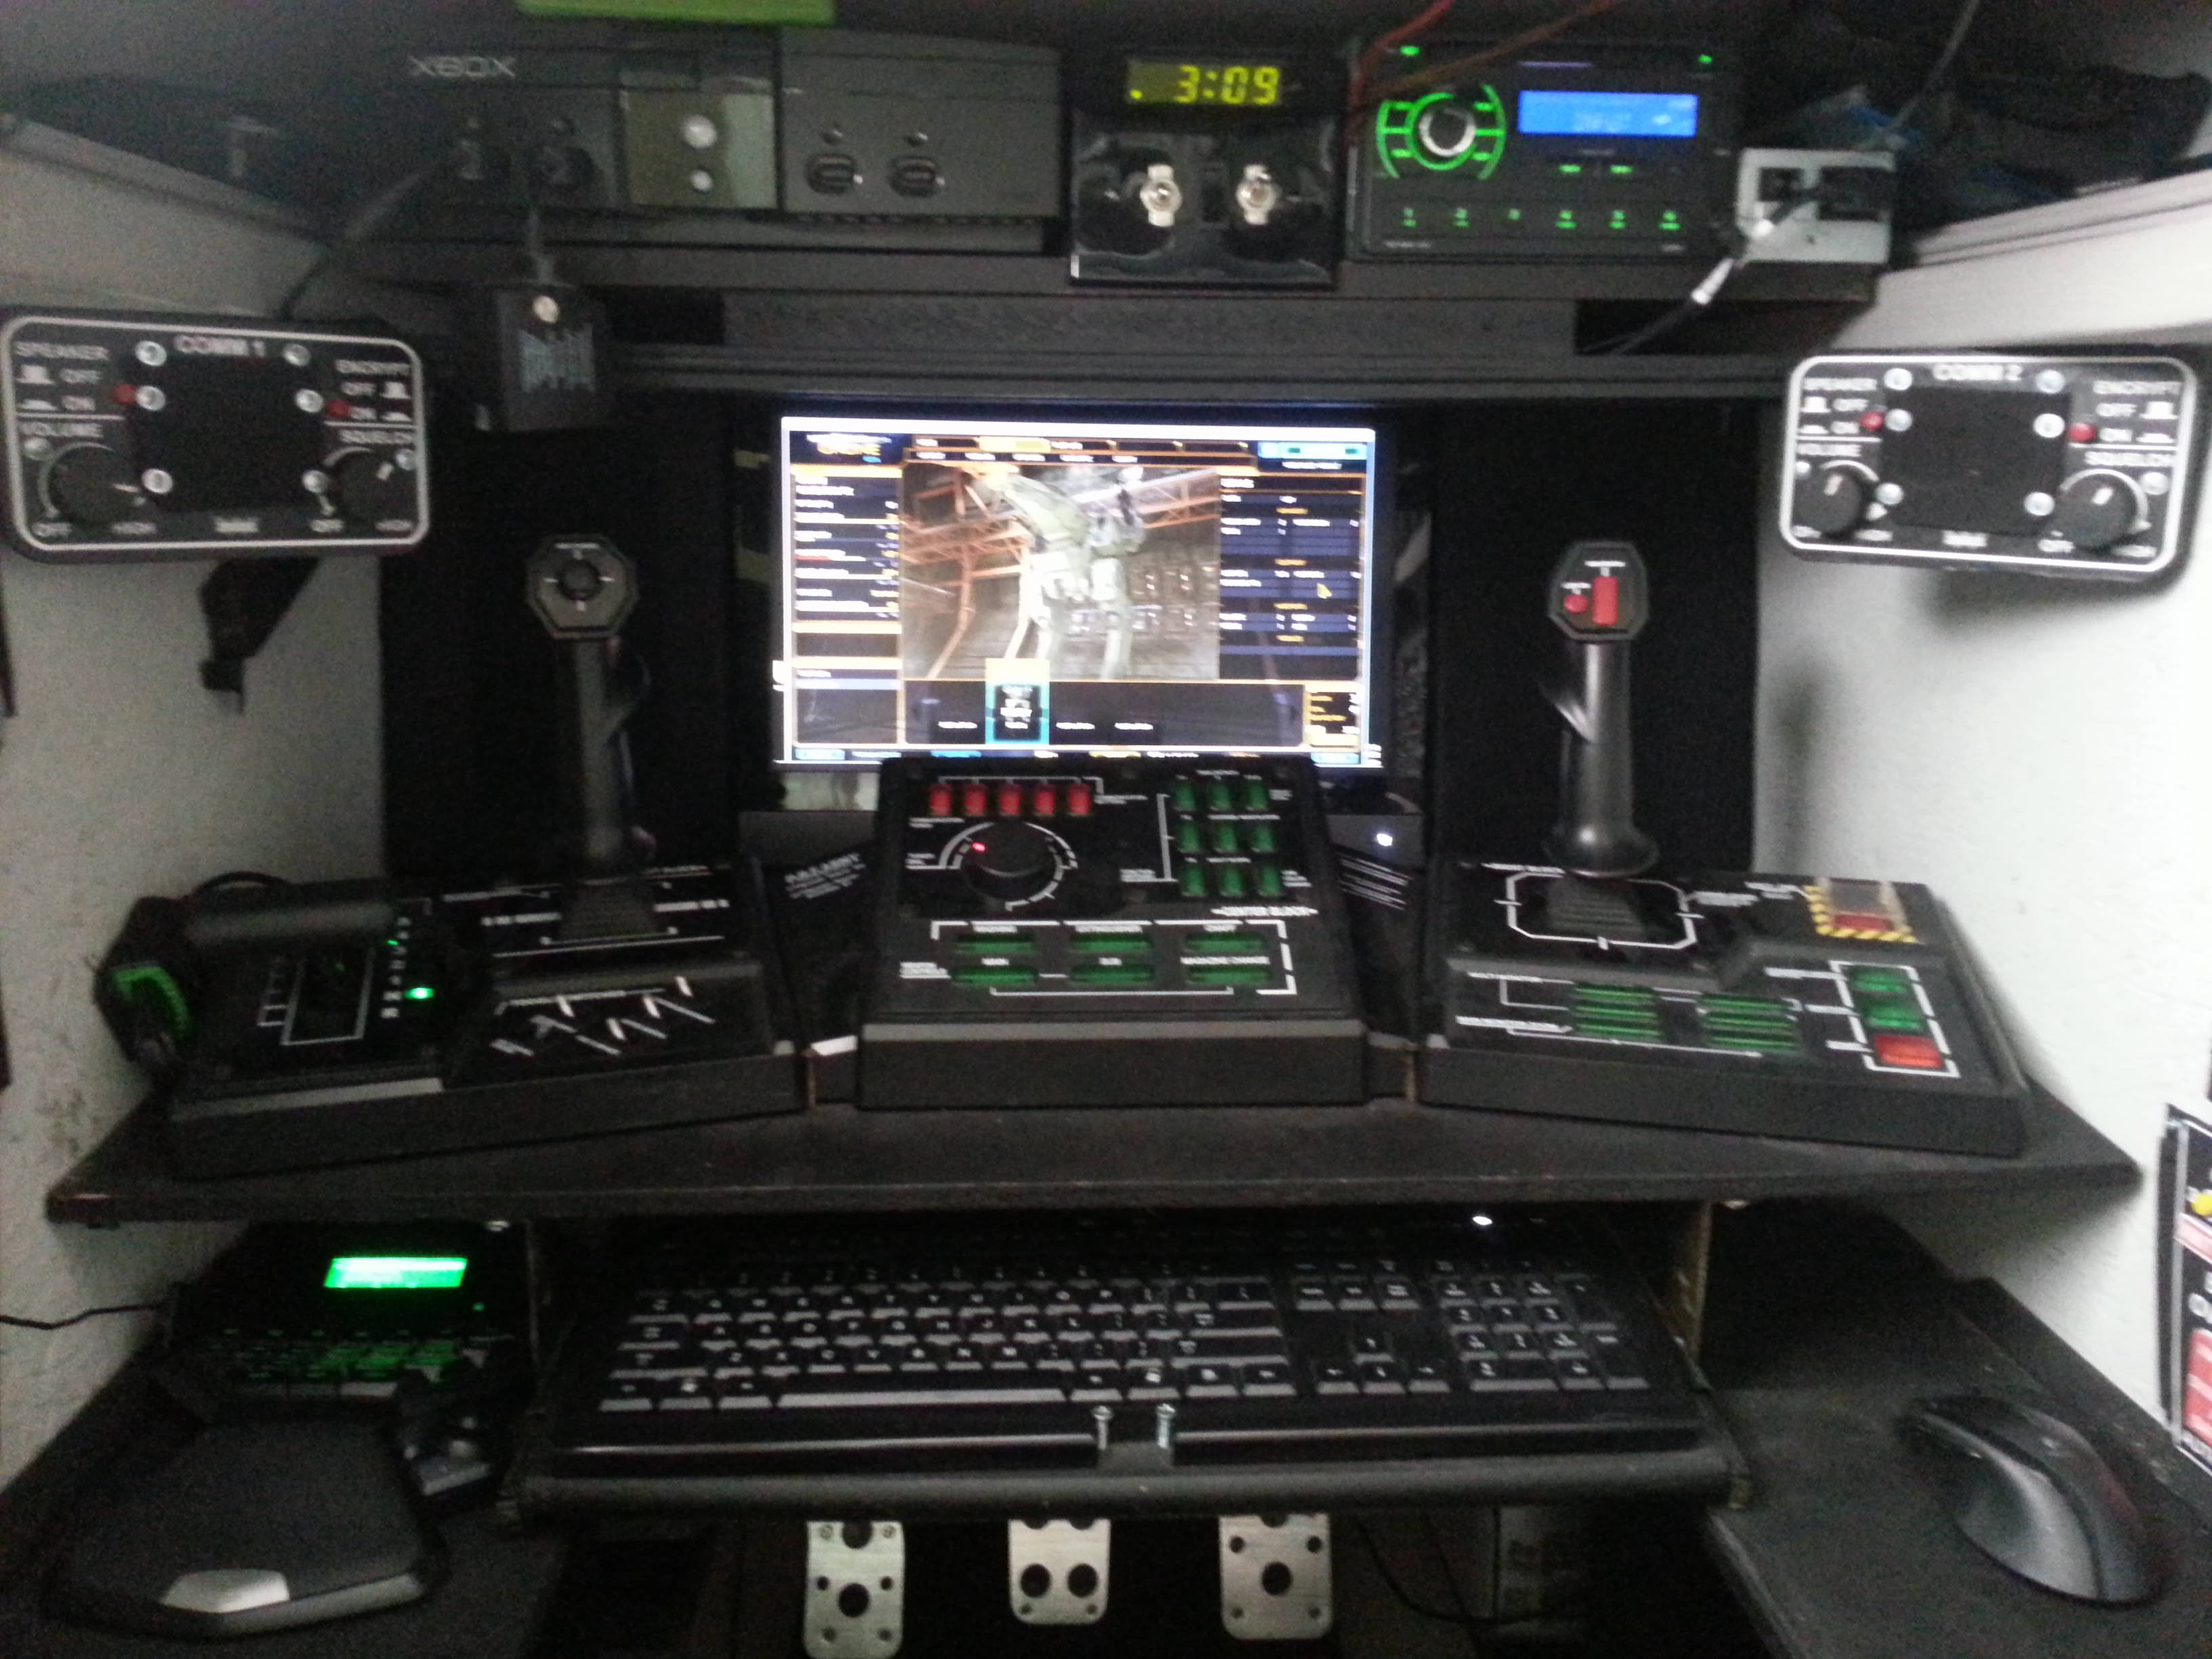


I know port and starboard are reversed! These are armrest control panels. Made from the same Laser-printed labels found on the other panels, over heavy pasteboard. The buttons are actually scrabble tiles, painted and labeled.

There, I fixed it. The armrest elbow pad is a pocket from one of my old BDU uniforms, with a block of foam buttoned into it.

Why camo in a mech? As mentioned, the seatcover is made from an old rucksack cover of mine. The ejection seat of a mech is supposed to convert into a field survival kit with built-in ration stores and backpack according to the Battletech novels, so it seemed a good fit.

Back wall needs detail, as did the hatch at this point.

If you've read this far, please expect some more updates before the end of the year. This mech sim has been relocated, broken, shoddily rebuilt, and somewhat improved. Will always be a work in progress.

What do you Think?
Myrati
Now i miss Steel Battalion.
rgzmann
takes over 100+ picture, at one point i hope you at least thought should have made a video. still super awsome
PostmasterG
Neato... looks like it should be running Windows ME
TheCaptain00
You sir, are a god among men.
benm421
That's mighty fucking neato!
s0cietya5under