
Braytac

1373

17

0

Finished product first

assembled glued together and ready to be primed

Primed with a black base coat, shoulder pads where being a dick they fell off shortly after so i had to re-glue them.

Gray base coat on all the armor.
no real need to be precise since i will paint over everything that wont be gray later on

Heavy wash of black to ad dept to the nooks and crannies.
A wash is just really thin black paint that is a bit runny so it will pool in the recesses of the model making it darker.
it is fun to do you are mostly just playing with the surface tension of the paint here to get it where you want.

Liberal and heavy drybrush of a light gray.
basically put paint on a short haired stiff brush and wipe 90% of it off, then with quick motions you go over the model.
this way the paint will only adhere to the raised parts of the detail leaving a nice shade and contrast
i was using the model to the far right to gauge how much i had to drybrush to make them fit with the unit i had finished earlier.

with the armor done it was on to the cloth.
in some wave of madness i had decided to make it yellow when i started the army.
its a huge pain in the ass to make it look nice but even tough i bitch and moan about it is worth it.
this is just the first base coat layer.
any 6 year old can do it all you have to do is stay within the lines.
i like to put my elbows on the table bring up to miniature to eye level so you don't spend a lot of time hunch over.
keep the palms of your hands against each other to make a stable base so your hands don't move as much then with the model in one hand and the brush in another color it in.

The back.

Liberal wash of black to again get it into all the nook an crannies.
as Bob Ross said you need dark to have light.

heavy drybrush of yellow to get that nice shading going and make the transition less abrupt and rough for when ill follow with highlights.

First highlight, there is no trick to it like dry brushing or washing it is just a steady hand and Patience.
just make sure your paint is properly thinned down with water.
it doesn't have to 100% cover with the first pass since it will get another layer.
the thinner your paints and the more layers you do the better it will look in the end

Second layer, beforehand i thought i would have to do more but i was/am happy with the coverage and result here so i just did the two.

On to there swords, i got a bit carried away so i forgot to make pictures of all the steps.
here it is just a metallic base coat (boltgun metal)

here the blades of the weapons are pretty much done.
they got a wash of black followed by a lighter metallic dry brush with a somewhat sloppy edge highlight of silver

finale step of brass on the handles of the blade trims of the shoulders and all the Menoth signs
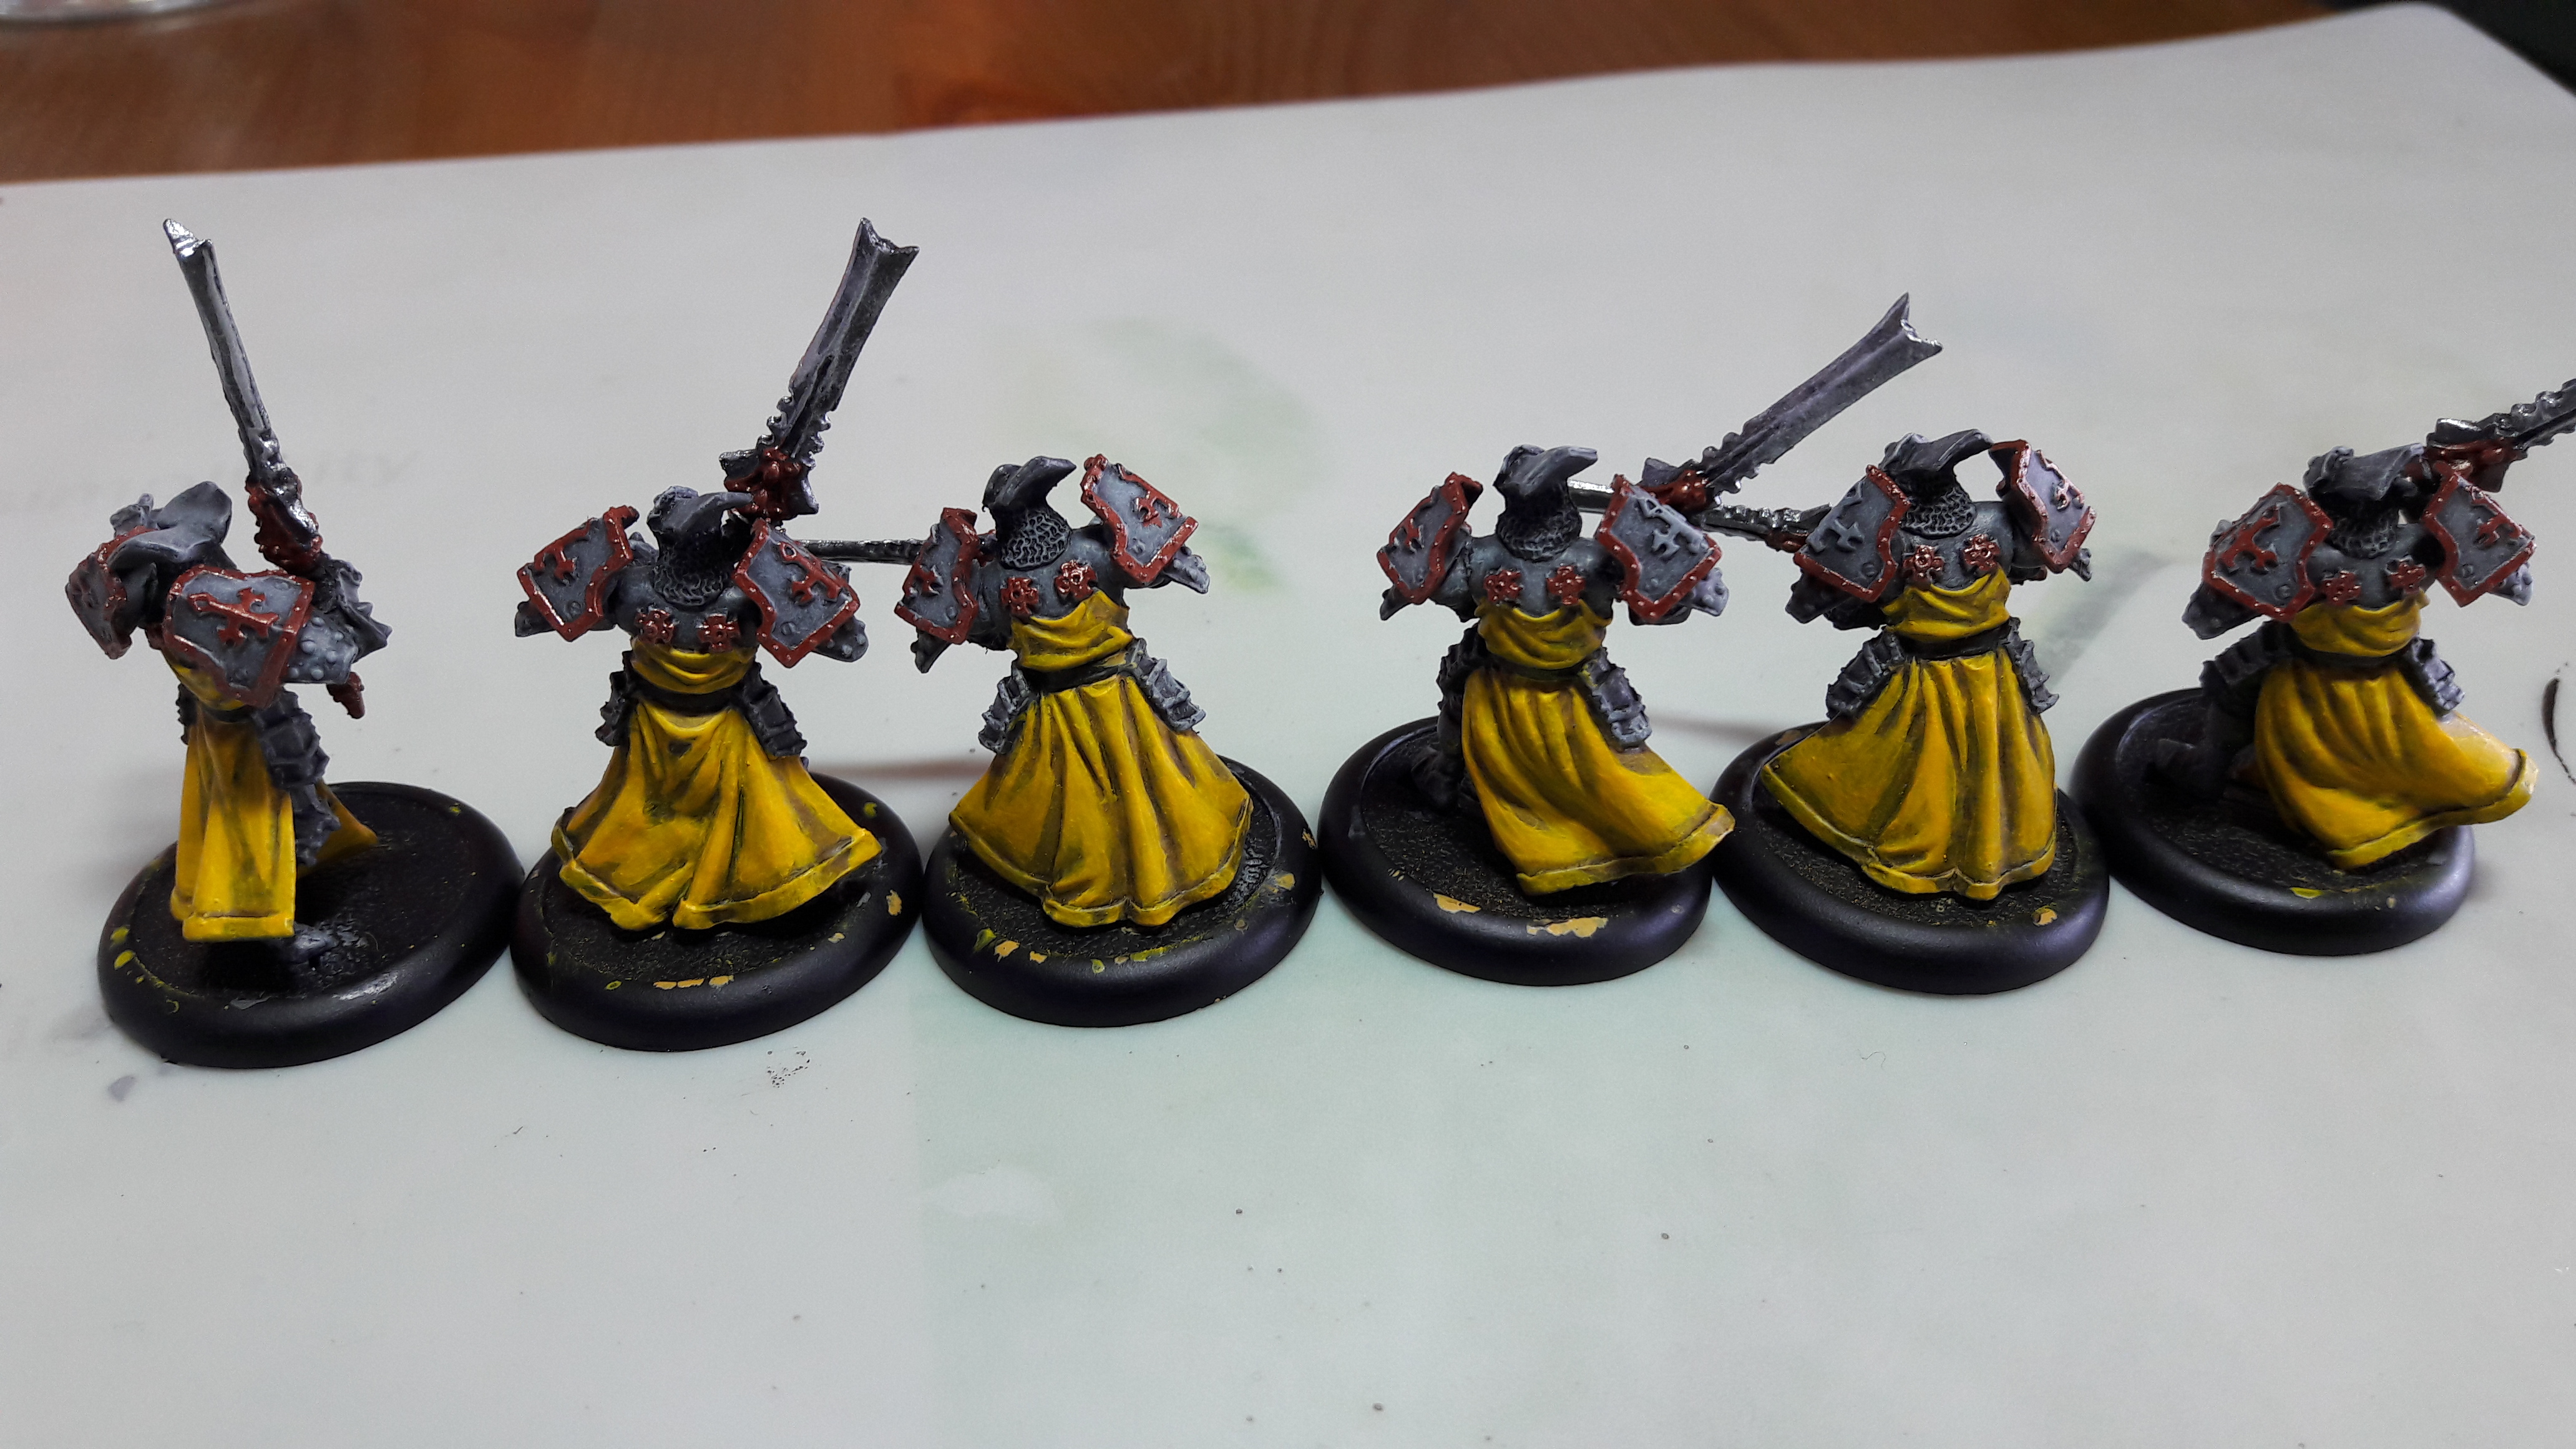
Back

Group shot together with a unit of bastions and Grand Exemplar Kreoss

I like this picture the most sins it shows my progress on painting cloth.
the knights look a lot better then the bastions i did a couple of months ago.
let me know what you think, all comments are appreciated
SirSchmoopyOfAwesometon
Praise the God of Man!
Sentinal32
Good job, you can see a huge improvement of your painting skills between the two units.
Braytac
Thank you i am really happy with it as well. next up is Nicia, Tear of Vengeance since its a solo i am going to give her some extra love