
IfinkYouFreekyAndILikeYouAlot

308624

1236

37

Per r/DIY law. Finished photo first.
I am very much an amateur DIY'er & novice wood worker. I have never built any thing like this before, and certainly nothing this large. So pretty much this entire process was new to me. But I really couldn't be happier with how it came out.

Started by drawing a few simple isometric concepts in illustrator. This was the winner. Surprisingly, the final product actually turned out pretty damn close to this concept drawing.

I created a scale drawing to gauge measurements and visualize how everything goes together. I also used this to build a cut list. I had a lot of MDF to chop up.

Before. Not bad, functional, but this came from our old house, and didn't quite fit the space.

Getting started. I picked up some lumber from the local lumber yard. I should've had them plane the boards before I took them home, but I did have them put a straight edge on the boards. This is 1 inch Ash.

I ripped the boards into (4) 4" sections.

I test fit the boards to make sure all of my rip cuts were straight. Good to go.

Time for lots, and lots of pocket holes (50+). Pocket holes weren't a requirement, but considering this was for a bench, and a permanent structure, I wanted to make sure this was built to last.

I quickly found out that my cordless drill (namely the battery) was not up to the task of drilling all of these pocket holes. So I opted just to buy a new corded power drill. This made quick work of the rest of the pocket holes.

All of the holes drilled. Took forever with that jig and clamp.

Had to purchase a bunch of new clamps. The final measurements for the bench top were roughly 17" x 76".

Time to glue it up!

I applied glue to the joint, then screwed each pocket hole. Due to the wood not being perfectly straight, I clamped the boards together for every single screw to keep everything straight. I hands were quite sore afterwards.

A few hours later, most of the boards are together. I used quite a bit of glue, but probably could have used more. But the final product is as solid as a rock.

Everything is glued up, and clamped tight. Before you say anything, yes I know. I could have used about 20 more clamps for something this large, but everything worked out just fine.

Ash is a bitch to sand. I sanded for several hours 40 to 180 grit, but I got it done. As I said before, should have got the boards planed before I brought them home.

Big Mistake #1. I used the ol wood glue + sawdust trick to fill in a few small gaps and holes. Bad idea. Stain + wood glue = bad. I didn't sand the glue areas well enough, and this was the result. So, I had to re-sand the entire damn thing again. FML.

More sanding! This took forever, and made a huge mess, but I had to do it.

Treated the wood with some stain conditioner to detect if there was anymore glue. Luckily, I got it all. The stain came out really nice this time.

I sealed the top with two cans of lacquer.

I was tired of getting dust all over my basement, so I set up Dexter's kill room to keep the dust under control. Yes, I used a mask/respirator.

The finish came out quite nice. It has a pleasant, natural texture.

Time to get started on the rest of the bottom bench. I built the bench out of 3/4" MDF. I used almost (4) 8' x 4' sheets of the stuff for this build. I know most people either love, or hate MDF, but I think it is relatively easy to work with, if you follow some simple guidelines, and play to the materials strengths and use plenty of pilot holes. The biggest con for using MDF in this build was the weight. MDF is very heavy, more on that later.

I used counter-bored holes with 2.5" pocket screws to secure almost everything in this build.

Bench sections constructed, glued and screwed into place. I drilled pilot holes (a must for MDF) used glue and 2.5" pocket screws to attach everything. The end product is very heavy, but extremely sturdy. I reinforced the sides, just to give it a little extra strength.

Bench feet attached.

I added some 1.5" strips to the front to give it a nicer, heavier, look and feel. I sealed the edges with wood filler and I also drilled some counter-bored holes for attaching to the floor, but this was all pointless, as you will see.

I did a dry test fit just to make sure the top fit properly.

I used Killz to prime/seal the MDF. I sealed the edges with wood filler

Loved using this low nap roller. The final coat was nice and smooth.

With everything primed, I attached the top using some high quality wood screws.
Big mistake #2. Remember why I said it was pointless above? It was at this point my wife reminded me that she wanted a true "built-in" look (this info was missing from my scale drawing). We wanted to the use the molding that runs throughout the house to trim the base, but the base height was only 1.5 inches. The molding was somewhere around 3.5 inches. Shit.

I had to come up with something fix the situation. I had to raise each platform section a few inches. So this is what I came up with. Luckily, it worked great.


Tried using pocket screws, but quickly learned that pocket screws, in this situation, were a bad idea. I just used a lot of glue, and a lot of brad nails.

Clamped everything down, and let everything dry for a day. Everything feels nice and strong.

Once again, I filled in the gaps with wood filler, and sanded everything smooth. I am very happy with how this turned out, you would never know just by looking at it.

Re-primed, caulked, and painted. Then, it was ready for delivery upstairs to it's final resting spot. I didn't fill in the bottom section of the base since it was going to be covered with molding.

Big mistake #3. Getting this thing into place was really stressful. I (being a dumbass) did not account for the wall being bowed inwards. I made this thing within 1/4" of the back of the wall. It was way too tight. It was also extremely heavy. I'd say 150lbs or so. Almost impossible for 2 people to finesse it into place.
This SOB had to be raised up about 40 inches (bottom didn't have the clearance even with molding removed) and I had to remove the door trim and light switch in the hopes we could get it into the space. Since it was so heavy, I had to build an emergency platform to help us roll it into place. Luckily, I had a shit ton of MDF. So I built what was essentially a rolling cabinet with some casters I borrowed from my shop vac. It was actually quite sturdy, and worked quite well given the panicked state in which it was built.
Several gouges in the wall later, and we got it into place. That thing is never moving. Thank the gods it fit.
Common sense life tip. When building something like this, surrounded by 3 walls, always account for the walls not being perfectly straight, or build it in place. I probably could have saved myself a whole bunch of trouble by building this with a lot more clearance. This was my first time building anything like this, so I am giving myself a pass.

I patched up the wall and fixed other gouges, luckily this room was going to be painted anyway.

The bench is in place. It is extremely solid and sturdy. I didn't even need to secure it to the floor due to it being pinned against the wall.

The next step was adding shiplap to the back wall. But there was an outlet in the way. I knew that I wanted to add lighting to this thing eventually, so I had to move this outlet up the wall, above the top of the cabinet section I had yet to create. Due to the slightly complicated (to me) wiring, this was a challenge in and of itself. But I got it done.

Laid out the ship lap on the floor to make sure everything was straight. I also filled in and sanded out any imperfections.

I marked the studs and used a brad nailer and 2" nails to attach each lap segment. I used 1/4" spacers to give each section a bit more depth and help hide any "less than straight" lines.

Patched up all of the holes I had just created with the nailer.

Sanded and painted. Edges aren't perfect, but these are going to be covered with trim anyway.

Followed the same process to build the upper cabinet section. This went very smoothly. I applied the lessons learned from building the bench. Luckily, this section was much simpler to build, and significantly lighter.

Building complete, time for primer and paint. I added some hardboard to the back of both sections because, of course, the back wall was bowed, this made sure I had no surprises once it was against the wall. I also needed something to hide the french cleat I used to hang the cabinet on the wall.

I used the Kreg drill and stop to create some counter-bored holes for securing the cleat on the back of the cabinet. Since the back was not visible, the cabinet didn't need to be flush with the wall.
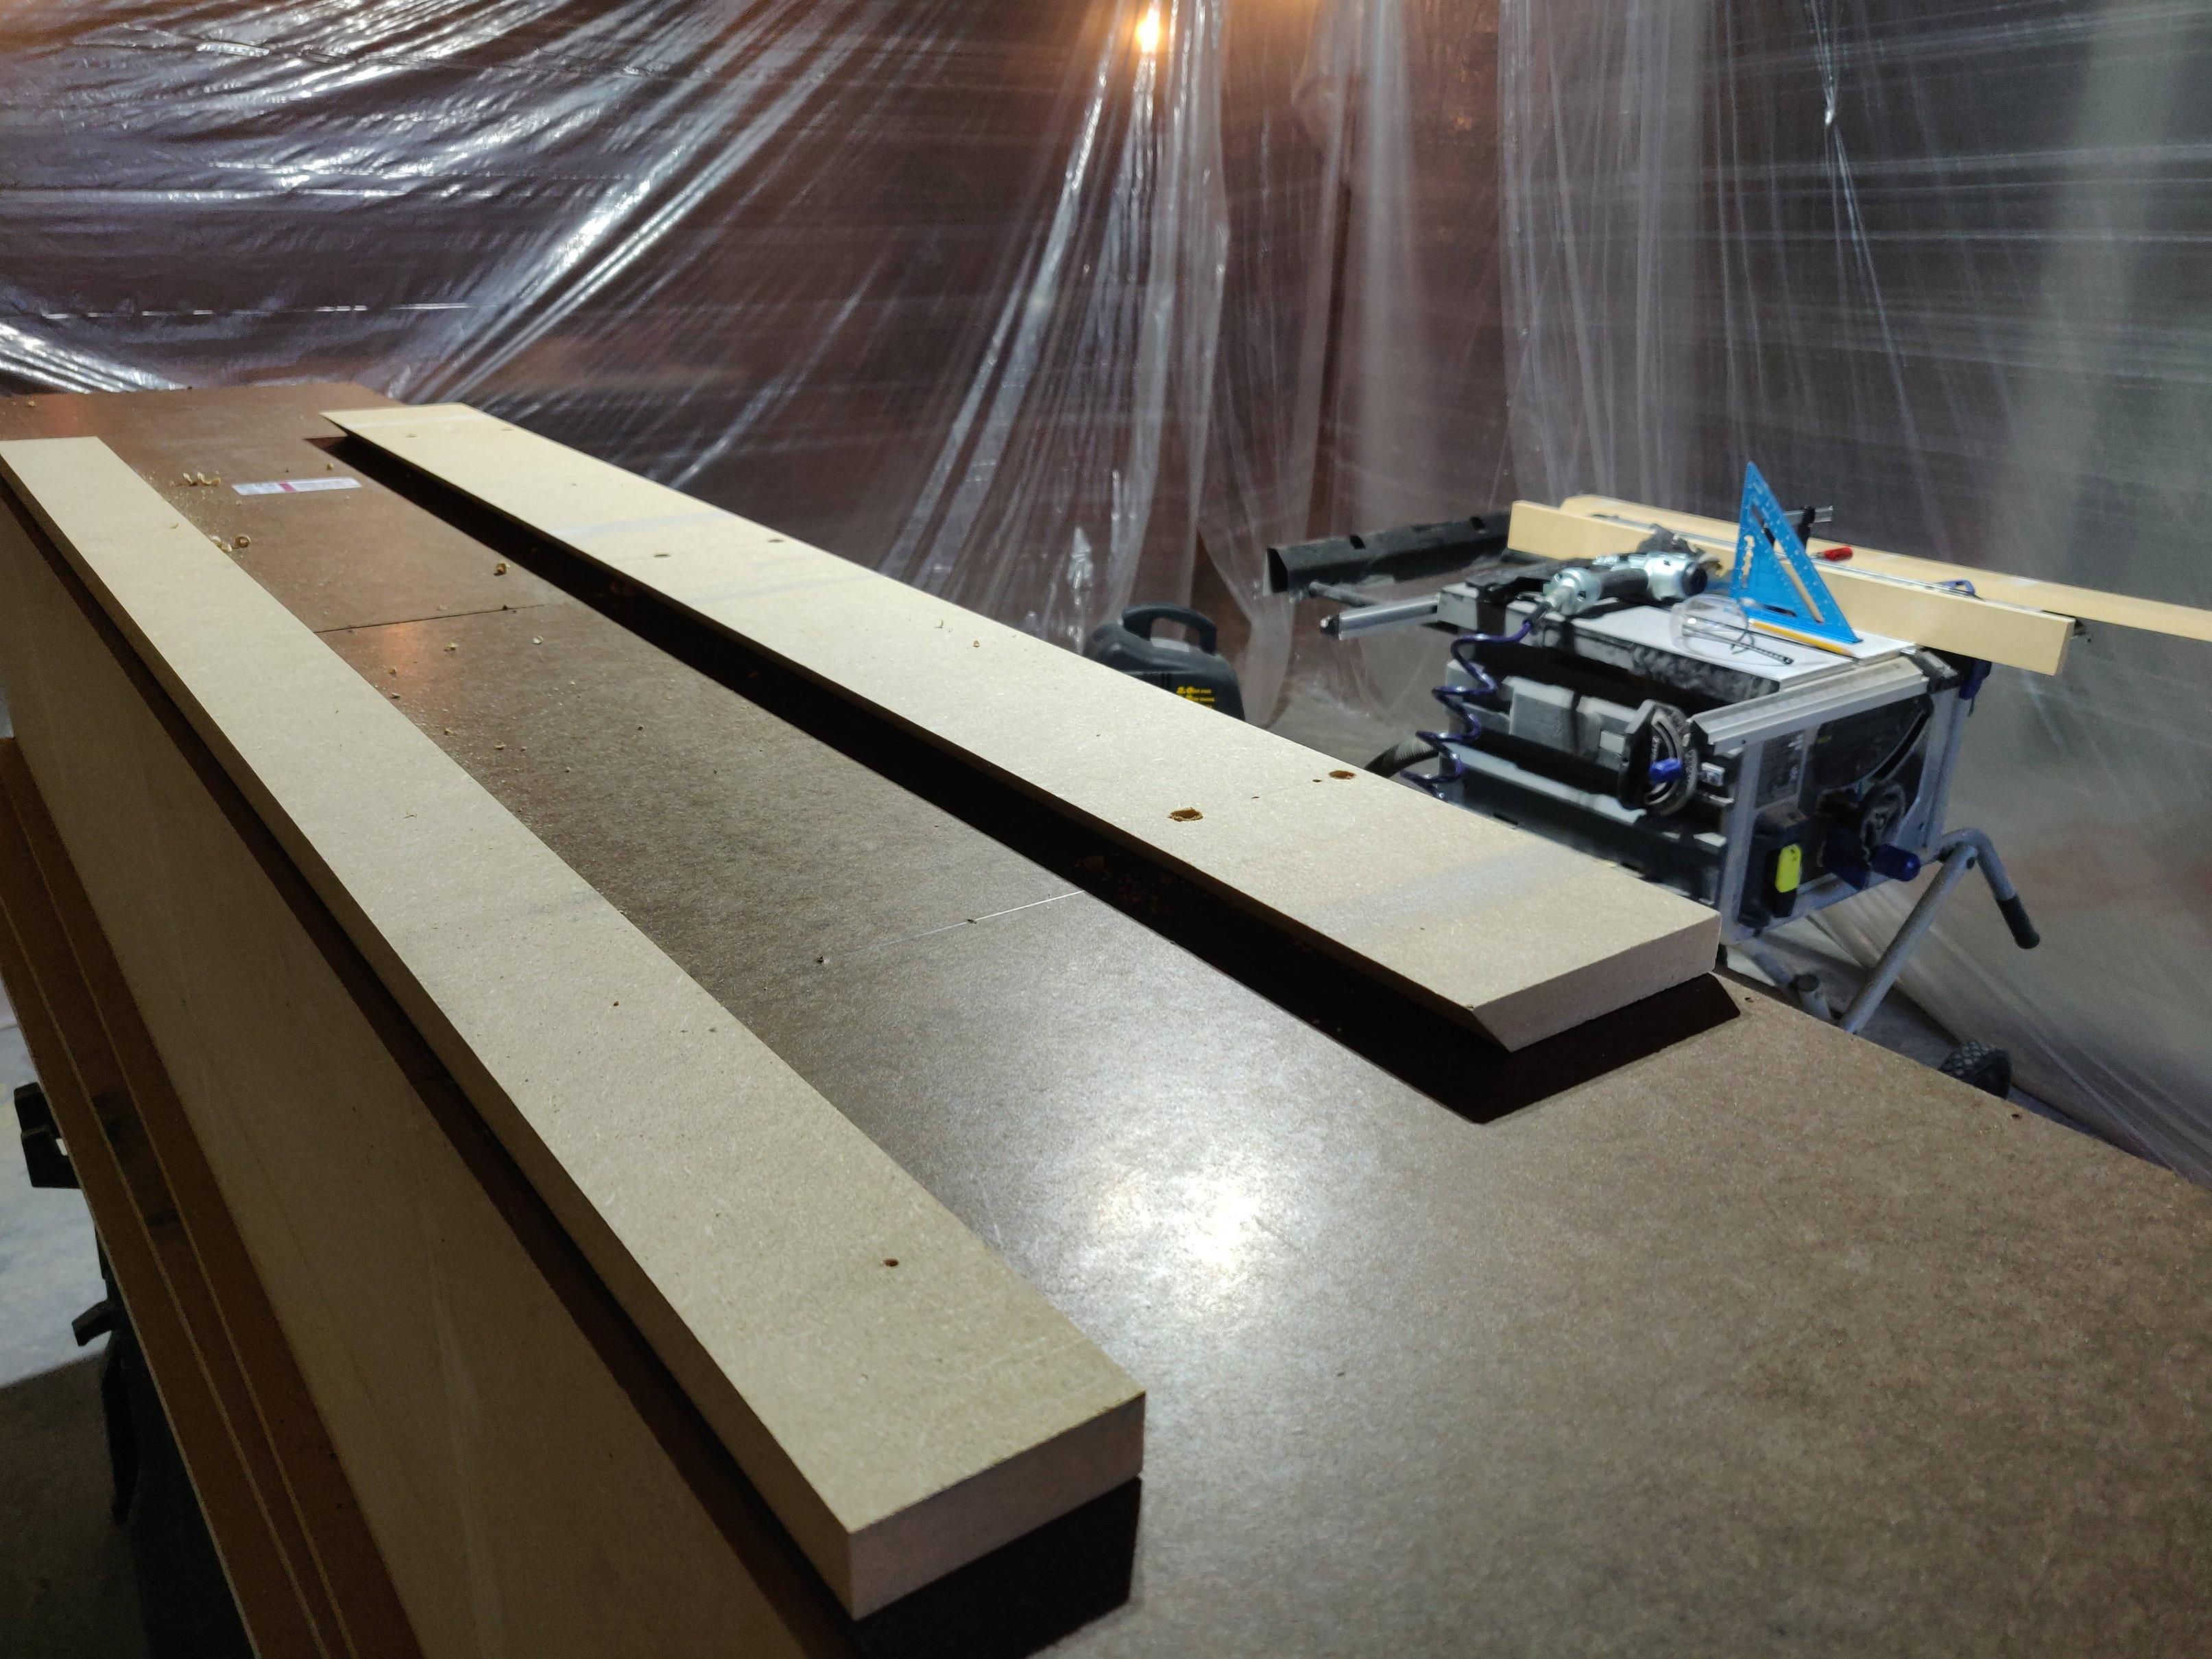
I read a lot about using MDF to make a french cleat, and if it was structurally sound (mixed results). So I secured the cleat to the cabinet with about 10 2.5" screws, and brad nails. But this wasn't its only support, I built in some other support systems, just to make sure it is secure. More on that later.

I was able to save and reuse all of the existing trim. Just pulled out the nails, fixed and holes, and removed the old caulk.

Reattached the trim pieces, only a few cuts were necessary. Easiest part of the build.

No special rigging was needed to attach the cabinet to the wall. It slid right into place and rested on the cleat I screwed (very securely) into the wall. The bottom trim piece (right below the cabinet) was kinda used as a ledger strip. It doesn't support much weight and was mainly there to make things level and serve as trim.

I added some RGB LED lights to the top and bottom of the cabinet. I used this stuff to light all of my kitchen cabinet lights. It was only about $30 and works with Google Home.
The metal brackets serve as supports/fail safes. I added these just as an extra precaution. Overall, the structure feels incredibly sold and sturdy. I think that a lot would need to go wrong for this thing to fall off the wall.
The stained piece at the top is a single (maybe 3") piece of ash that I stained and finished along with the seating surface. I figured there was no need for it to be more than that, since you can't see the top, unless you are really tall.

I trimmed, caulked, and painted the entire thing. I used some ripped ship lap to frame trim the outer ship lap edges. I also used some scribe molding for the underside and sides of each top and bottom cabinet sections.
I also stained some oak shoe molding to put on the sides of the bench surface.
I finished everything out with seven oil rubbed bronze hooks.

Final glory shot. Overall, I am very happy with how everything turned out.

Another glory shot with just the LED lighting.

Final glory shot, I promise. Thanks for checking out my build.
Obligatory front page edit. Send wood glue!
Crabsforeveryone
I really wish I could afford woodworking. Someday.
slaw420
looks like pre-school cubbies
Trentski
Locker? I barely know ‘er!
RandomDynamic
Which led strips did you use?
cheeseheroBB
I like the combination of white with wood. Well done, compliment!
Adventurelimes
I love that. I want one!
ImHereForTheMilfs
Aleathia
dafuq is your username tho
poets
Die Antwoord
TheSwedishMeatballGuy
Amazing. Shit like this makes me want to build stuff too
SlickerThanNick
any build is a good build when it requires you to buy more tools!
BJMRamage
I’m not the only one that uses illustrator for builds. I tried sketch up but wasn’t getting the hang of it. Good job on the piece.
IfinkYouFreekyAndILikeYouAlot
Thanks. People tend to go with what they know. I might have to try sketchup in the future though. Has a bunch of useful features.
IAmNotMisterLebowski
That looks expensive.
IfinkYouFreekyAndILikeYouAlot
Not really. Probably $300-350 or so in materials. The rest is the tools (which can be really expensive), which you may or may not have.