
CodeXCDM

14115

12

0
Scrollsaw cut wood with epoxy resin and glow-in-the dark mica. Finished result. Natural lighting can trigger the glow effects. Scroll below for various shots as well as some of the WIP.
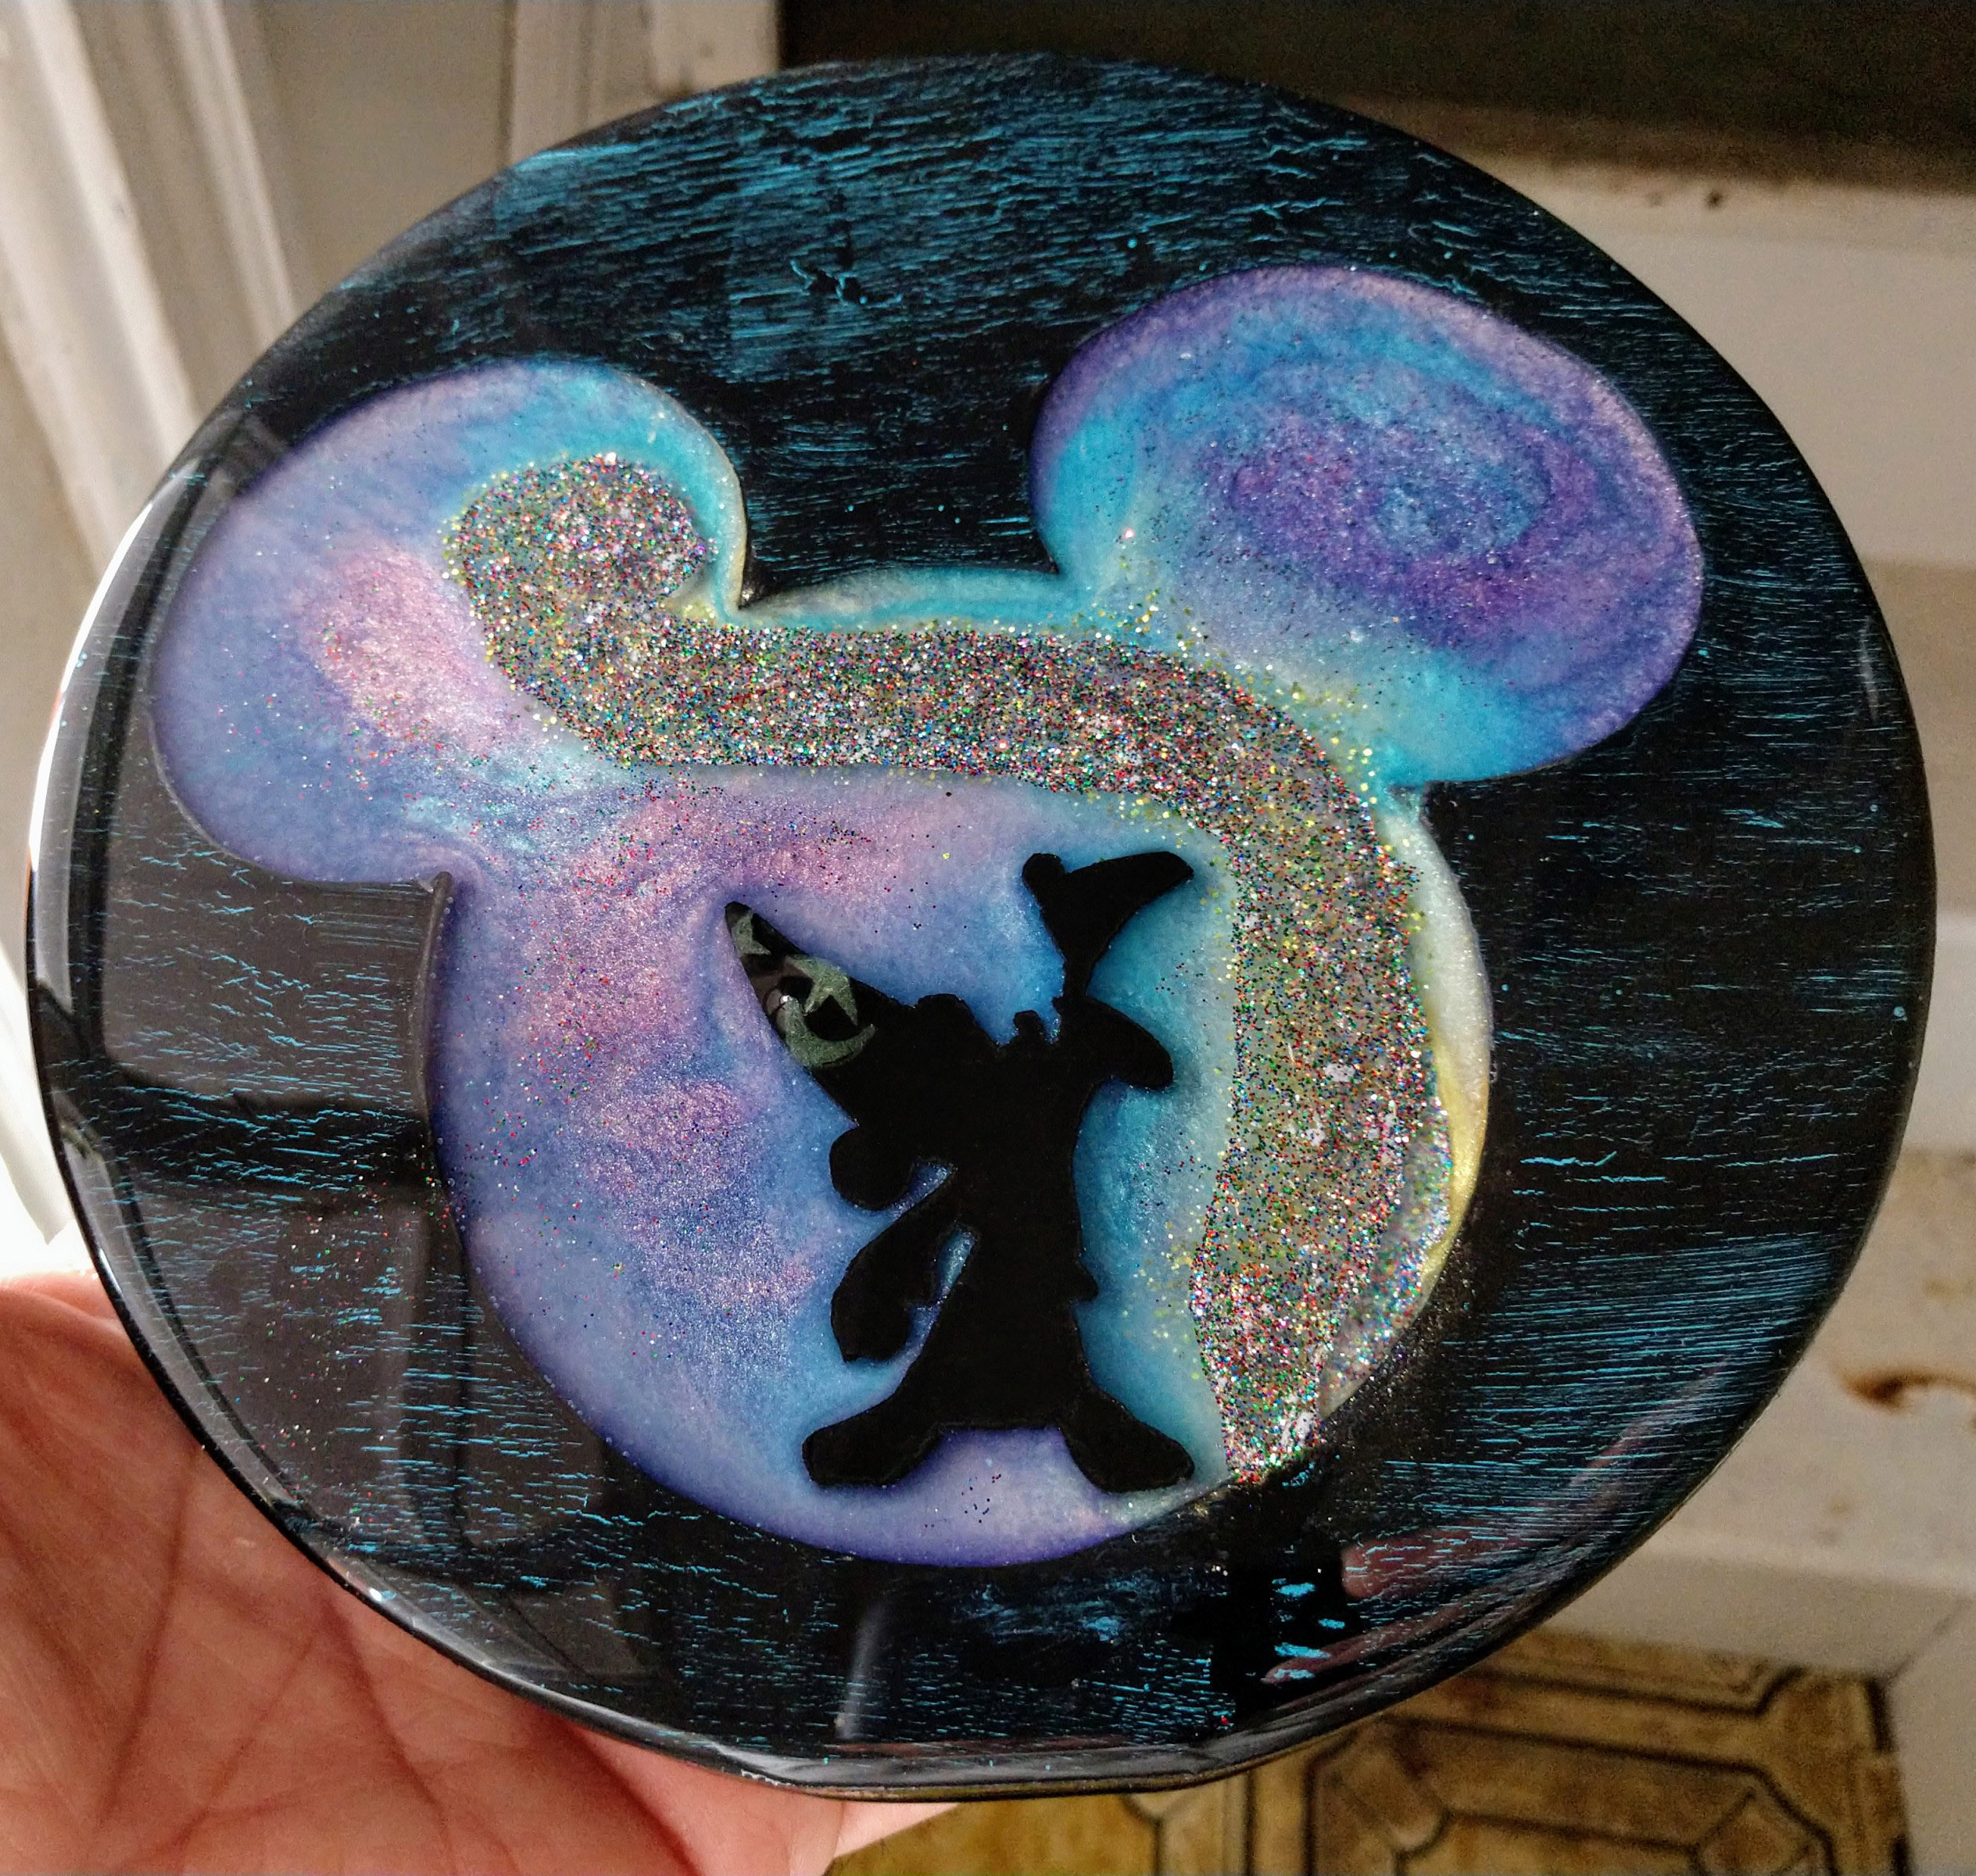
Finished piece. 3/4 inch plywood circle had a 1/4 inc panel with a scrollsaw cutting out the silhouette for Mickey and the Mouse ears. Cut bits of glow powder coated expoxy to form the Star and Moon for the hat. Used a mix of powders to make the background. Glitter glue for the "magic" wave. Paint of the top panel was black and blue with some crackle medium. All coated with a few coats of expoxy, and can glow in the dark.

Silhouettes found online then pasted onto the 1/4 inch plywood sheet to be cut with a scroll saw.

Drawing compared to the cutout. Spray painted him after for uniformity and so that the wood is sealed up prior to dipping into epoxy.

Both pieces cut up. Was actually easier than my first project, Ariel. https://imgur.com/gallery/eRnqgyi

Glue up. I *might* have enough clamps on this one... hehe.
As with my prior project, I play with some acrylic paints both to seal the wood up, and to get an idea what i want to do with the eventual epoxy pour.

Glue up done and then paint cleaned up a bit. Had to repaint anyway as the one of the clamps tore a bit of the plywood... and then the glue also seeped out of the edges. Can't tell though right? >_>
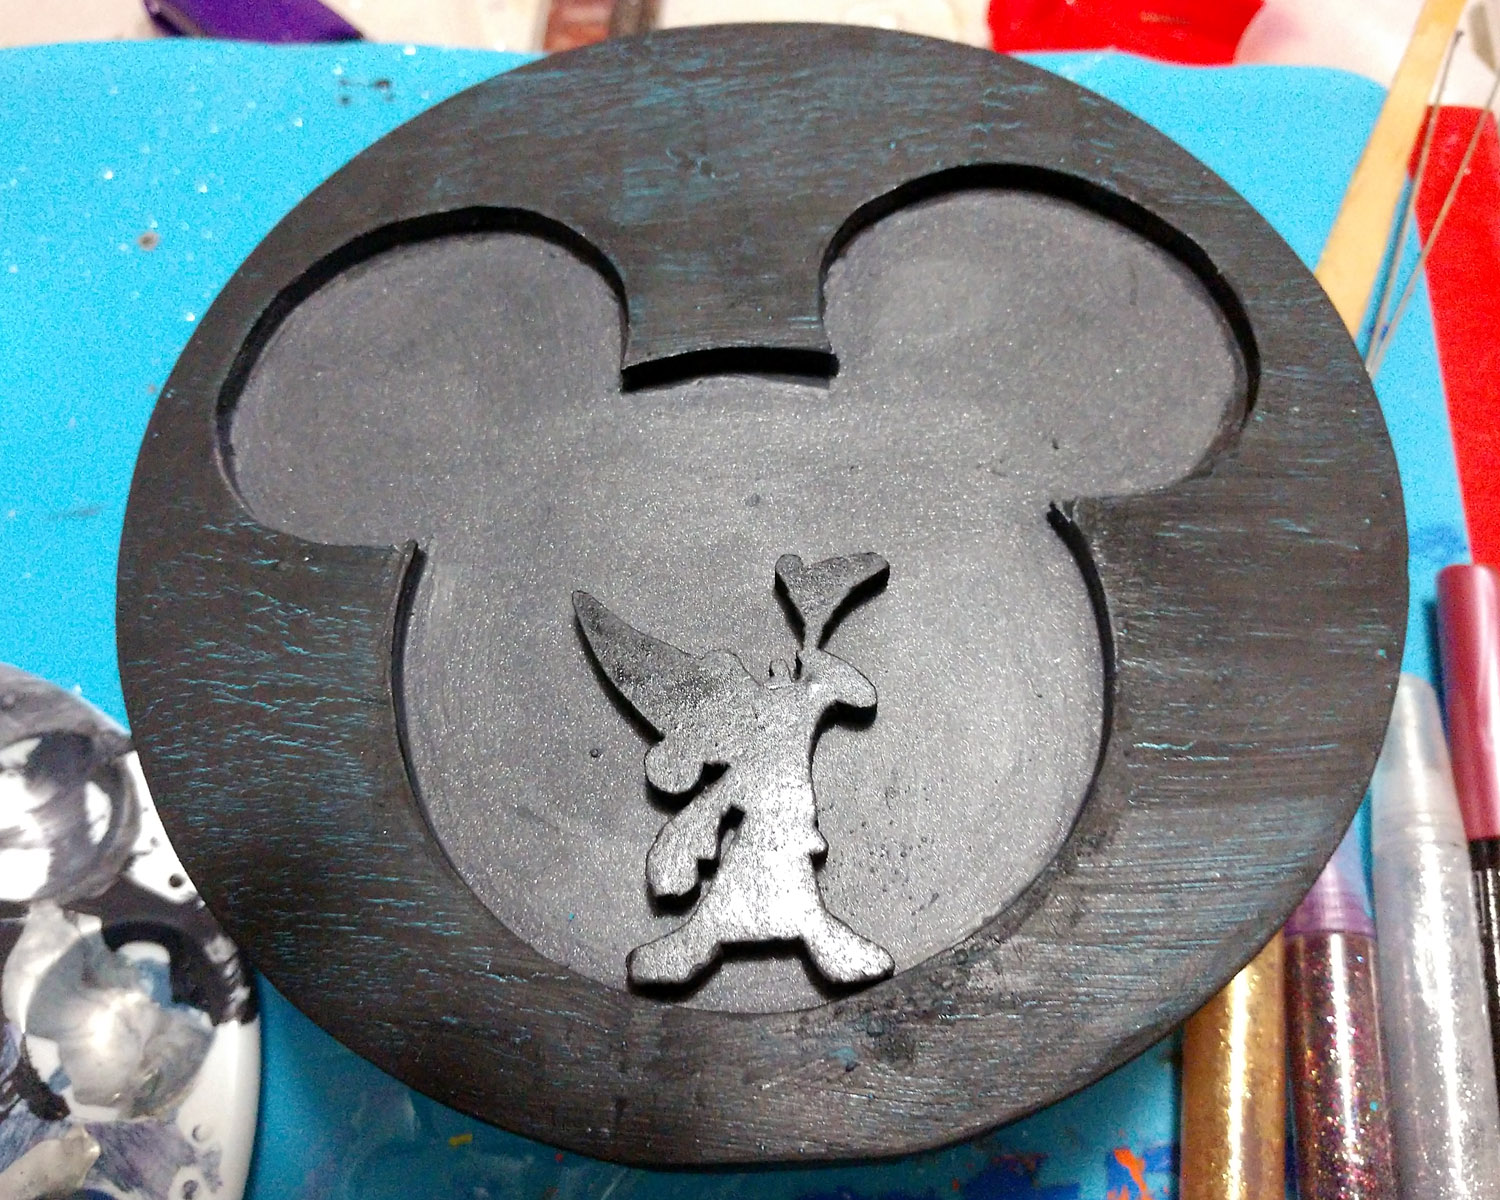
Added a crackle medium then coated in black paint. The result keeps being these small microcracks... have to wonder if I'm not applying it right or something. Still looks ok no?

Better look of the crackle paint result and also added glitter glue to get an idea of the wave design.

First pour. Added more glitter glue on top to cover this ugly sallow green that mixed in with some bad gold pigment. I also tested some resin on the side and while it was still malleable, I cut up the cresent and moon to then superglue onto Mickey's hat. The resin was infused with glow mica too, so it should come out neat.
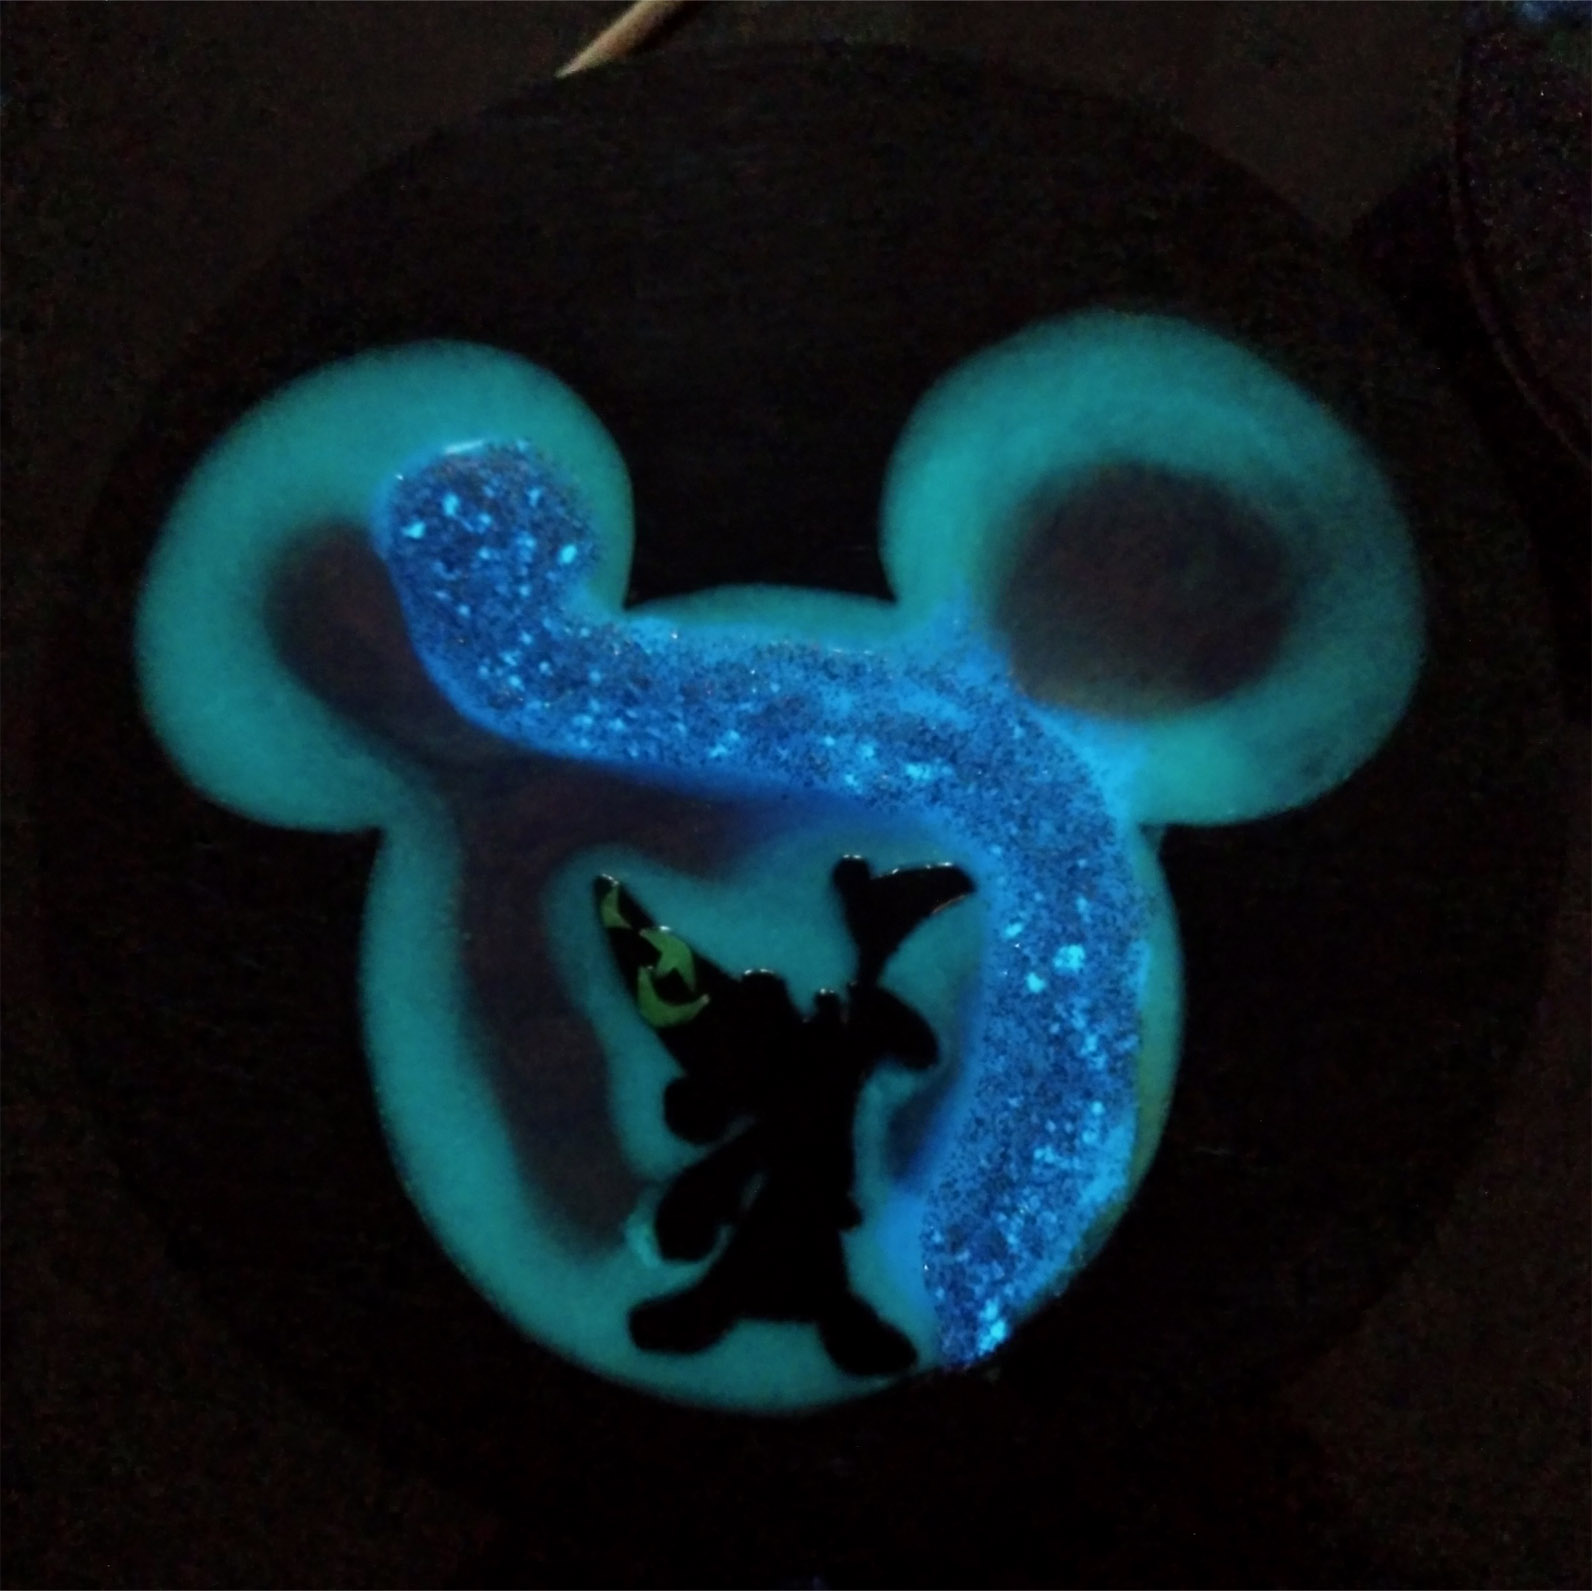
....Kind of overdid it on the glow pigment on the second pour. Still looks neat, no?

Enhanced by charging with a UV light. Shots were taken with long-exposure in a dark room, then compiled into a gif to show some transition and to keep the image somewhat crisp.

Finished shot again. More glamour shots below.

I like painting these edges black, and with the rounded edge... the resin flowed quite smoothly across the borders too.

Another look at the sides.

Low light setting. UV charged.

Long exposure in pure darkness.
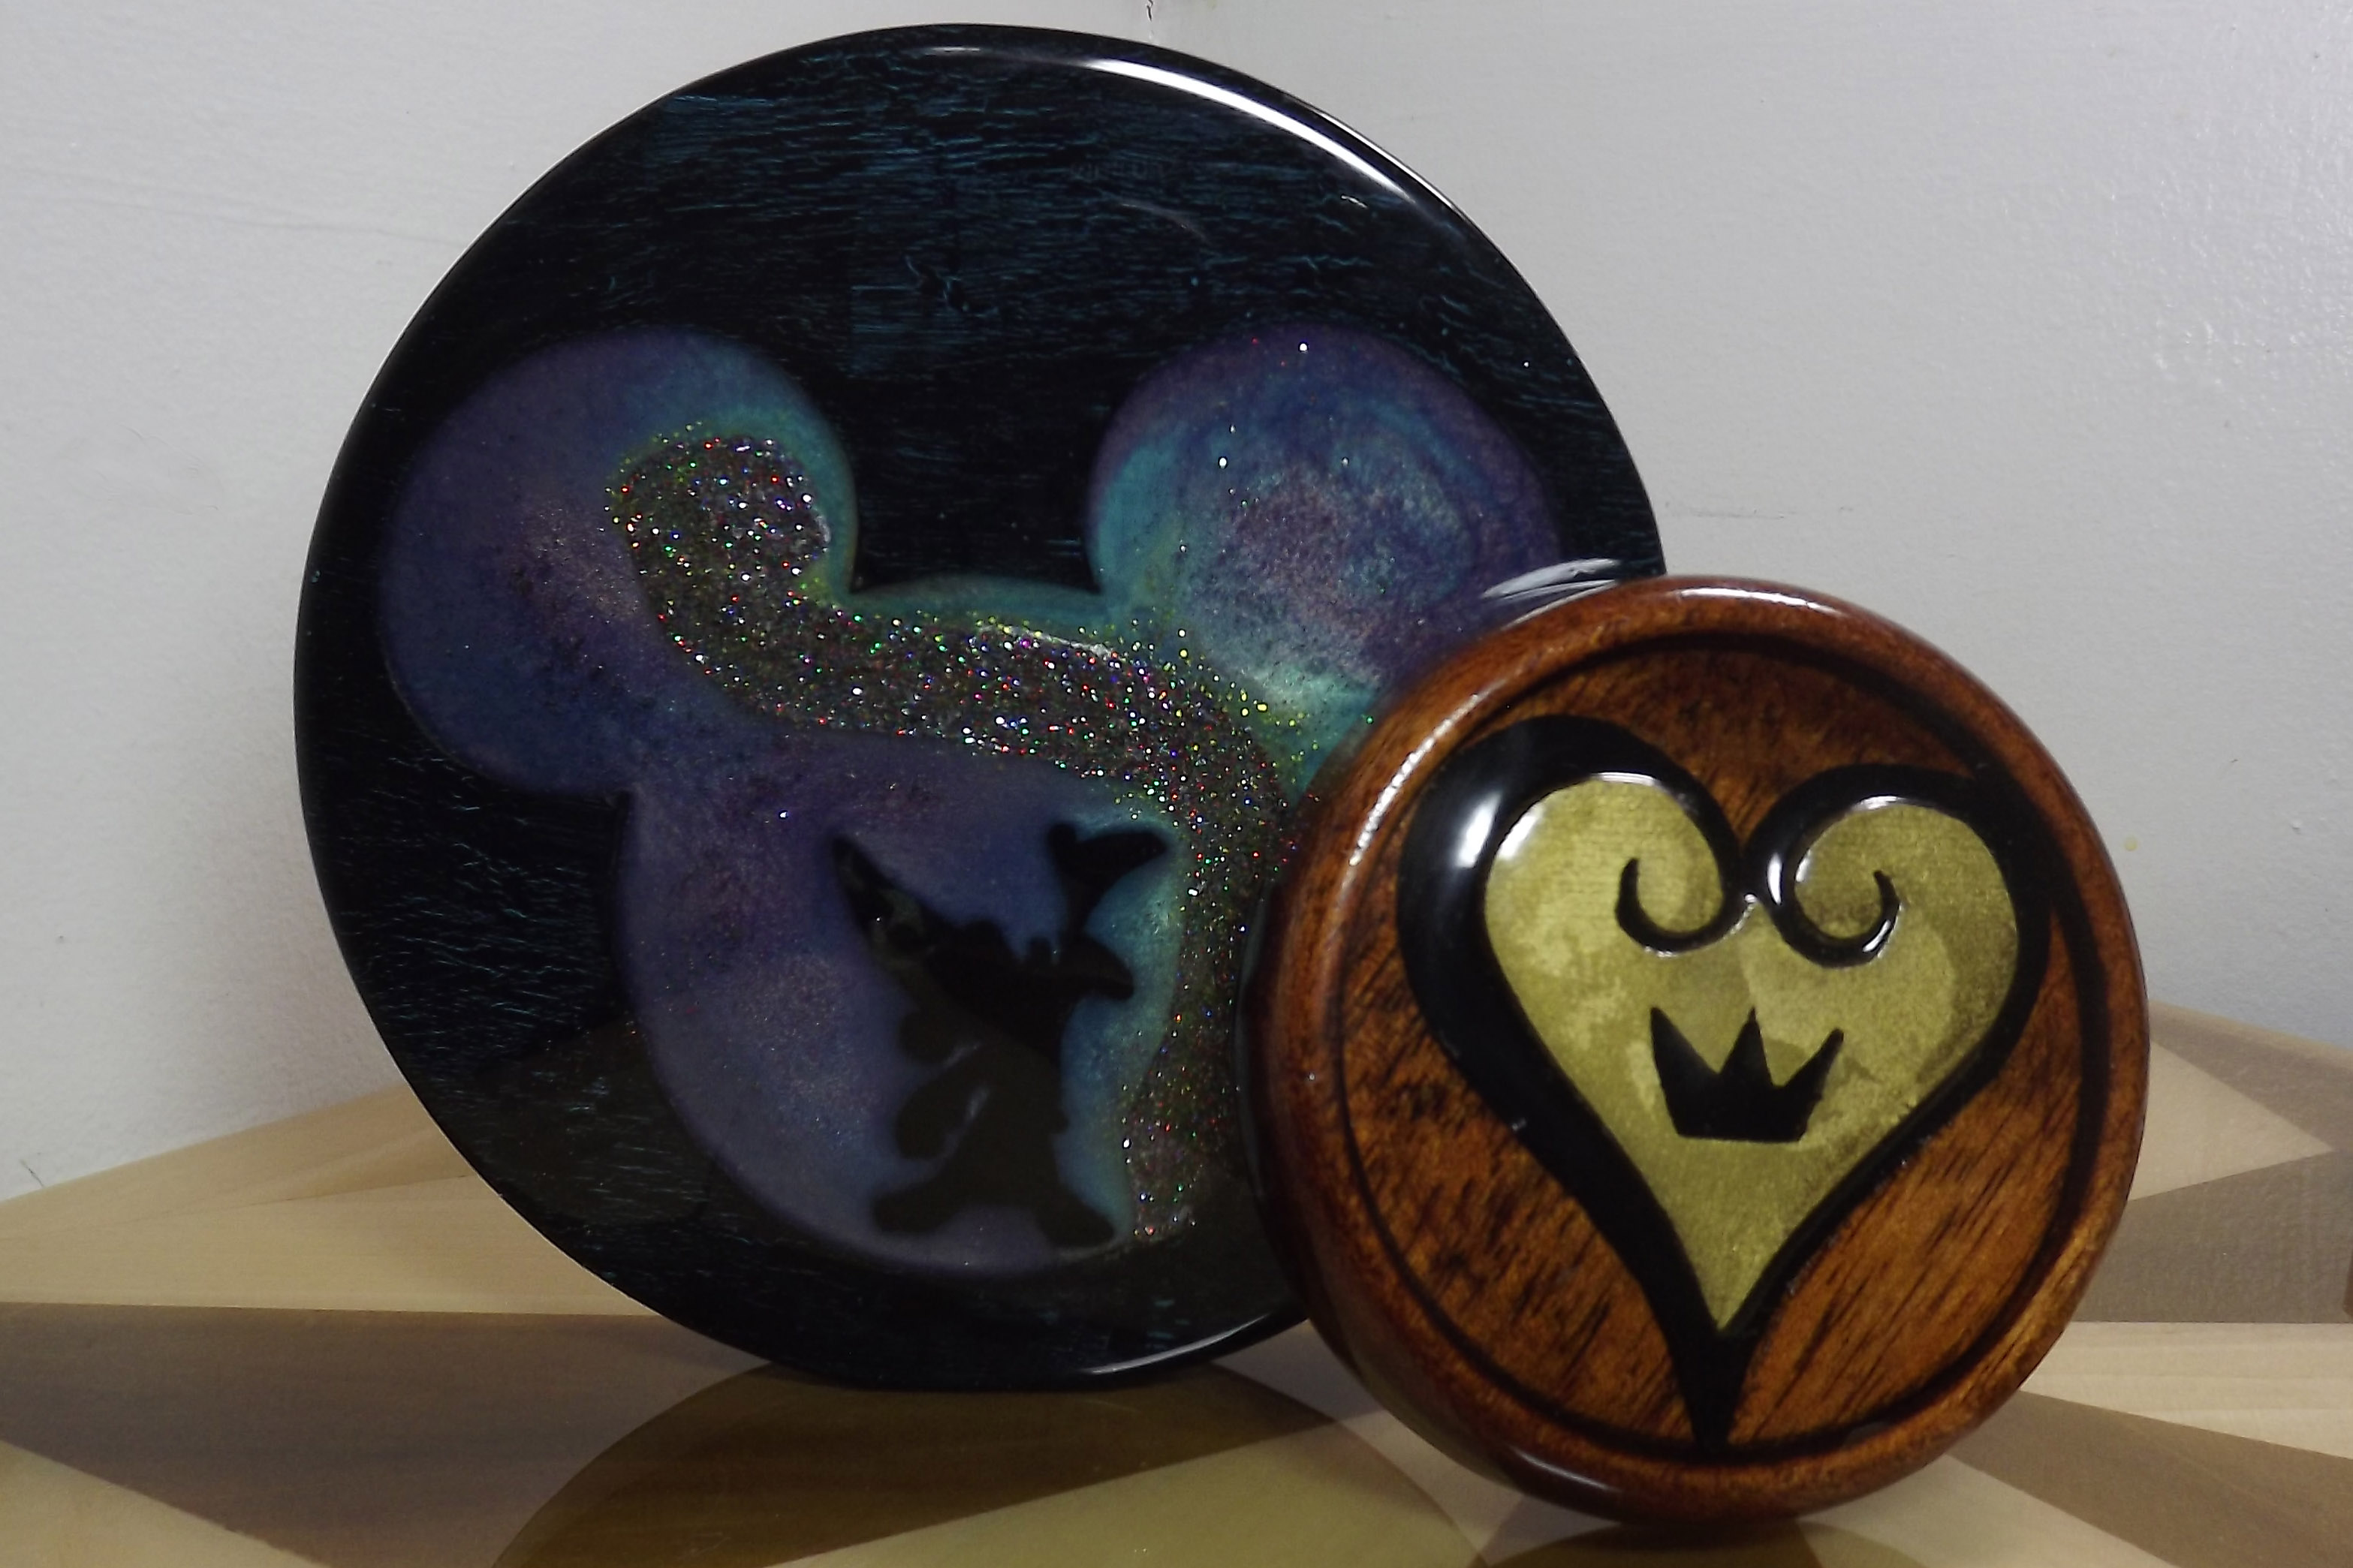
Alongside a very early project of mine. Kingdom Hearts anyone?

Thundercat tax?
Totallyscrewedinaustin
Nice! Just got my first little box of resin, haven't committed to making anything yet. What would you suggest as an easy first project?
CodeXCDM
Hm. Got any nice woodworked items? Can brush resin in to fill pores, then try to finish with a flood coat.
CodeXCDM
Glue picture on some wood. Seal top and around it with modge podge. Resin. Shiiiny.
thatwastooclose
This is sweet. For the magic glittery part did you consider swirling it a bit after you poured the resin? Like with a toothpick kinda thing?
CodeXCDM
On the first pour, it had a slight swirl to it, actually. Unfortunately I mixed in this greenish/gold glitter that became sallow, so I (1/2)
CodeXCDM
resorted to adding more glitter glue to cover the unpleasant look. (2/2)
thatwastooclose
Was the glitter you used metal or plastic?
CodeXCDM
The greenish junk that almost ruined it? Probably plastic. From a dollar store.
thatwastooclose
I definitely would've done the same thing on a first try, the resin chemicals probably just destroyed the glitter, I'd try metal powder next