
Nessacities

8892

43

4
The Original Set
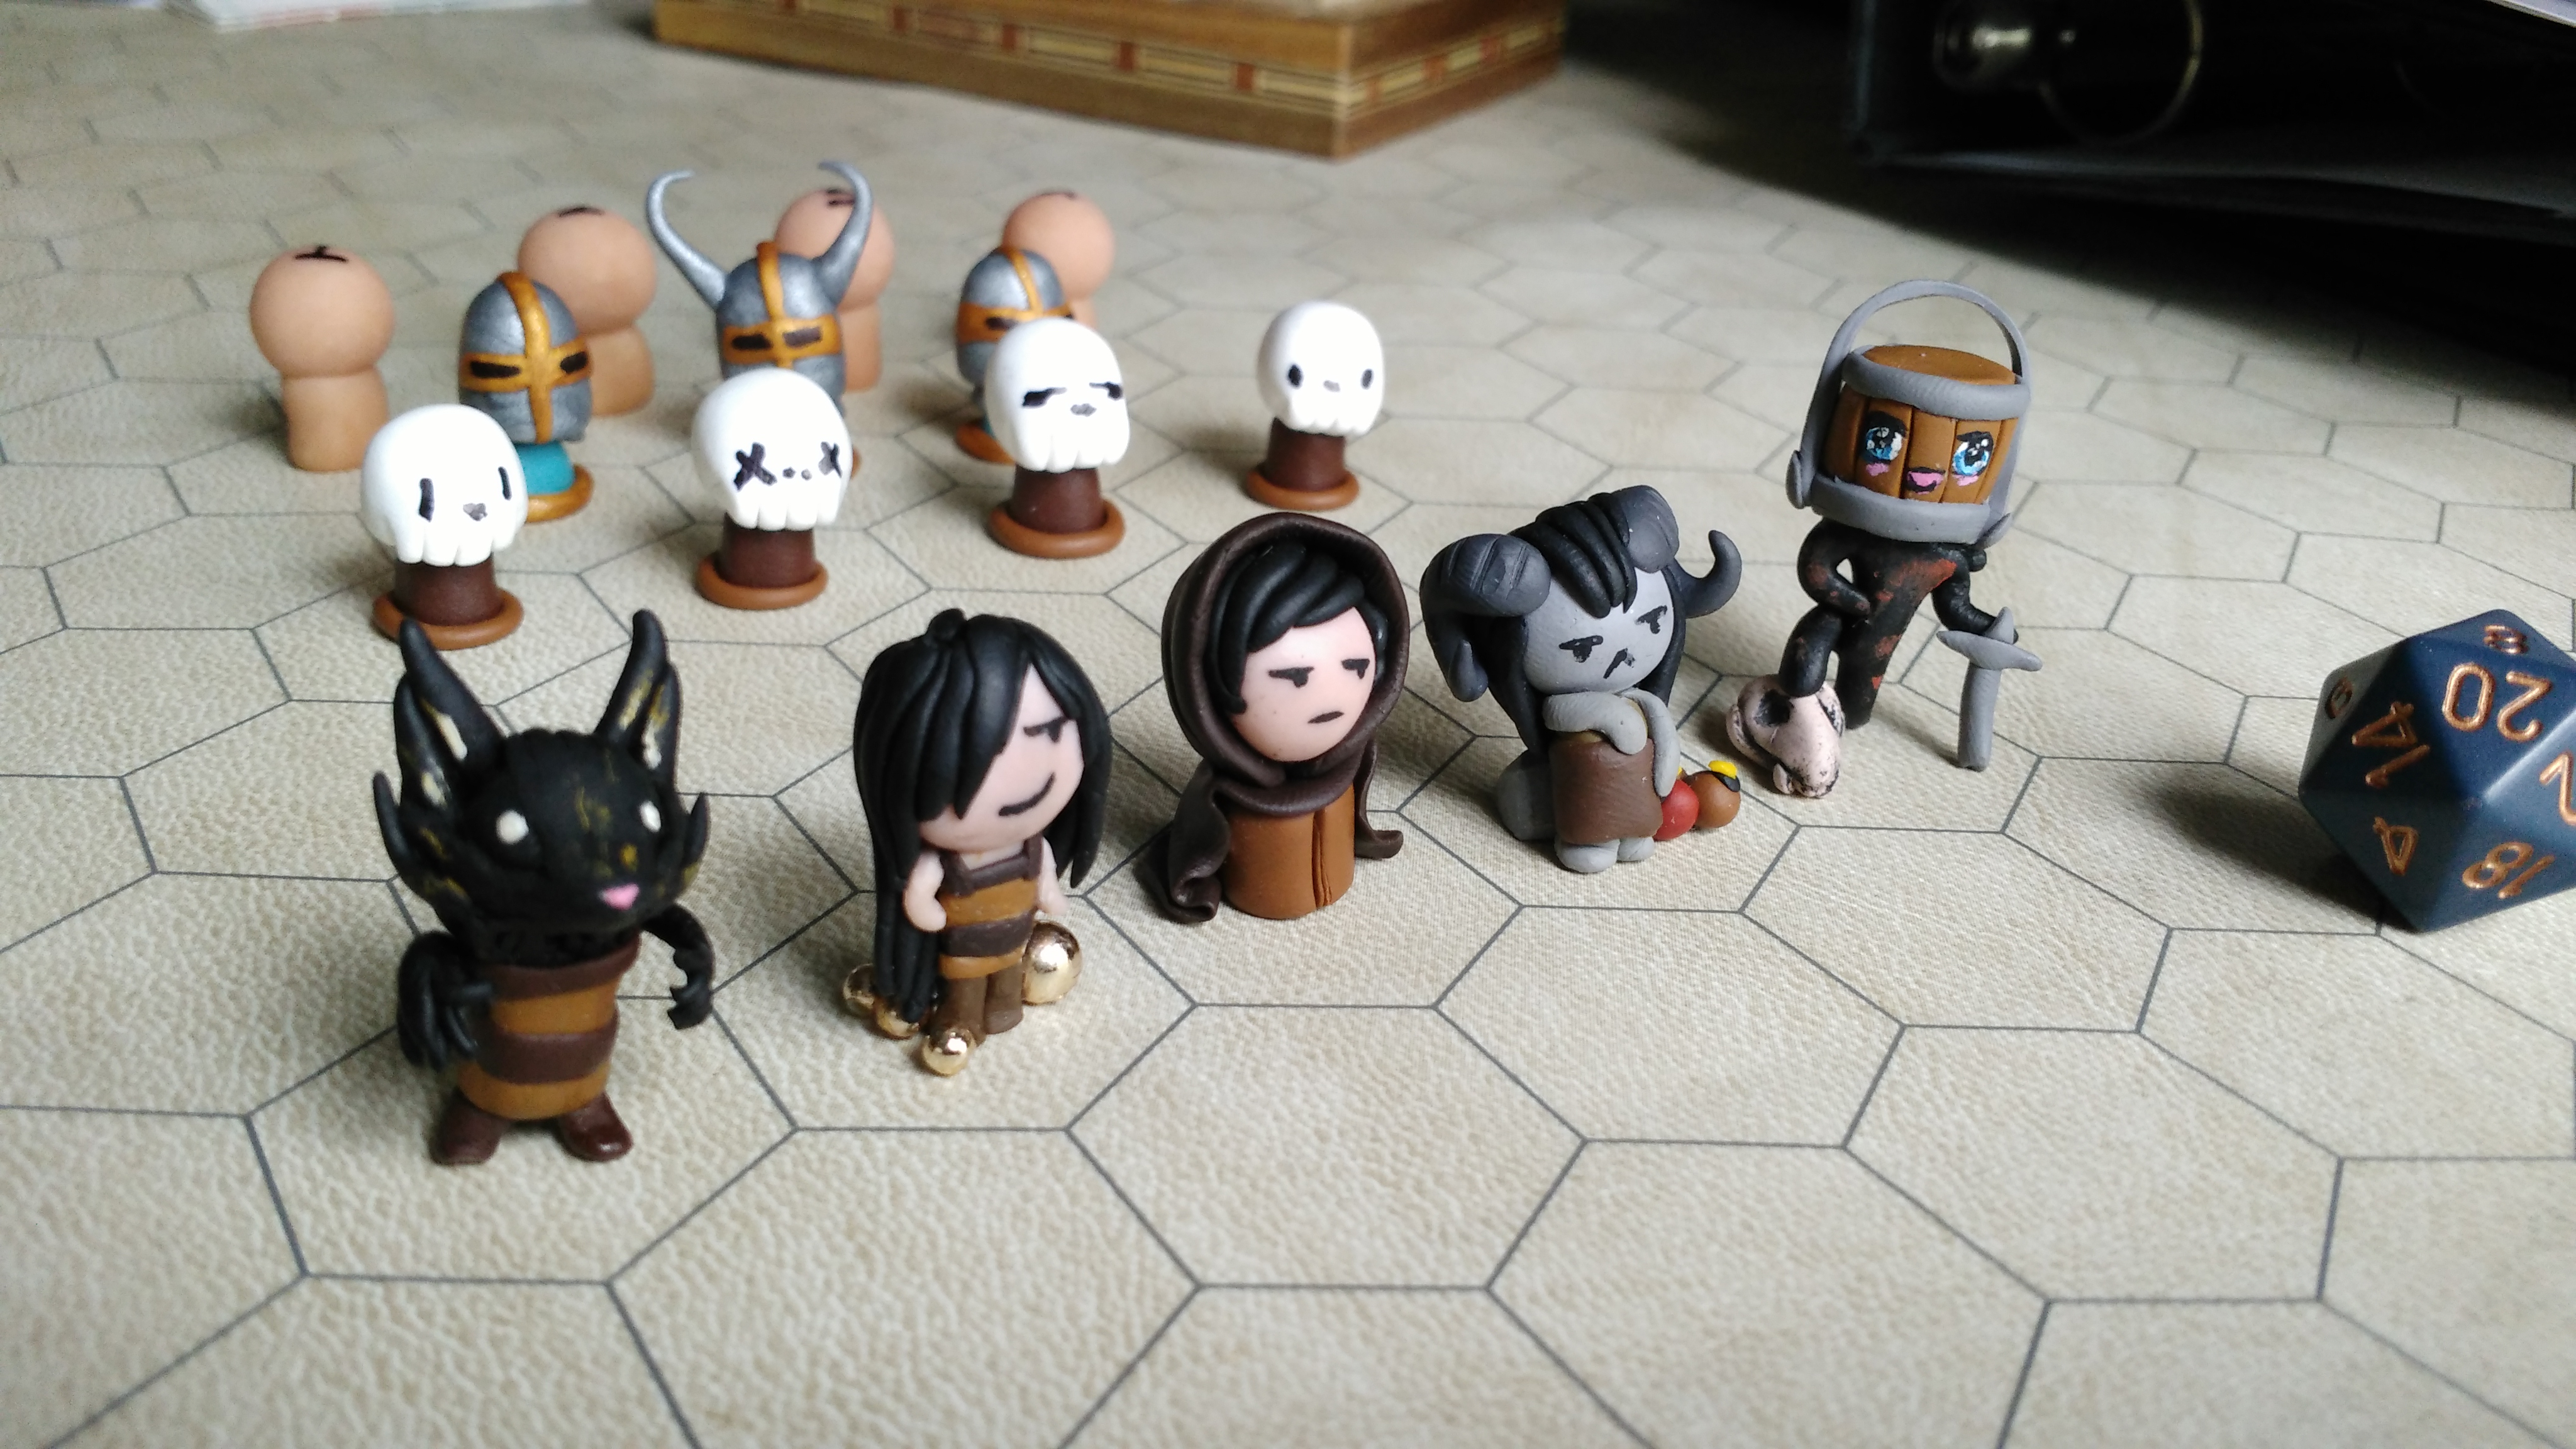
Made these guys for my home games. You guys really seemed to like them! Since you guys asked, I thought it would be nice to put together a little tutorial. This album is a walk-through on how I made Gorth the Orc.
And we begin!

Grab your polymer clay - I use Sculpey Premo, and start by choosing a mix of colors for your orc's skin.
I like adding orange to my greens to make them a bit muddier.
Mix more clay then you need! Though you can mix more if you need later on, it's nice to have enough initially prepared.

Roll everything up into a snake.

and then twist the snake onto itself. This helps mix the colors in efficiently with relatively little work.
(Clay can be a real pain to mix.)

Continue rolling out and twisting your clay until the color is consistent.

From this point you're going to want to divide your clay into 3.
1) A sphere (for the head)
2) two snakes (for the arms)
3) some extra clay for the ears and jaw.

Here's Gorth's lower jaw. It's a small snake with one flattened side. That's the part that will be smoothed into his face.

Here are two tiny orc tusks.

Place the tusks behind the round half of the jaw to create a lip.

Stick that onto your orc's head...

and smooth the edges down!

These little triangles are going to be Gorth's ears. They're flattened on one side so they can be smoothed on like the jaw.

Stick em on and admire your derpy orc.

This is a short snake made out of two spheres of clay. This will be Goth's body.
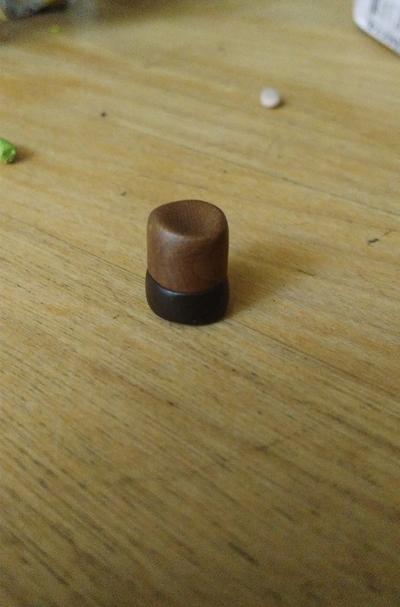
By squishing the two ends together you'll make a nice little cylinder that will hold your orc's head.

You can now stick on your two snake arms. I added two shoulder guards for decoration. They also help hold the arms.

Now you can plop your orc's head onto its body.

I made Gorth a little sword.

But then I realized that battle axes are soo much cooler. It fits nicely on Gorth's back.

At this point your mini might have a little trouble standing up. If that's the case, roll out a skinny snake and wrap it around the base of your orc. That will help stabilize the mini.

Here's Gorth with his reinforced base and shiny new belt buckle.
At this point, if you're happy with your mini, you can bake it as is recommended on the clay's packaging.
I always try to bake mine depending on how thin the smallest details are on the mini.
For Sclupey Premo, the instructions say to bake at 275 °F (130 °C) for 15 minutes per 1/4 in (6 mm) thickness.
Gorth's ears are pretty thin, so I baked him for 20 minutes.

Draw on a derpy face and your orc is now ready to battle!
You may want to practice with washable markers or something of the sort.
(If you don't like the face you drew and used something permanent, you can always use a fine grit sandpaper to sand it off.)
Thanks so much for the support everyone, you're really one of the best communities out there!
bertrex
Thats really cool! Great work!
newuser656
please PLEASE do the binding of isaac.
Nessacities
SUCH a good game... I'll have to add an isaac to my collection