
Sevulturus

1630

19

1

Maple and walnut cuttingboard designed to fit over a countertop stove. The pieces are bookmatched. So the grain should mirror from one side of the middle to the other. This is achieved by splitting one board down the middle, and turning it on end so the cut sides are up.
Dimensions are 18"×27"×1.25"

The aforementioned stovetop in my Aunt and Uncles trailer. It takes up a lot of counter space.

This is what they're currently using, a section of left over IKEA countertop. When it gets damp or the humidity changes too much the wood changes size and the board warps.
Birthday gifts are becoming difficult to find, so I offered to try to to make them one that wouldnt warp.

Like most of my projects the start point is old hardwood flooring. This is maple with the tongue and grooves cut off the 4 sides and the top and bottom planed flat.

Cut each board in half and arrange them cut side up opposite each other. I ran a strip of walnut down the middle because I like walnut.

Terrible glue up. I gambled and tried to do the whole thing in one go. Some of the glue dried a tiny bit before I clamped so I had some small gaps to deal with.

Planed it flat, sanded with 60 and 120 grit then wiped with water to bring out the color and raise the grain. Starting to look nice.
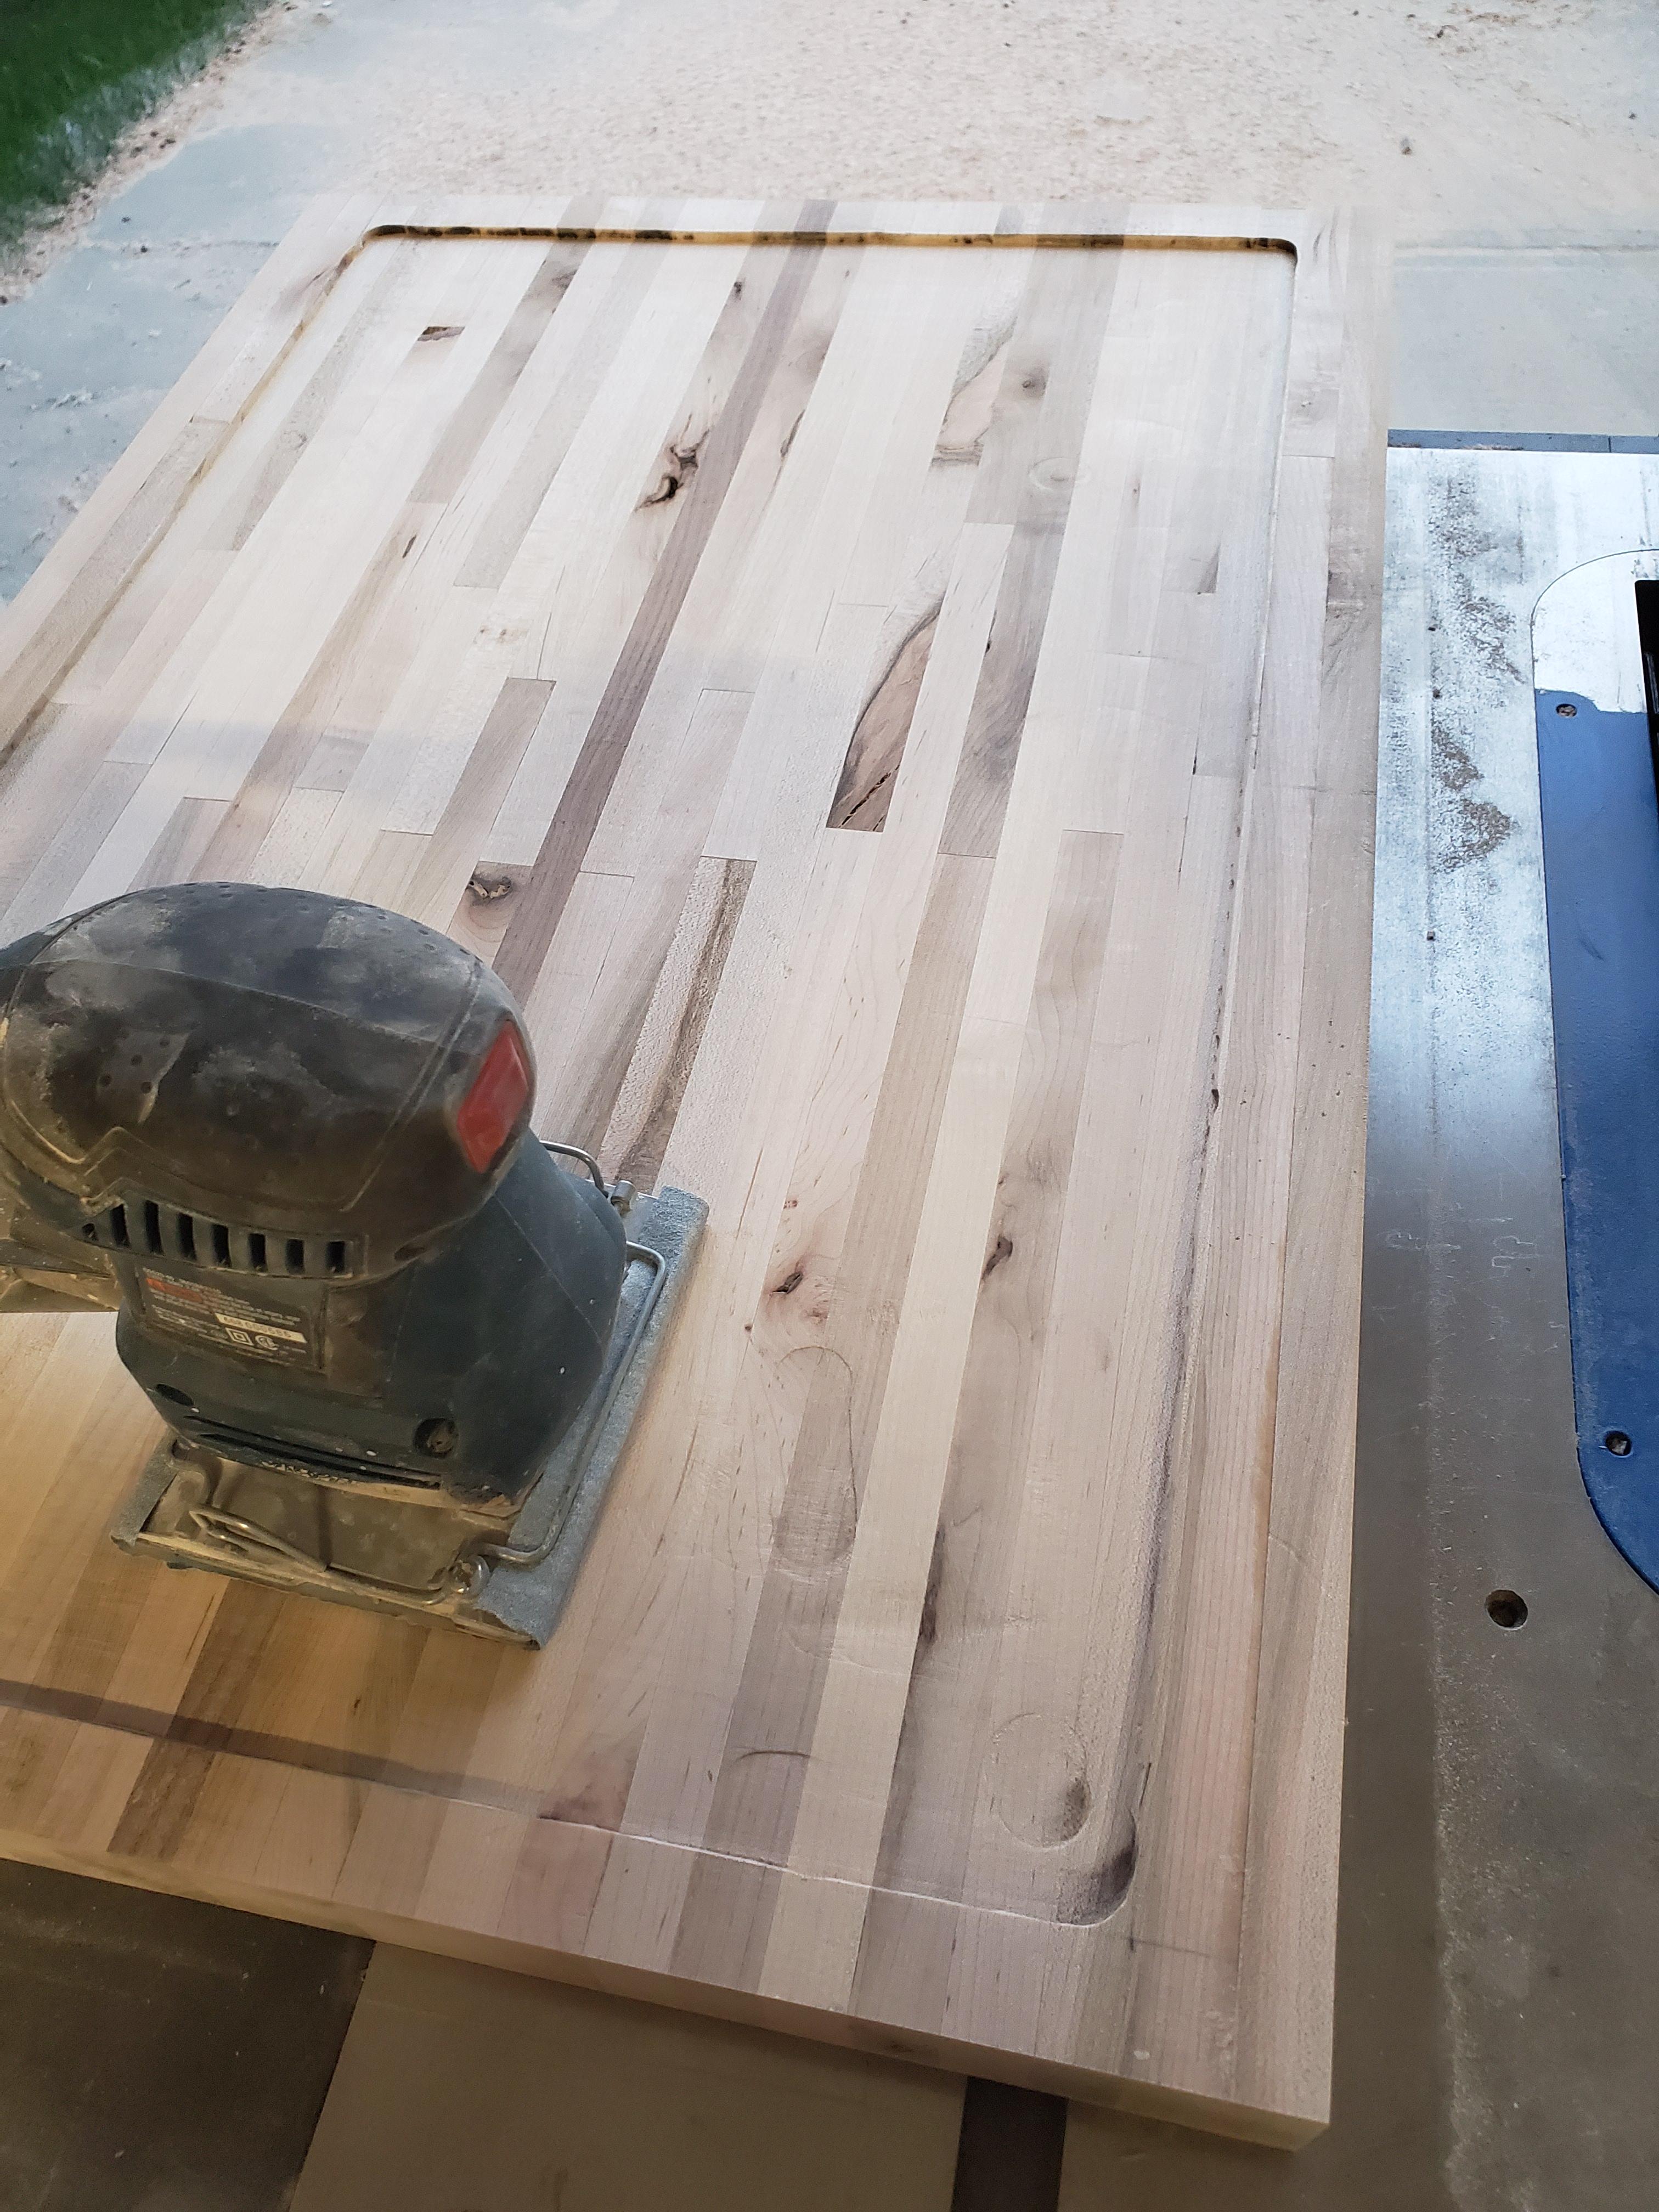
I did a lot of math and measuring here to get the cut out to the right spot. Then freehanded it with my plunge router. It got a tiny bit away from me on some of the edges. At least it is the bottom.

Never cut in a juice groove before. Cheap router bits aren't the cost savings you would expect as this one burnt badly. The edge guide on my little dewalt router saved me starting this entire project over due to a runaway bit.
I know I know, many light passes. This was pretty light, I didn't have the guts to try another go to try to cut off the burnt sections. Basically freehanding a straight line is hella tough.
I'm happy with how the corners met up. Didn't go over at all.
Cut some finger grooves in the bottom the same way.

An hour or so with some sand paper and many blisters later. Final pre finish sanding was 320 grit.

Tung oil. This is pretty great stuff. It takes a long time to fully dry. But it catalyzes in the surface into a solid finish that is water resistant, anti fungal, and hard wearing. With the added bonus of coming from seeds so allergic reactions are very very rare.
I've got 2 year old countertops that look brand new finished with this. And unlike the popular choices of mineral oil, beeswax or a mix of the two it doesn't wash out over time.

Top side oiled and drying. You can see the grain on individual pieces mirroring the opposite piece.


Finger groove to pick it up easier.

Some nice spalting in the juice groove. I'll put another coat or two of oil on the whole project then do a final hand sanding with some 1000 grit sandpaper to give it an ultra smooth finish.
Pretty excited to deliver this one.
ScreamimgGoat
it's so beautiful
GordonDewald
Installed it last night. Fits perfect. Thanks for all of the work and beautiful accessory to cover the induction top.
vornan19
OP, this is not matchbooked!
Sevulturus
The individual pieces are. Each piece on one side of the walnut strip has a matching piece with the same grain on the opposite side.
Sevulturus
The effect is if I made a 3" thick butcher block then sliced it down the middle. And layed it cut side up. Bookmatched.
Sevulturus
It's most obvious on the pieces right next to the walnut on the left side. Or the spalted pieces that are second from the outside.