
Hexarcy00

827

21

11

finished product first

Here is how it looks in my living room under mostly natural lighting.

This was my original concept which I sketched out. I drew inspiration from an open book. The triangular part on the left is supposed to resemble the interior of a book binding. Then the big rectangles are pages, but like totally In 3D, bro.

some fun fabrics.

time to build a frame. Most of the wood here is just cheap 1x2" poplar boards. The triangular parts in the middle are maple. Cutting all of the different angles was a huge pain in the ass. I definitely had to remember some trigonometry. After all of the pieces were cut out, I glued and screwed most of them together.

The triangular maple parts would be visible so I decided to stain them. The stain I used was a "stain+poly" which includes polyurethane to help protect the finish. I just had to apply two coats. The color is dark cherry.

Here is a picture of the final stained wood grain. I roughened the edges with sandpaper to make it look a bit weathered.
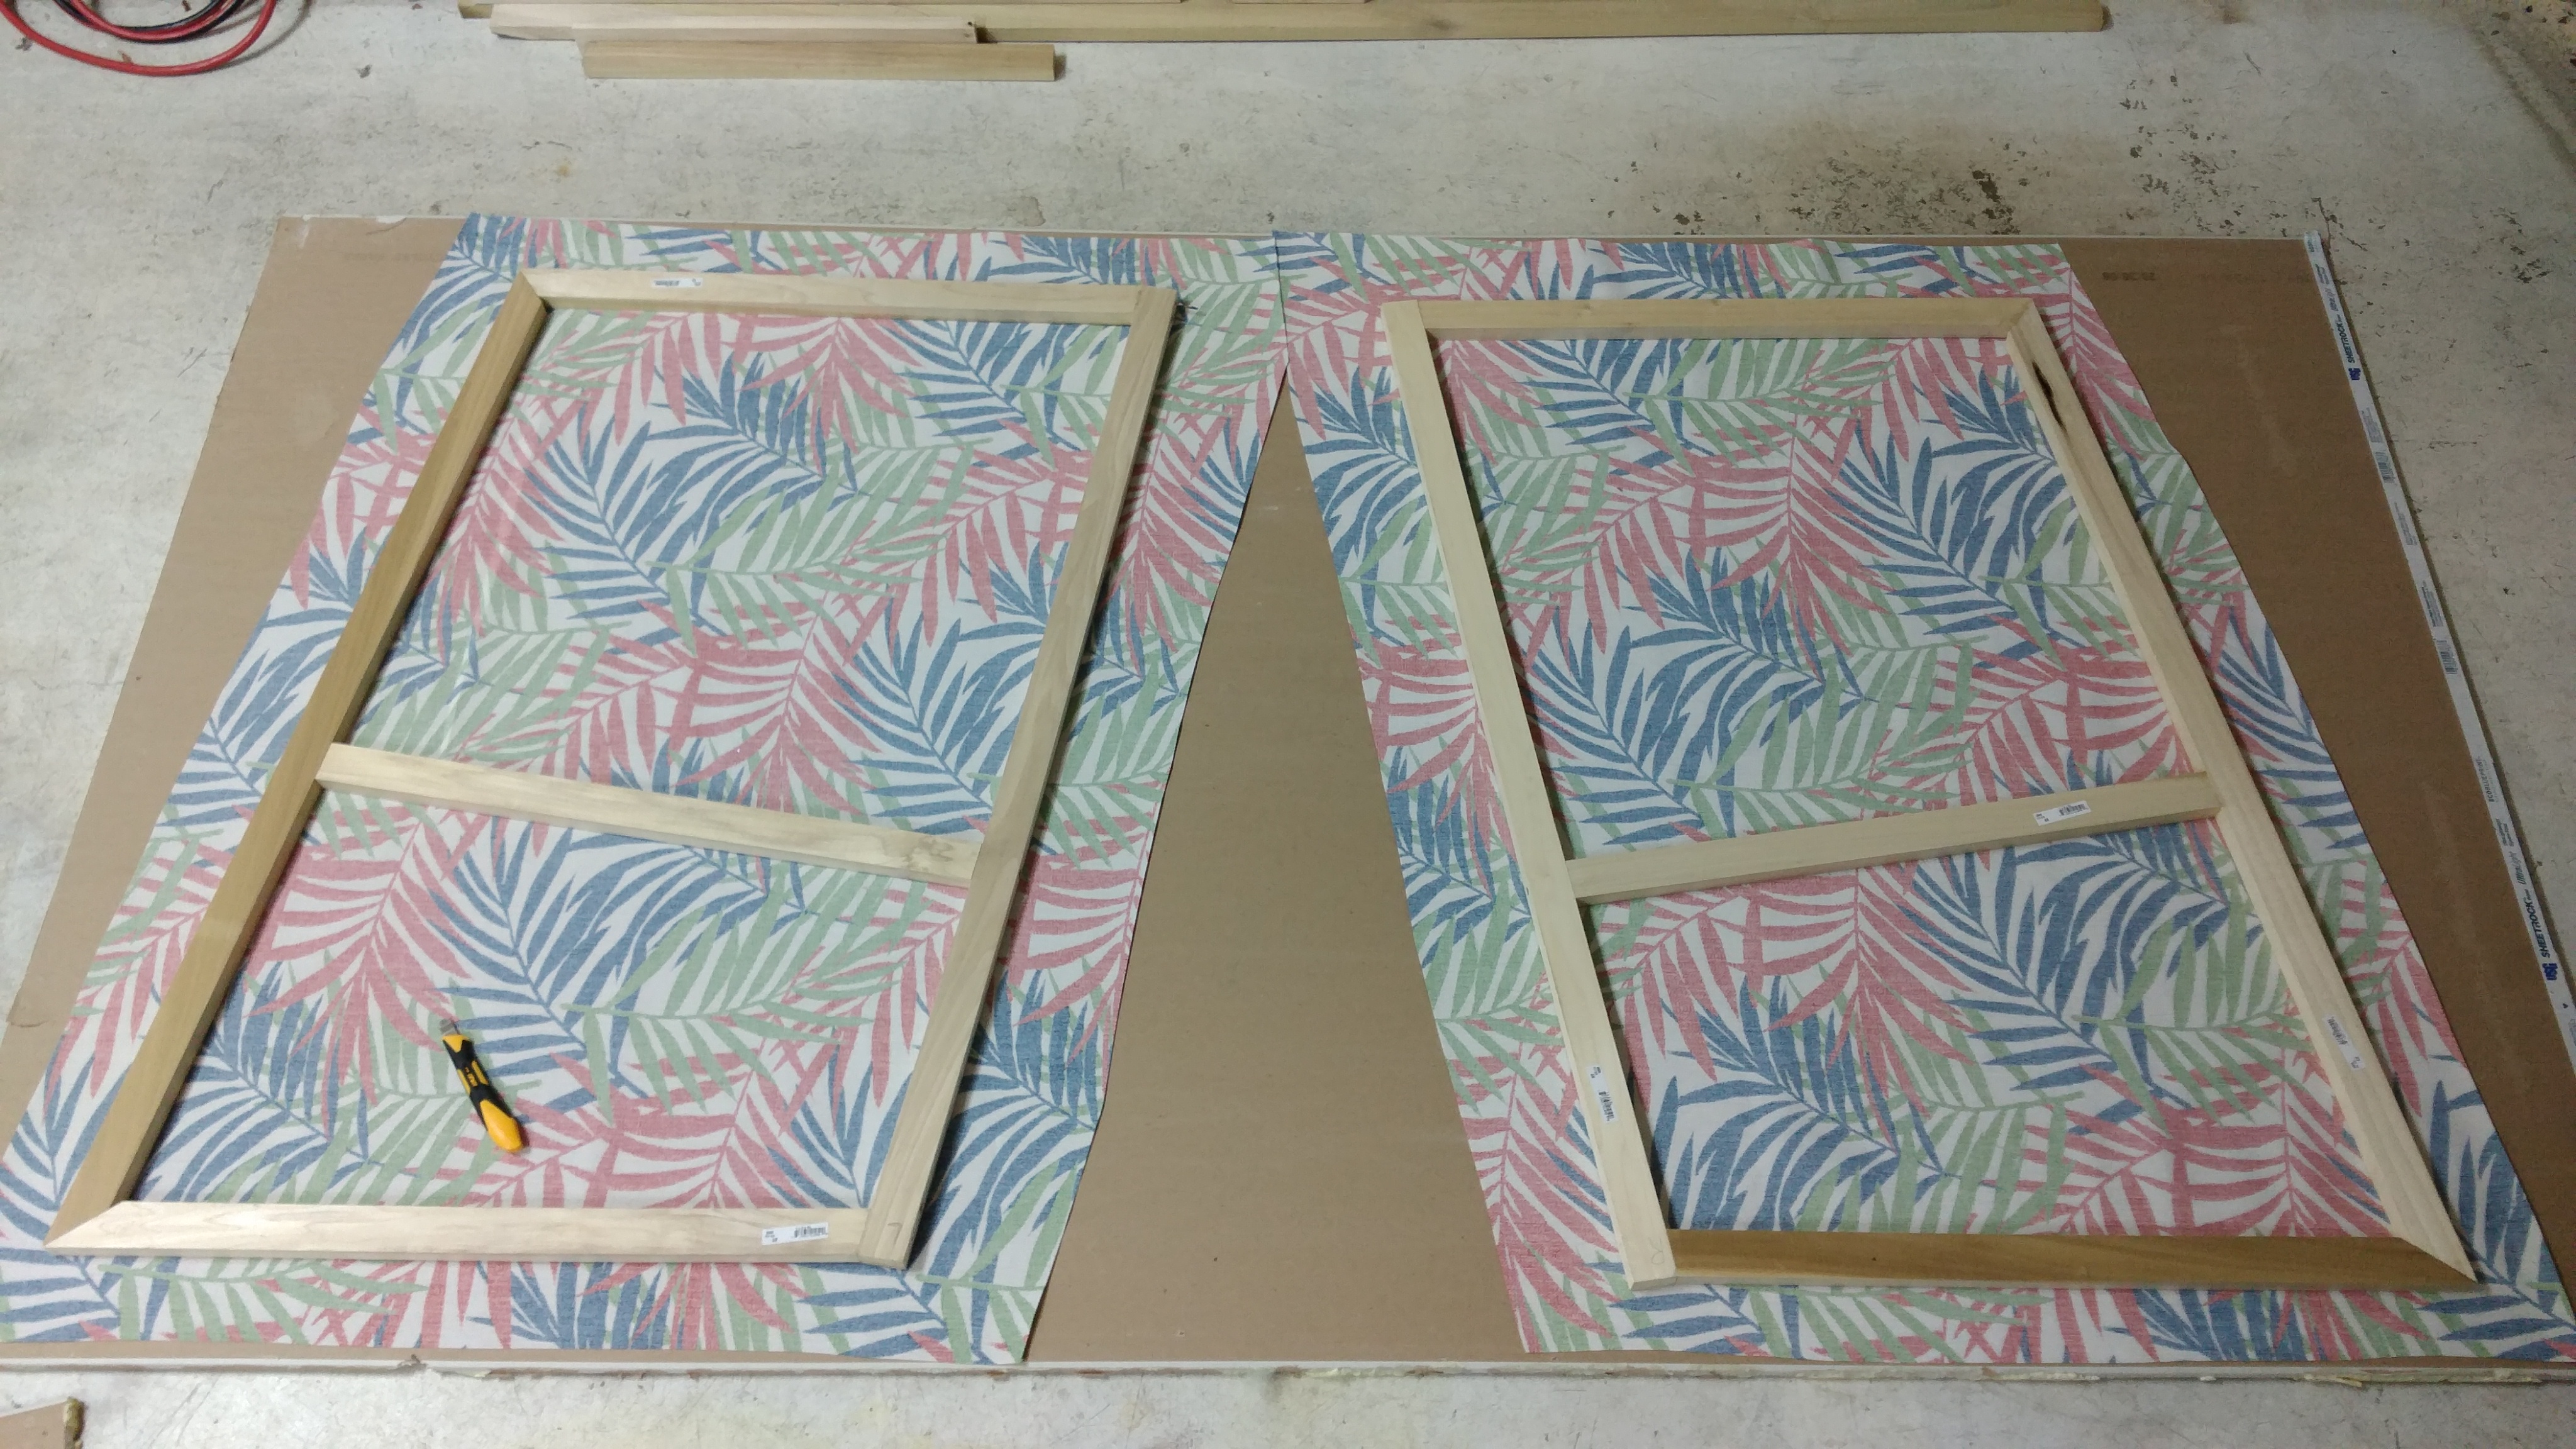
While I waited for the stain to dry, I started working on the back panel. First I laid the frame on top of the fabric. Then I simply cut the fabric a few inches larger than the wooden frame and stapled it to the back.

Here is a view of one finished panel with another panel about to get fabric stapled to it.
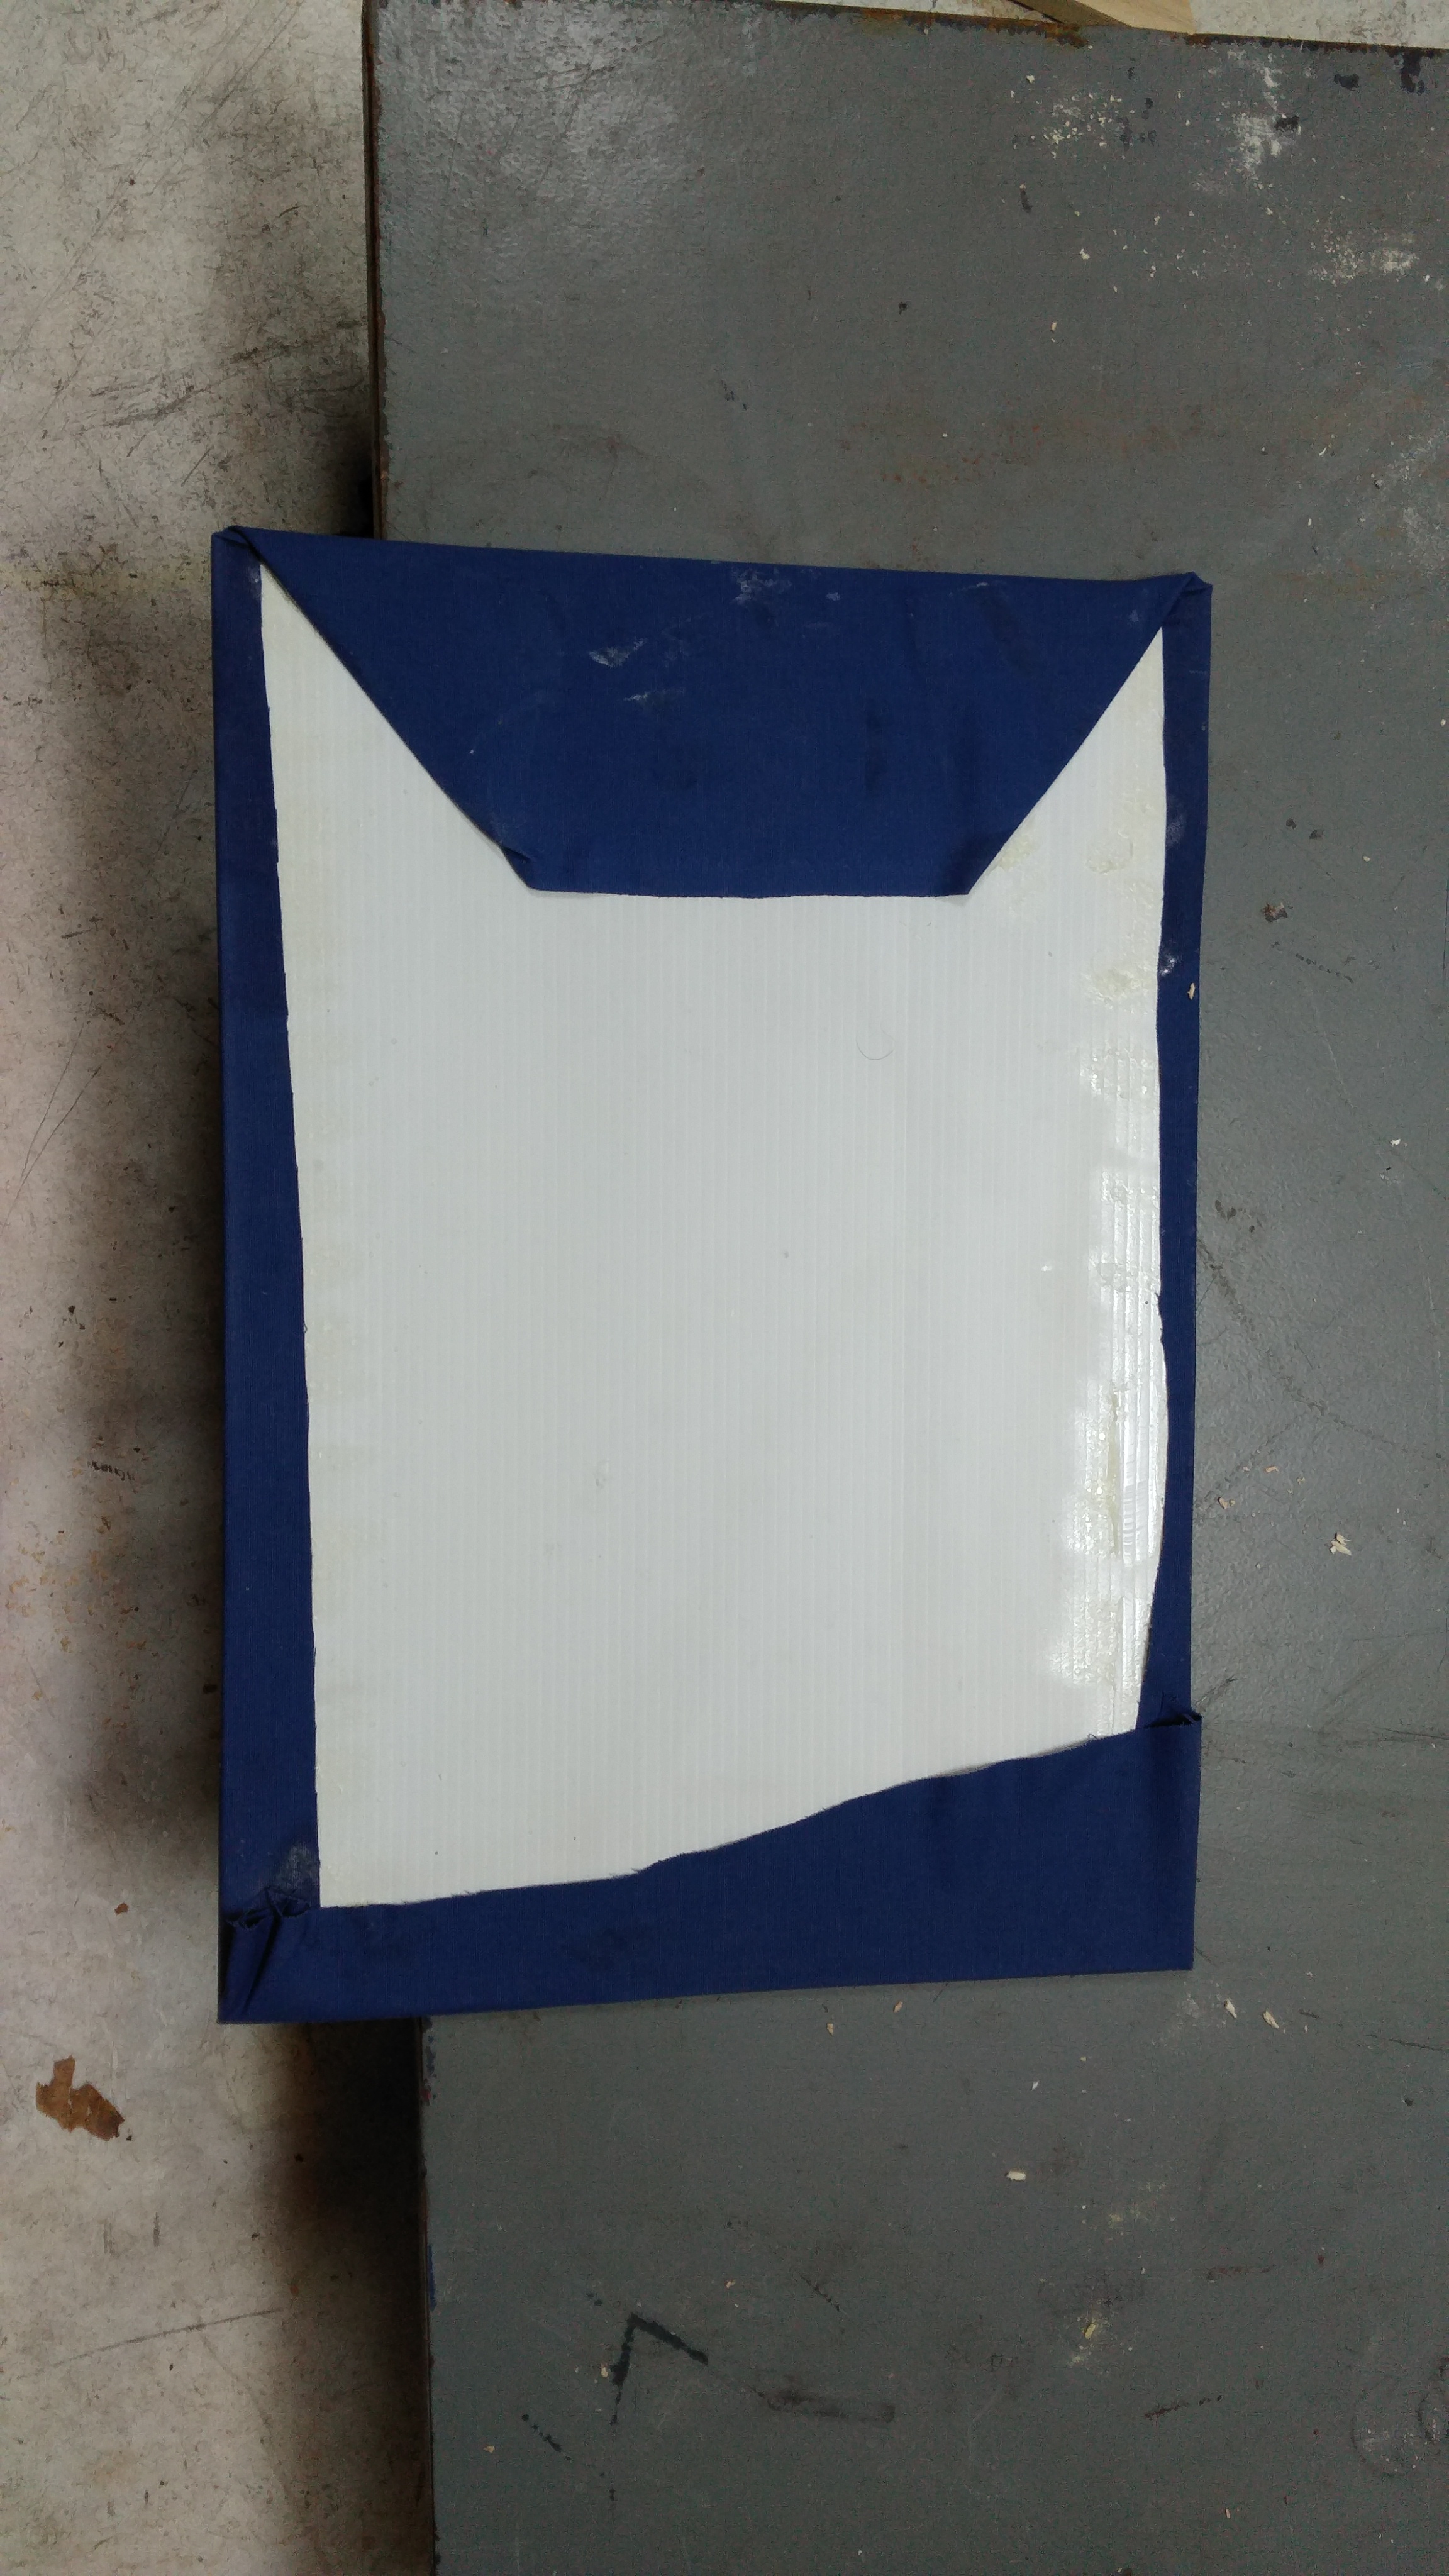
The remaining panels would be made out of plastic cardboard covered with different fabrics. The fabric is cut to size and then glued to the plastic cardboard. I made a test piece to see how much glue I could use before it would soak through.

Here you can see the test piece shows some dark spots where the glue soaked through. Luckily that only happened where I applied a ridiculous amount of glue. At this point the entire frame is all connected together.

I was satisfied with how my test panel ended up, so I started cutting plastic cardboard for the 3 (6 total) remaining panels.

Unfortunately I miss calculated how much cardboard I needed and had to improvise. Some scraps had to be taped onto one of the pieces. It seemed to hold up just fine though.

Here I'm just testing to make sure all of the pieces line up correctly. It's finally starting to look the way I envisioned!
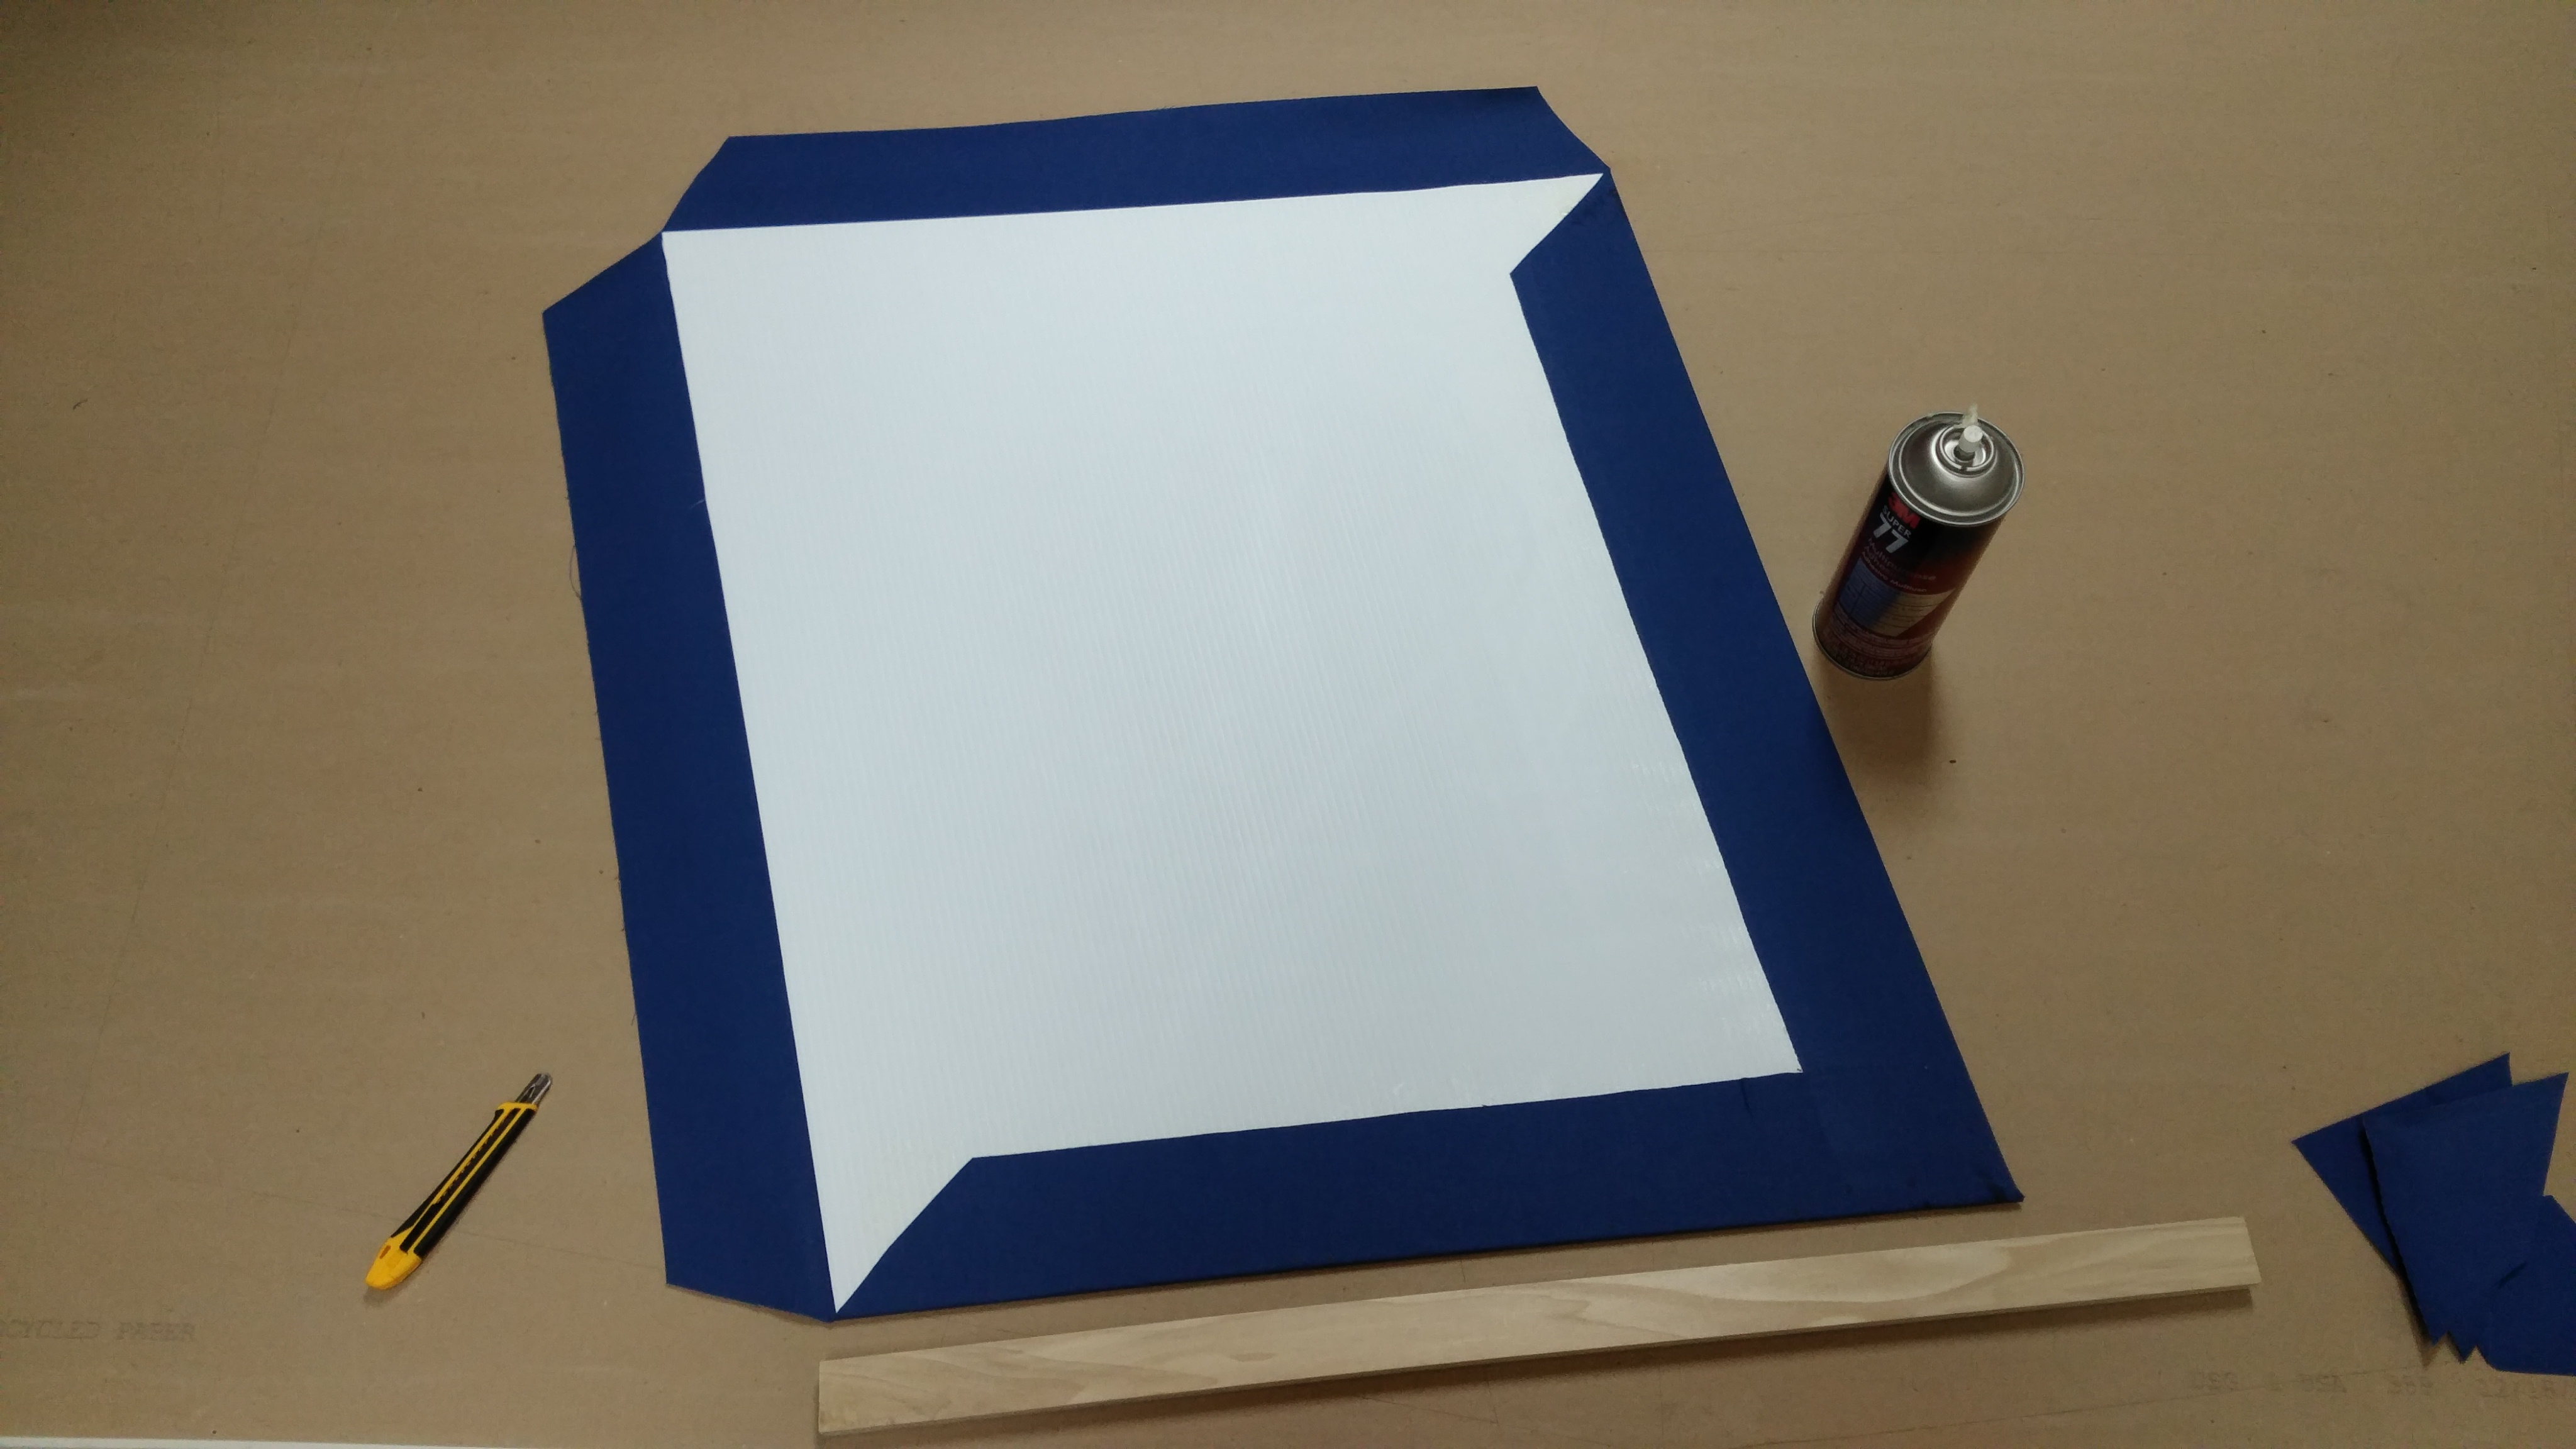
Each piece of cardboard was covered in fabric the same way that a book binding is made. First the fabric is cut to size. Then the cardboard is covered in glue on one side and placed face down on the fabric. Then each corner of fabric cut as is shown on the top left in this picture. Then more glue is applied around the edges and the fabric is folded over. The glue I used was just an all purpose spray adhesive. It worked great.

Now it's really looking almost complete. At this point I had to decide on an even spacing for each panel. I decided that each panel would be spaced 3 inches higher than the one below it.

To secure the panels I used some oil rubbed bronze fasteners that basically looked like rivets which screw together. I drilled holes for the fasteners, each hole being offset by 3 inches in the vertical direction.

To make sure each panel would line up perfectly, I made a little template out of some scrap plastic cardboard. The template has the same angled corner as each panel and has a hole drilled through it. The template is laid over each panel and lined up exactly in the appropriate corner. I was then able to use a drill with a sharp (new) wood drill bit to drill right through each panel in the same spot.

I installed little 'D' ring hangers on the back. One on the point of the maple frame...

and one hanger on the top corner.

Finished left panel!

Finished right panel!

contrast and brightness cranked up!
jkohara
My mind is blown everytime I see it!! Sincerely, Hexarcy's Wife
mirakittie
Very cool!
pen15alwayswins
Upvoting for your wife on fb! :D
jfarbs18
Sure sure, so you made this really cool art thing or whatever. The real question is, do you know how to play ultimate?
Hexarcy00
Nope, just thunderbuckets. Still working on my defense though
ElectricMarley
whats with PS3 randomly in the corner?
Hexarcy00
I have the PS3 next to the couch so I don't have to get up to change discs. The TV is on the other side of the room.
ElectricMarley
Clever, must have a long HDMI cord
Courierflaps
Glad you had fun! I hope your wife was pleased.
Hexarcy00
yeah, I think she really likes it.