
aVeryRabidDog

3069

58

3

I've always wanted to get into woodworking when I was young, but my schools never offered it and my family didn't have the chance or ability to growing up. Now that I'm a fully responsible (ha!) adult I have my own power tools (courtesy of my coworker) and have always wanted to try making something. Since I moved, there's a perfect little inlet in our room that felt like it was just ASKING for a bookshelf. With encouragement from my gf and lovely assistant, I decided to finally try making something that WASN'T Ikea furniture. I'm a complete novice though and was worried how it would turn out, especially with my limited array of tools and abilities. We don't even have a shed or a garage! Working outside with Pittsburgh weather patterns is a bold move. I'm extremely proud of how it turned out though, after quite a bit of work and worry! Here's the process if anyone is interested!

So my "Cascade Shelf" went through several iterations within Google Sketchup (free and AMAZING program! All hail our Google overlord). At first I thought I'd try something really simple but quickly scrapped that Idea. I wanted a challenge! A challenge I very well might regret! Above is version 1 of the bookshelf

Version 2 was roughly the same concept. Just a fancy backing instead of just a boring board. MORE CHALLENGE REQUIRED!

My SO liked the "lattice work" in the back, but was worried that it would be hidden by the shelves. A valid point and something we spent a day or two trying to change and figure out a suitable substitute. I was stubborn and refused to slap a normal backing on the bookshelf, much to her discontent x)

In the end, we decided that we would keep the same formula, but make the lattice smaller. She loved this design and I agreed that this is the way to go. She also wants to put a rice-paper design behind it to make it look more asian-inspired and I think that's a good idea too. We haven't done it yet, but I think we will down the line!

Here's the back view of the finalized design. At this point we ran into another roadblock; The shelves are 18 inches deep. That's REALLY deep for a bookshelf and a LOT of wasted shelf space.

My idea was simple, cascading shelves! I whipped up a concept in Sketchup and loved how it looked. I was skeptical about how it would ACTUALLY turn out, but decided to roll with it and see how it goes. We were running out of time at this point before the weather was going to turn ugly.
After bribing a friend to help haul some wood, we took a trip to Lowes and shopped around, deciding to use Red Oak plywood and Gunstock stain.

The next parts took weeks to do. Armed with only a hand jigsaw and other small tools, we set about cutting up the plywood sheets and starting to stain. My lovely assistant in the background was with me every step of the way!
Unfortunately, the weather was not. Pittsburgh weather likes to change on a dime and we found ourselves paying CLOSE attention to the forcast every day. When rain was predicted, and it often was, we bundled everything up in tarps and hoped for the best.
2 coats of gunstock stain on each side, including the edges, then 3 coats of polyurethane on top of that. Maybe excessive, but our test piece came to a beautiful shine after 3 coats so we wanted to mimic that.

The fully stained lineup! This is before the poly, hence the lack of shine :D

And now all of the Poly done. Sanding and poly. Sanding and poly. Sanding and poly. Sanding and poly. Neither of us like sanding, and we quickly began to hate poly too.

The whole point of the bookshelf was to construct in two pieces to get on the third floor. Otherwise the bookshelf would not make it around the bend in the stairs.
Here's the bottom portion. Note we decided to get rid of the drawers from the schematic in favor of the cubby holes at the bottom that would hold more instead. We figured we could always add drawers quite easily if we come to sorely miss them.

Frame and stepshelf #1 done! So pretty!
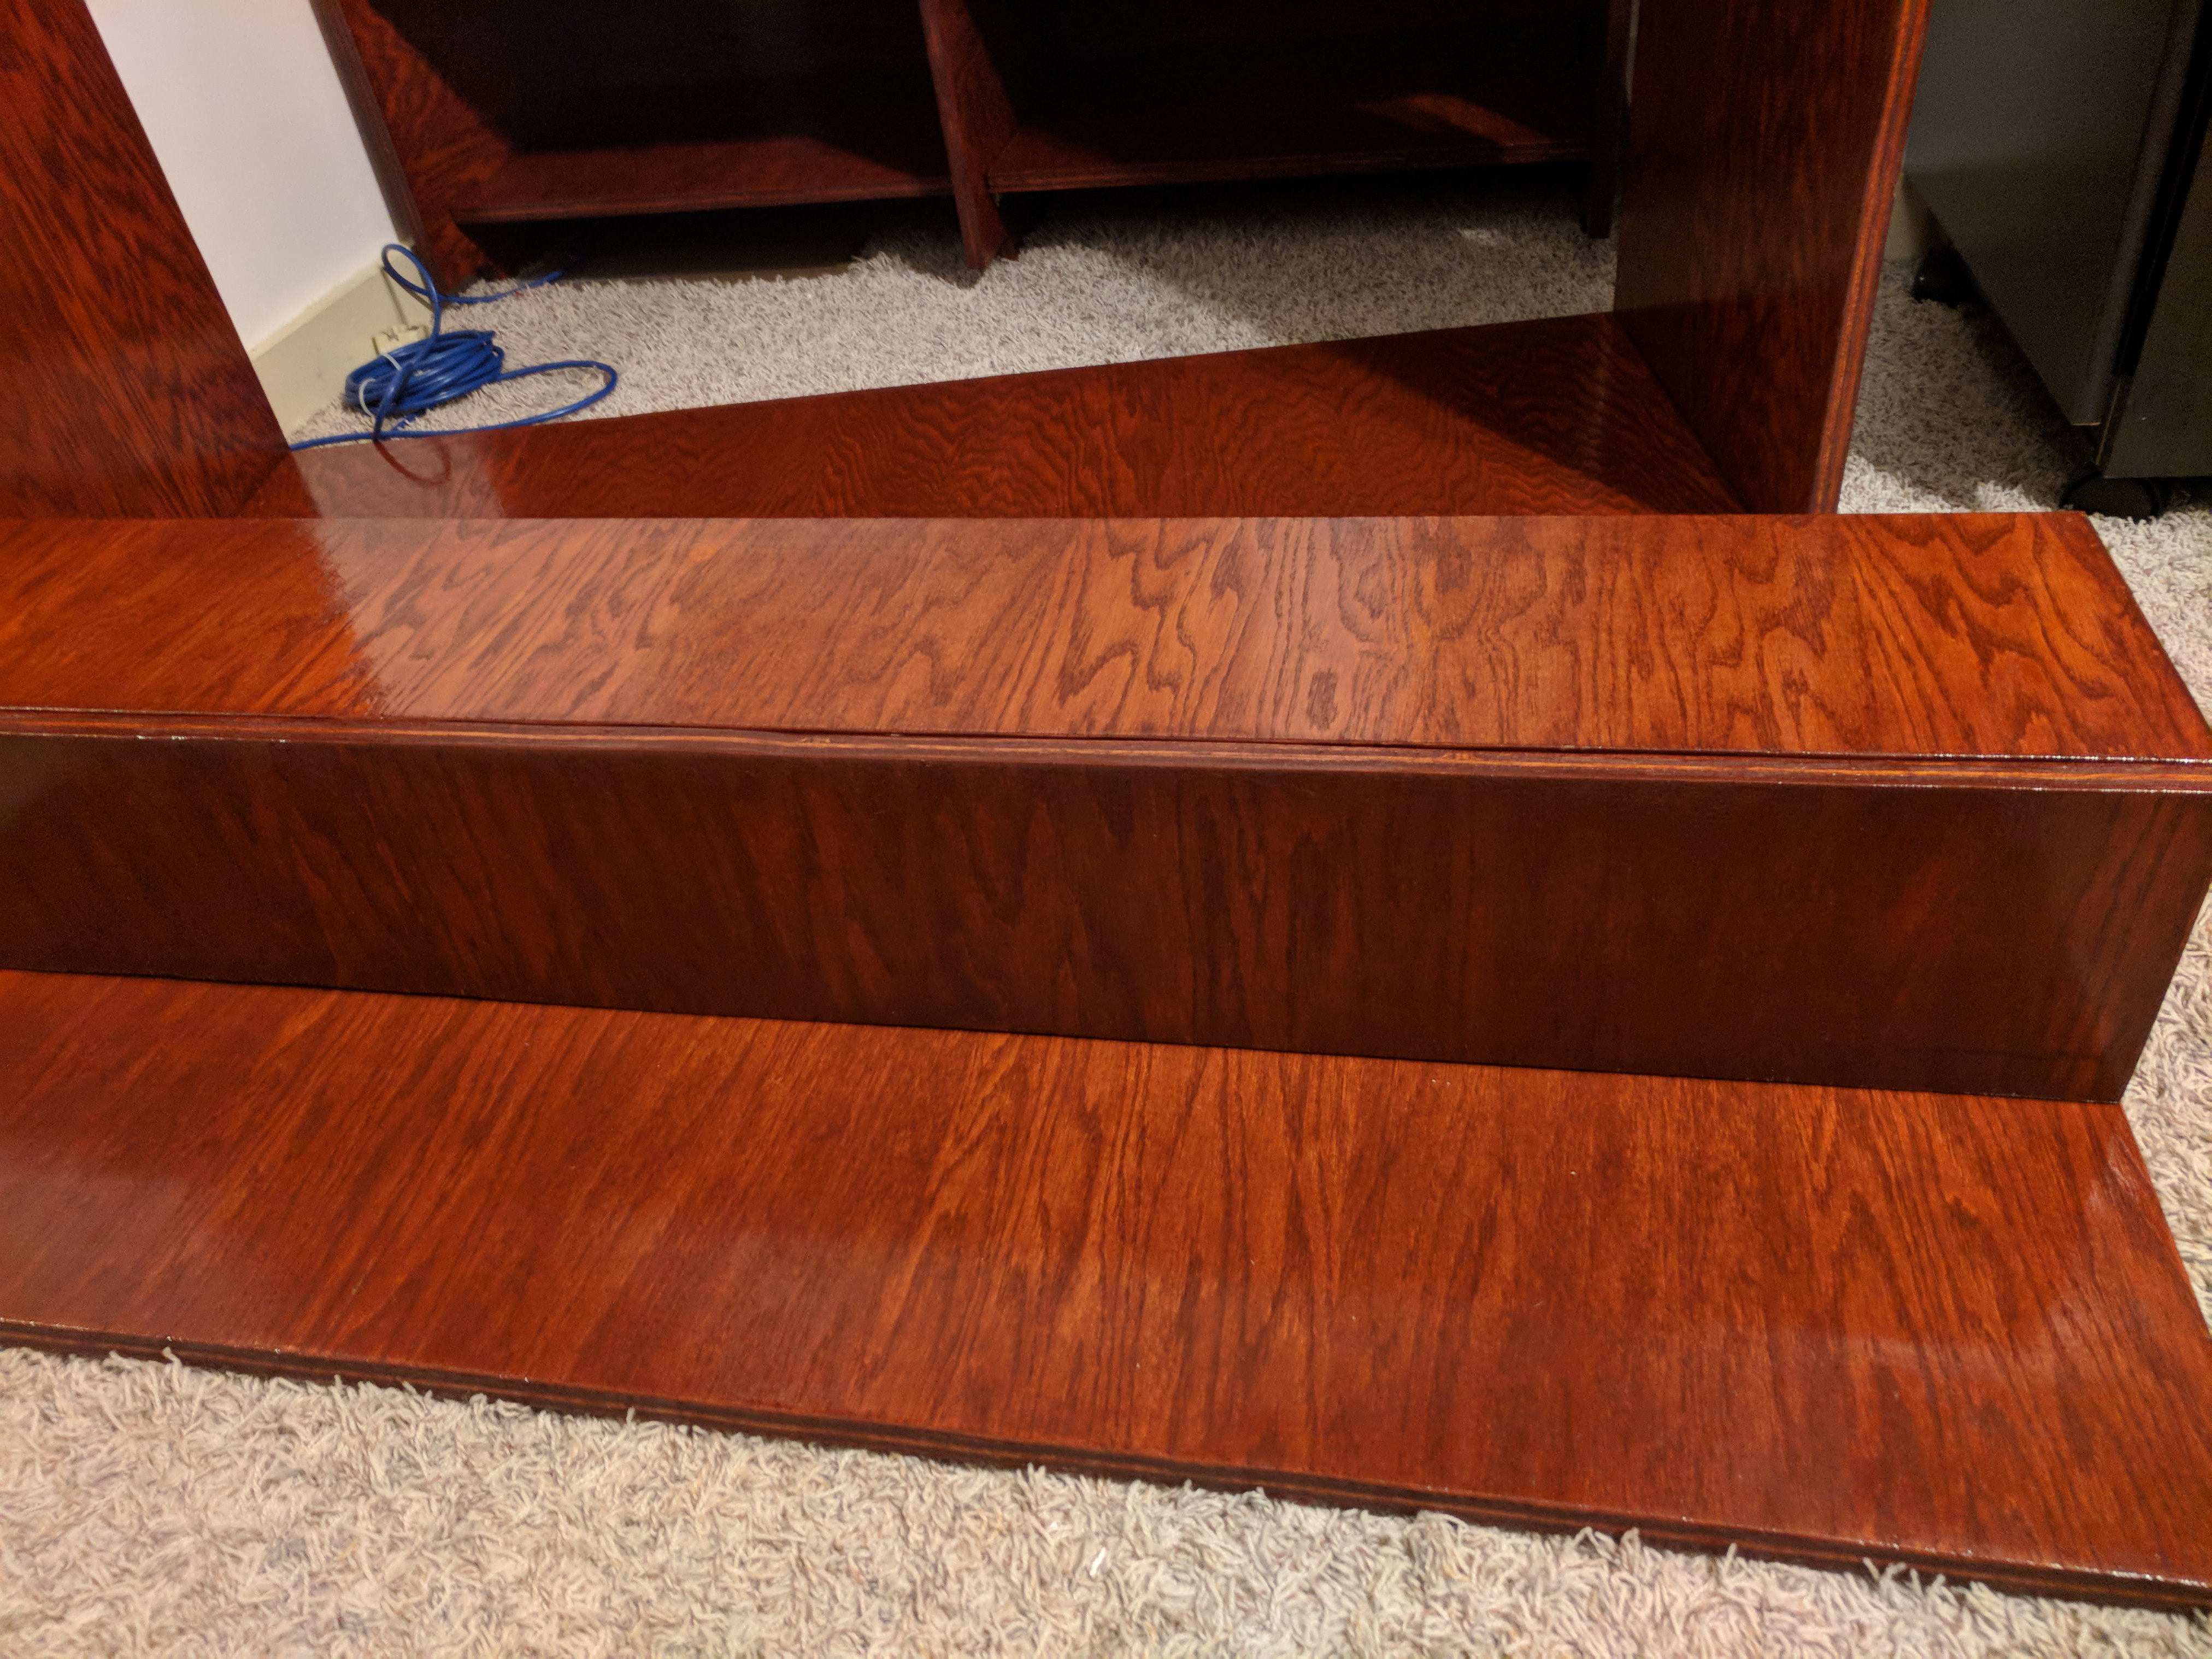
A closeup of the stepshelf

Working on the lattice in the back. My lovely assistant pointing out something that I was about to fuck up :D

Finished lattice and a jailed SO! She knows what she did.
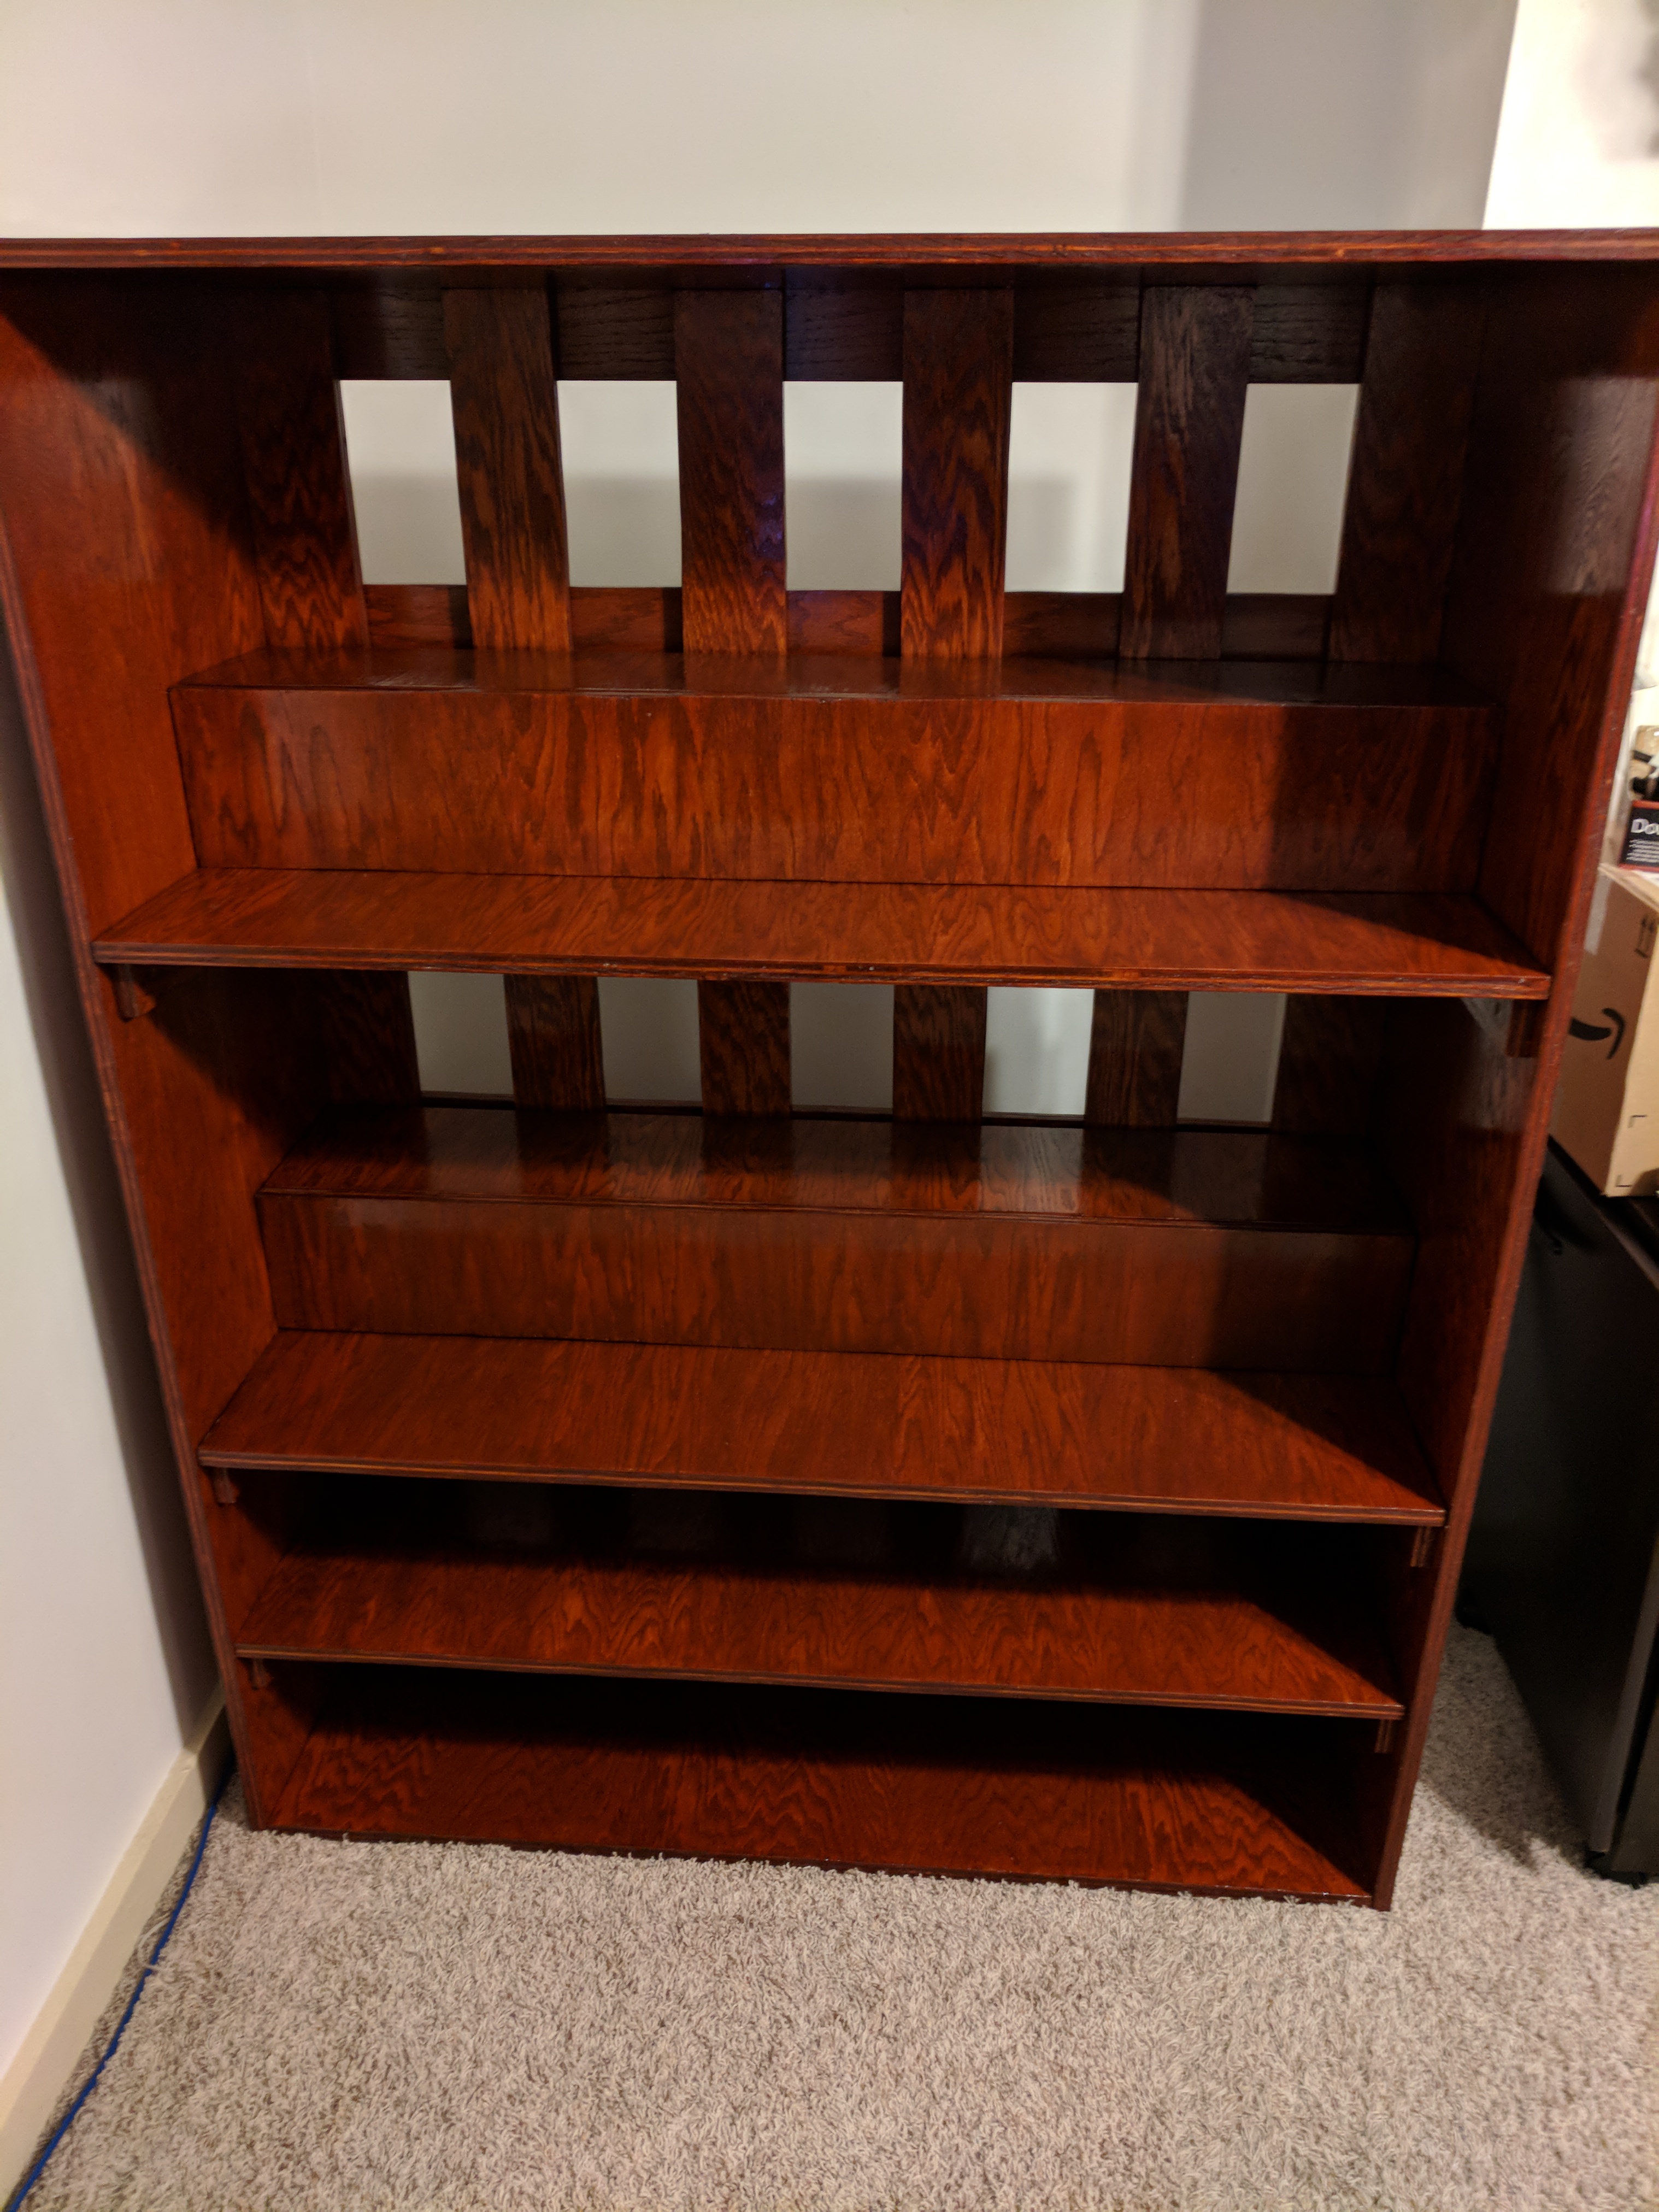
The bookshelf portion of the... bookshelf... completed! We needed extra hands to haul this sucker onto the bottom piece. Who'da thunk that Red Oak is heavy as hell?

Another angle of the bookshelf. We kept one deep shelf just because. Don't question it.

The completed bookshelf. With our pieces combined we can... hold books and stuff I guess. That's what it's there for after all.

And with everything on it, it looks all professional-like. Surely I didn't actually build this. I must have slept the past couple months while some other, far more competent, person did the work for me.
Either way, it made a fantastic addition to our room. I'm thrilled with how it turned out and can't wait for spring and summer already to start my next project. Maybe my first project should be to build a small shed haha!
Thanks for reading and/or caring!
zerofox289
Looks great. Well done
Lillysmom
Seriously, it's beautiful! And what a neat idea!!
Jubelix
Looks great, good job!
aVeryRabidDog
Thanks! I'm so happy with how it turned out :P
ThomasTheWankEnglne
Yay pittsburgh! Finally got our summer rains eh. You sell?
aVeryRabidDog
The rains decided to hit JUST when we start staining/poly haha. Made it rough. And this one's ours to keep. Might sell other stuff later tho
aVeryRabidDog
If I can get better at it that is haha!