
brickius

4436

116

6

These are the original cuts- they've been lying in my Grandfathers shed for about 30 years! The wood is Scots Pine I think

Cleaned it up a bit to check out the grain

The back is still covered in bark- hoping I can keep it on as a feature

Chopped them down to an approximate size

First problem was that none of the pieces had a square edge, so its really hard to cut them square- in the end I had to measure out from the center point of the rings in the wood and nail a square guide unto the plank- this meant that I could cut one square side relative to the grain and then using that one side I could square up the rest.

This is the saw I used, its a DeWalt radial arm saw, possibly the best engineered piece of kit I've ever used, there's not much it can't do. This one is my Dads but I loved it so much I bought my own

These are the sections cut down to size

The back with bark still on

Next step was to cut channels in the bottom so I could insert a piece of wood to hold it together- this was done using the DeWalt with the blade raised up and just using the thickness of the blade to make one cut after another

I stopped the channels short of the edge so the inserts wouldn't be seen, then chiseled it out square

This is one of the inserts hammered into the channel, I can attach the legs to these and they will hold the whole thing together.
They were originally a mahogany door my Dad made about 20 years ago.

Getting an idea for the layout of the legs

This is a mortise machine, it can cut square holes, no really, it can!
It hasn't been used in about 20 years but turned on first time and worked perfectly!

Used the DeWalt to make the tenon joints

Testing a joint on for size- tight enough to not need any glue

All the legs done

Started sanding it down

All sanded, but just cant get a clean pattern with the orbital- need to take a lot more off

Used the power plain to take off about 3mm, looking much better now

Thankfully that 'dull' central bit is the same colour a few mil down

All plained and sanded

Sanded down the mahogony sections- the colour, the smell, the grain- it's is so fine its just a joy to work with- everything about it is beautiful, I can see why there is not much of it left in the world
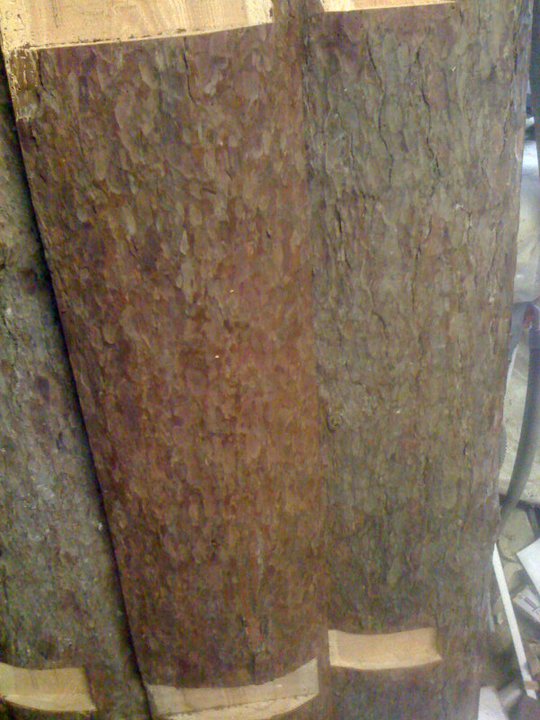
Chipped off some bark to bring out the colour in the back

Some of Santa's little helpers came to help me stick it together

Added a bit of danish wood oil

The finished article in my living room
BurningVeryImportantThings
I peed on them first
evols
ozbenzion
For the lazy
zephyrbell
That's pretty damn neat. I'd give up after step 0.
pablo1669
Ahh the messy workshop, the sign of a true craftsman
FirstTheyMeetThenTheyFightAndFinallyTheyFuck
Maked? MAKED???
DieterVonCunth
OP is so stupid. It's obviously supposed to be maded!
Odb718
All I can think when I see this is how I dont want my knees anywhere near that table
Sometimesbasketballsometimespoop
Beautiful. I envy your skill.
youdontwantthesecards
What an awesome finished product. Also, I had no idea what it was going to be until the last picture. I'm not a smart man.
sadbitterkitten
me neither - kind of fun to watch it all unfold
thefragrantvagrant
Me too, the suspense was killing me but it totally paid off