
alansghaderi

19725

145

1

Probably the biggest project I've taken on without having any experience in the main material used (Concrete)

Finished product

I think it looks awesome with these lights

Finished product

closeup shot

Started with the formwork - using MDF board and tuck tape for ease of removal

created the pan. keeping in mind, the table would get formed and poured upside down in order to achieve a smooth surface

small bead of caulking around the edges to create a nice finished edge
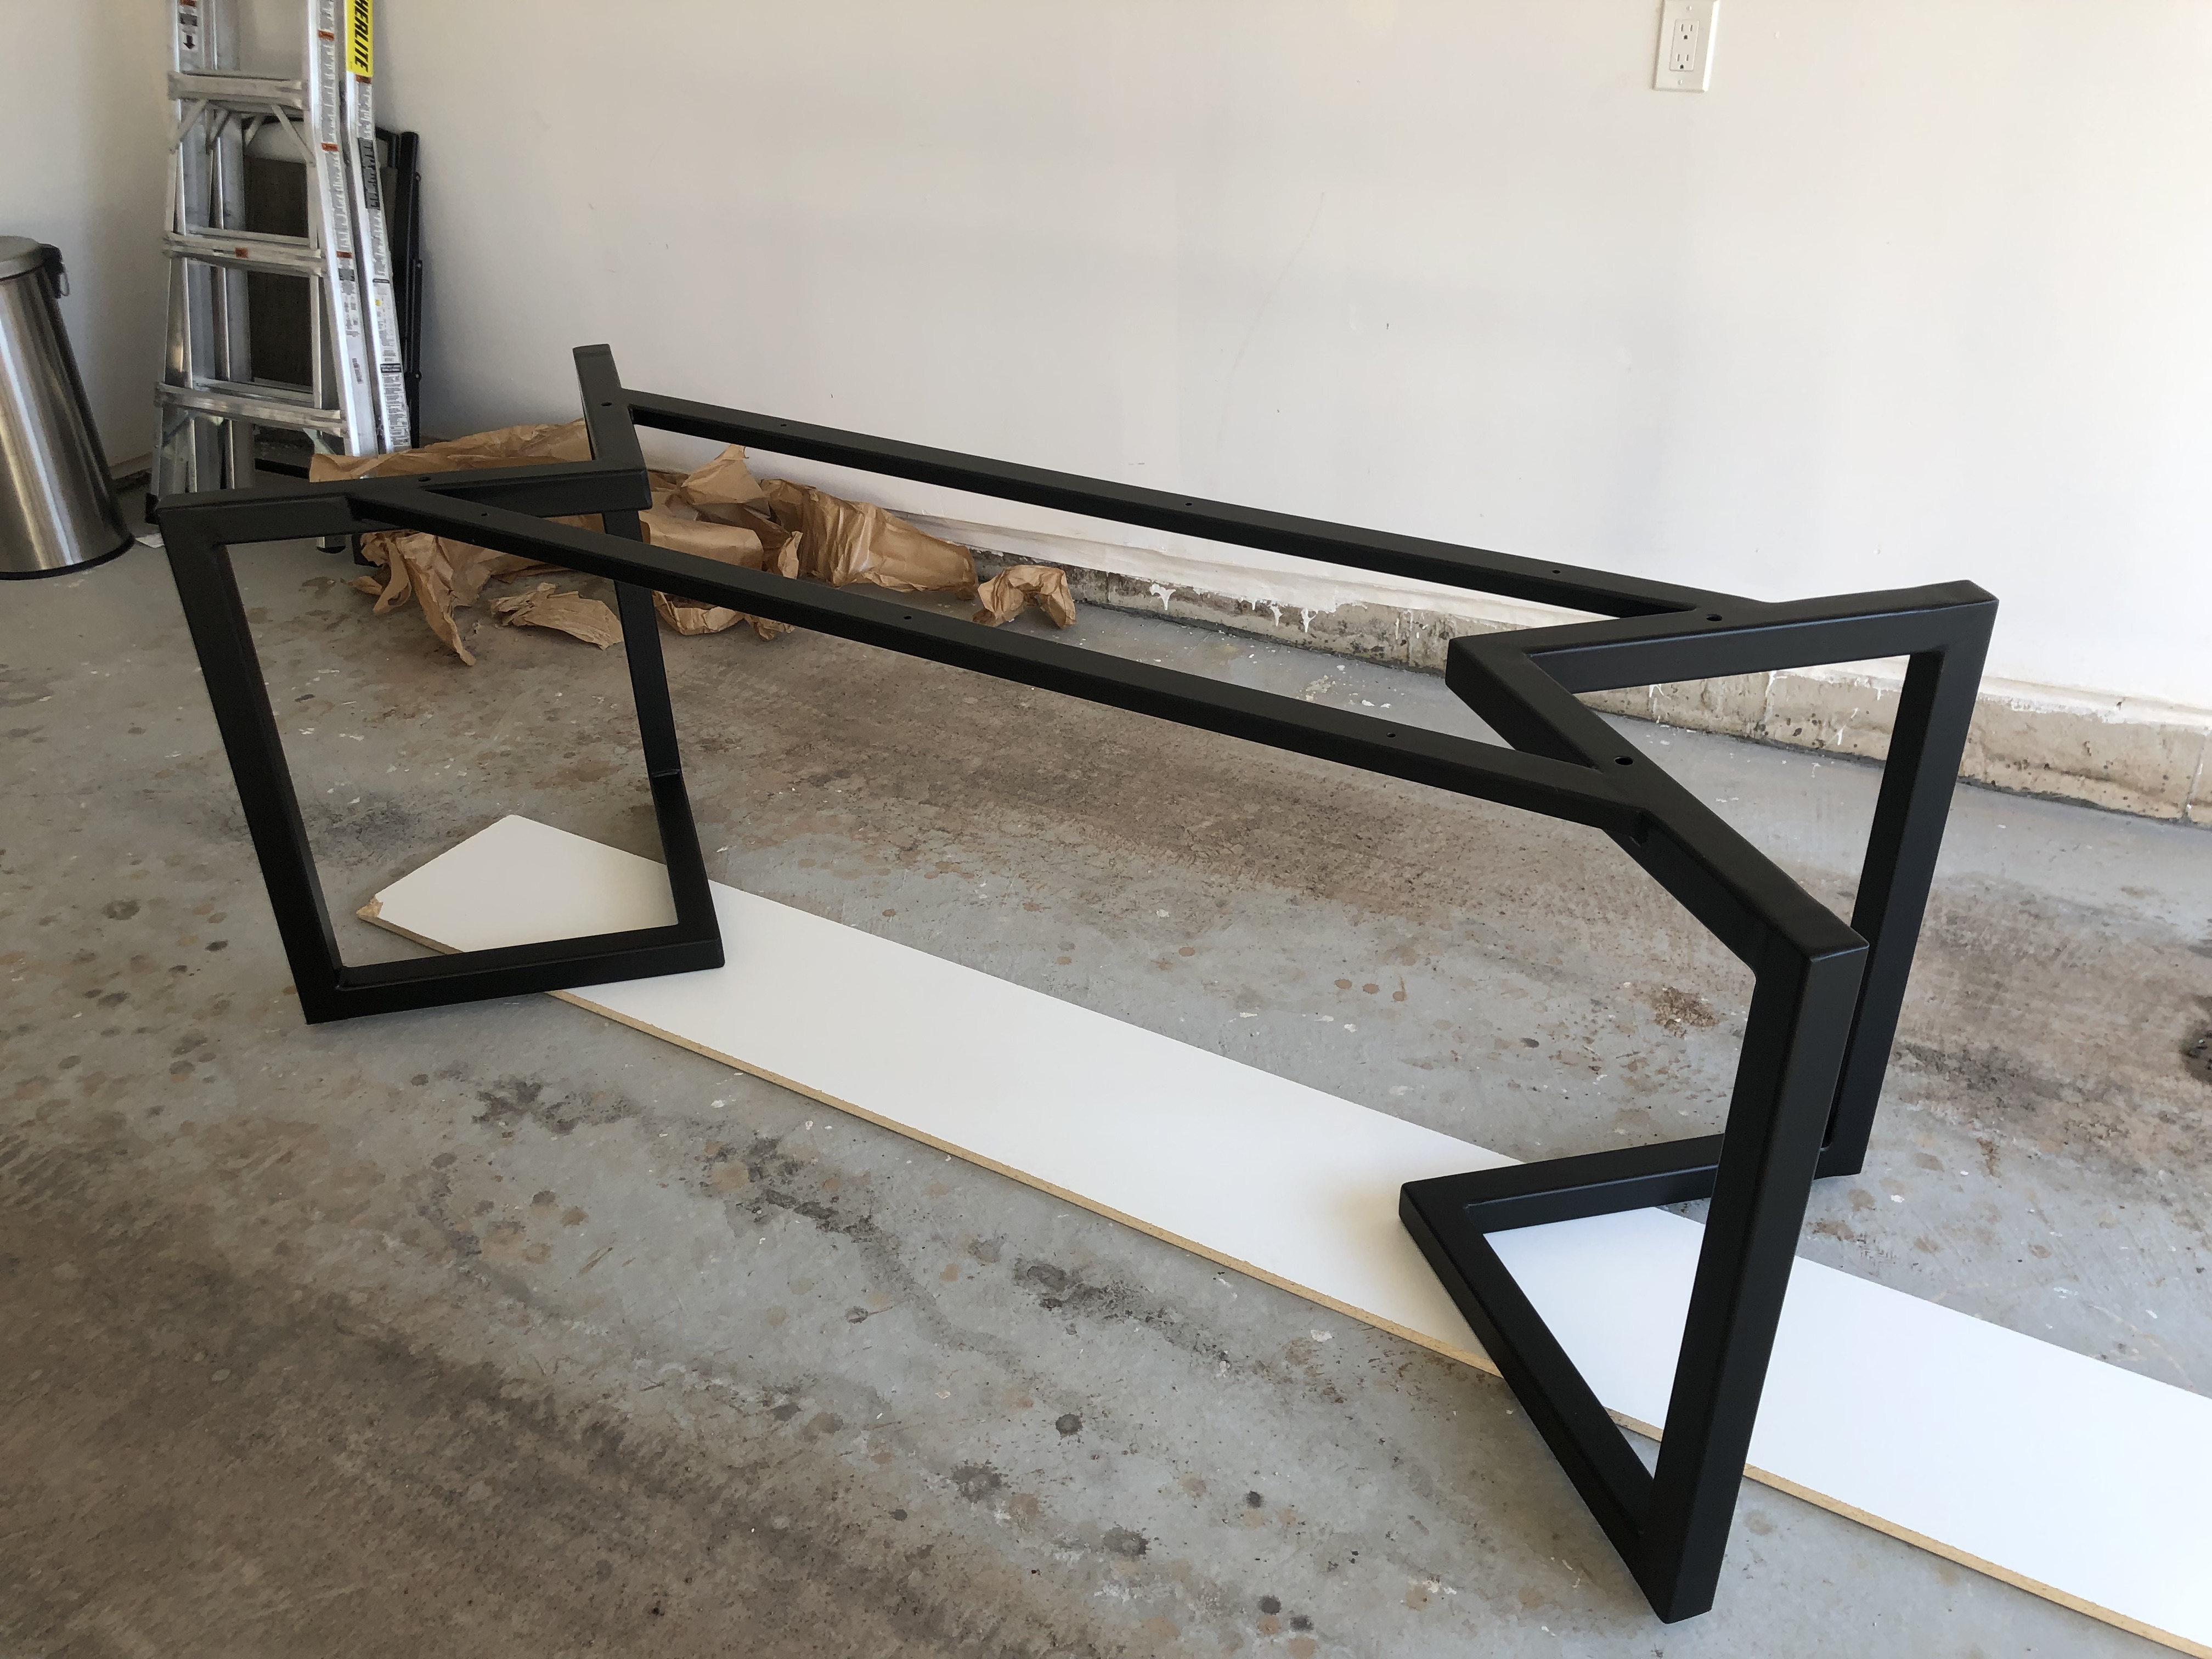
This was the frame i had designed and had a local steel shop fabricate it. as you can see, due to the weight concern, i wanted to have a wide base for better weight distribution on to the floor (instead of using individual legs which create point loads onto the floor). also to help with cracking of the concrete, i placed two supports at the top to help with carrying the concrete weight

MY main concert from the beginning was the overall weight of the table. My main vision was to have a very heavy looking table so the outside edge of the table would have to look like it was a minimum 2" thick. without having to pour a 2" concrete, i decided to do a slab edge thickening

finished formwork along with the edge thickening forms
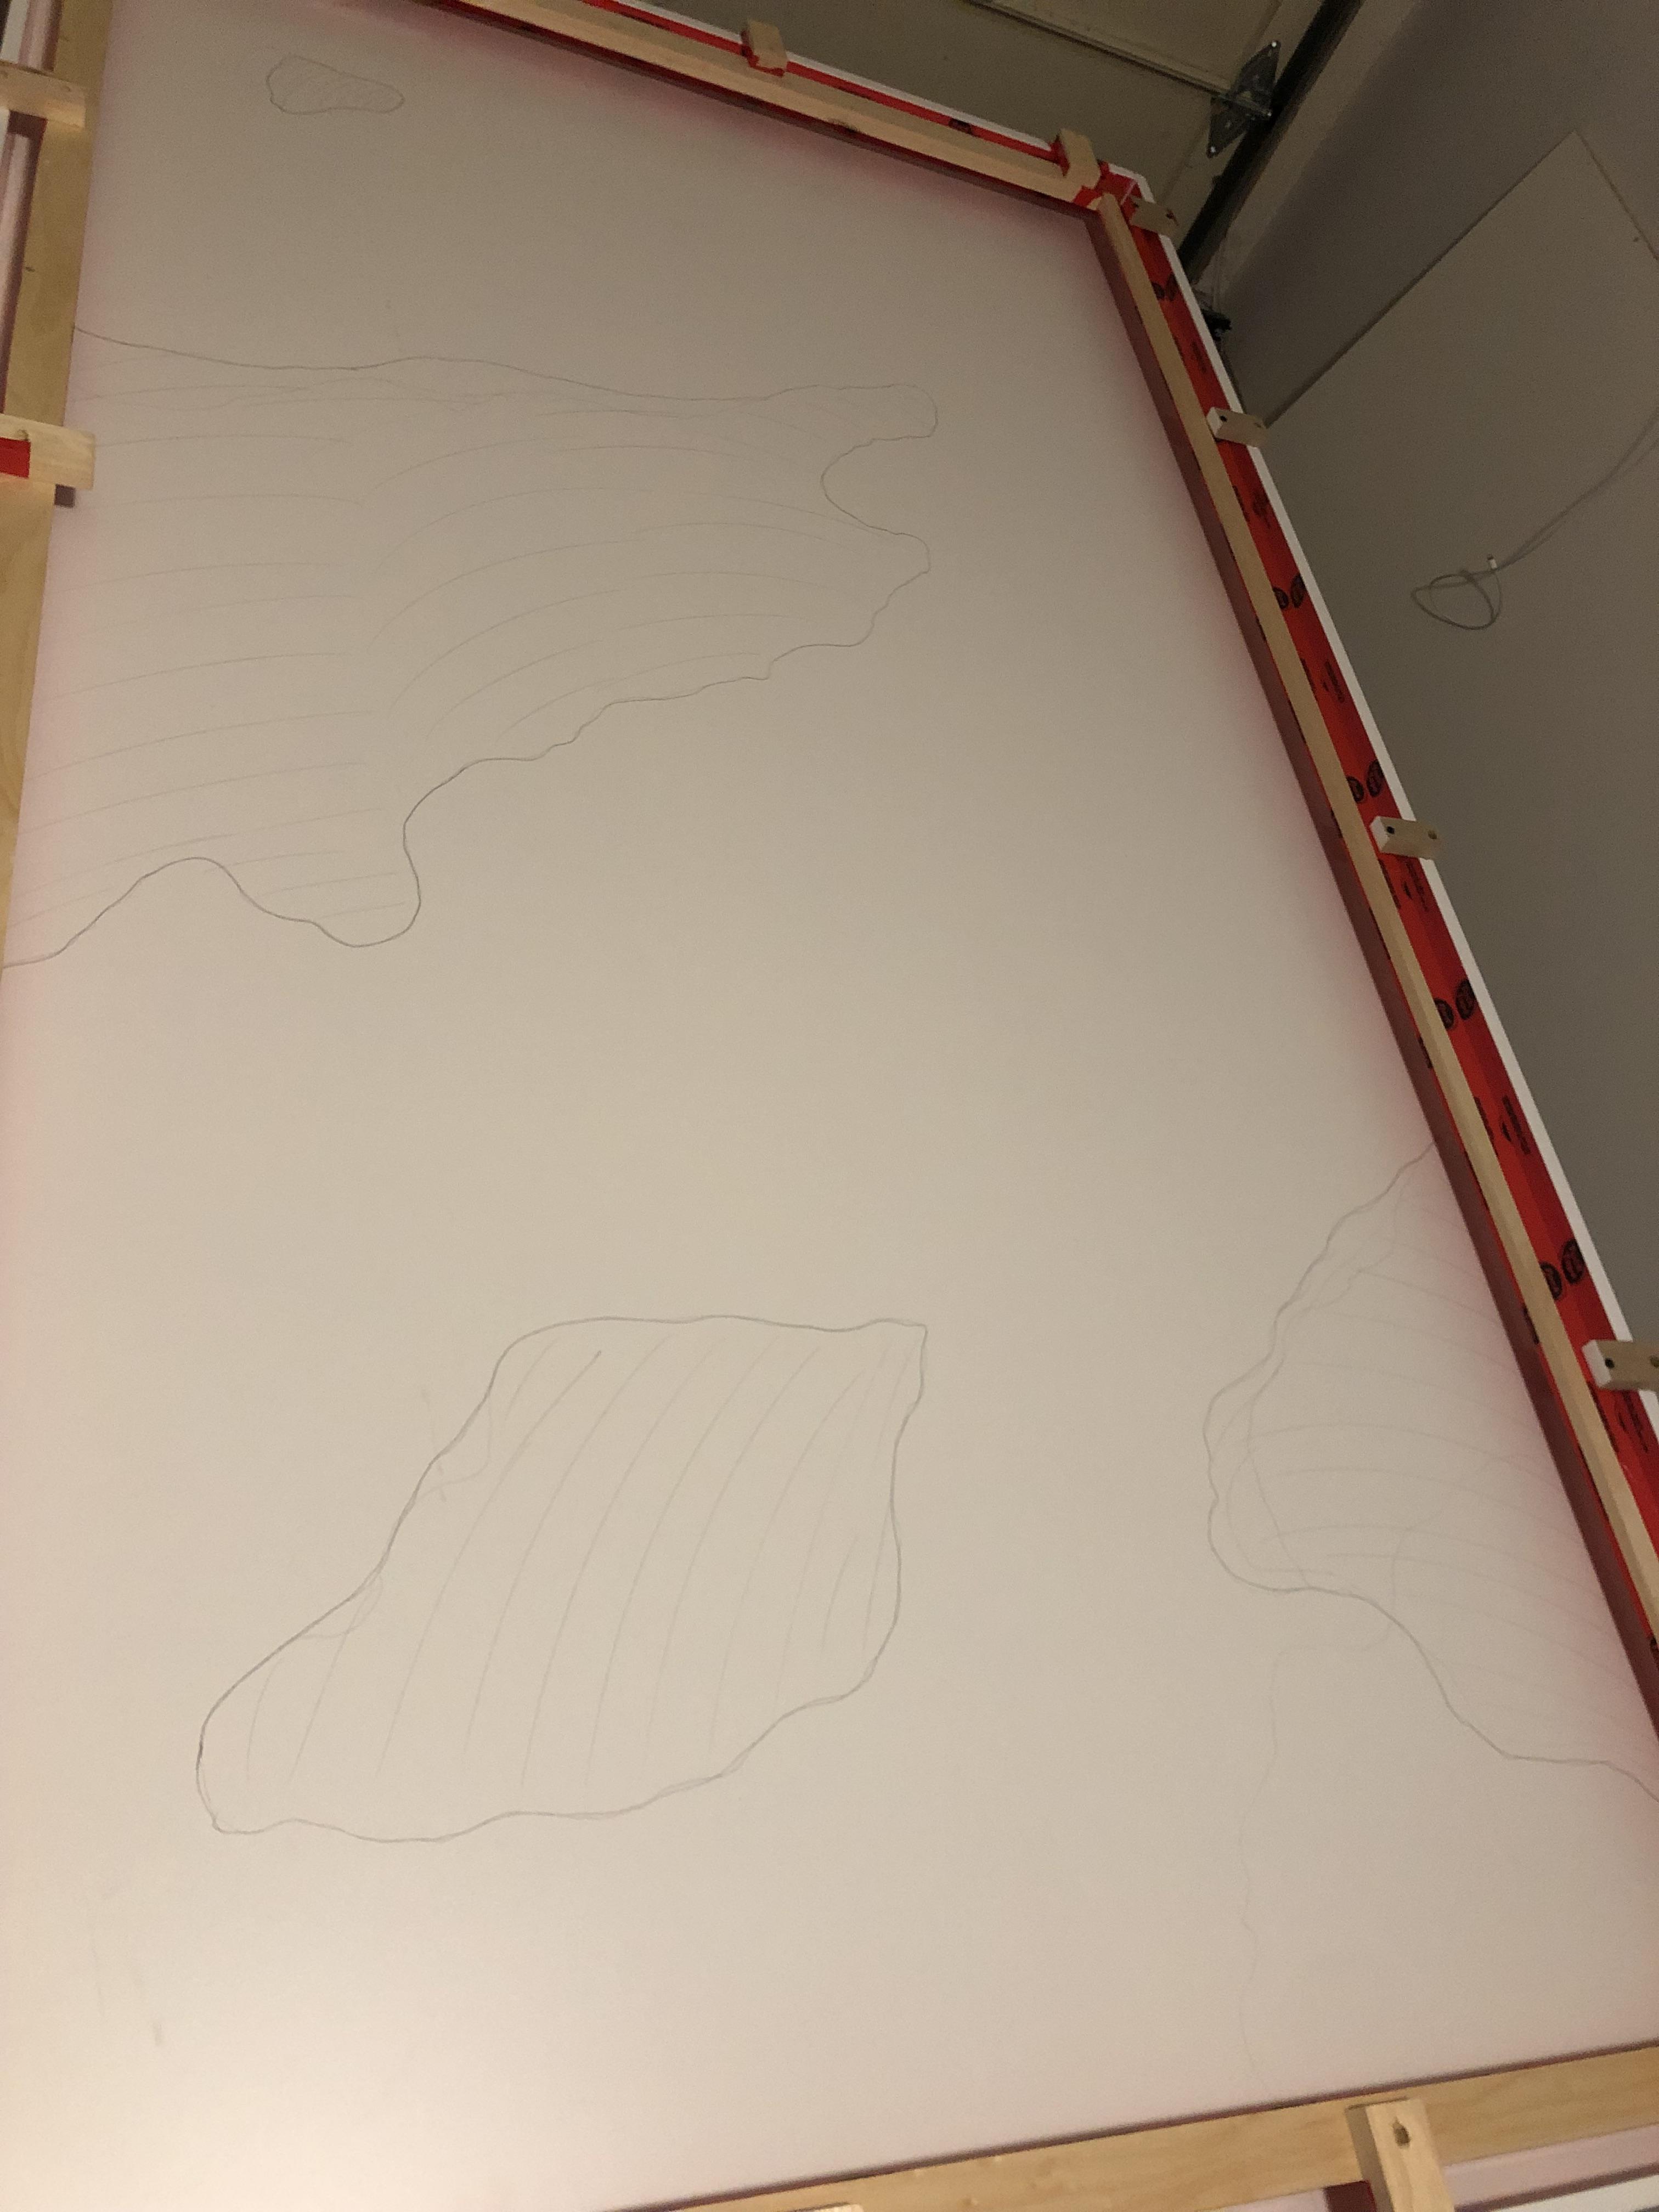
drew up some random areas which was to use to create the deteriorating look i was looking for. I love the look of raw concrete with exposed rebar creating the modern industrial looking elements

i cameup with the idea of using rigid insulation - rigid enough to withstand the concrete pressure, hold the rebar in place, and easy enough to carve out afterwards

I then created the grooves where the rebar was to sit within. this allowed me to hold the rebar in place at a specific height and hold it steddy in place while poring the concrete

The reason why i did not use full rebar lengths was mainly because of weight. i needed to keep the weight down as much as possible.

The frame i had designed and fabricated was pre-drilled for bolting. So i decided to wet-set the bolts in the concrete. to do this, i had to place the frame upside down and mark the location of the pre-drilled holes in the frame.

the Bolts were then held in place with a couple cross members - Probably not the best idea but it worked for me

Concrete was poured in place. It was definitely not easy considering the drill burnt out after the first batch and since i had started already, i could not stop so i had to resort to mix the remaining 4.5 bags by hand. (did not need to go to the gym that day)

some closeup shots. not the prettiest thing. Also note, i did put some fibres into the concrete for extra strength

I covered the table with some poly just to keep the moisture in and prevent it from curing too fast

started taking the insulation out when the concrete was cured enough

as seen, some of the slurry concrete seeped under the insulation so i had to do some chipping

another example of the concrete that required some repair work

alot of the insualtion came out quit easily

I was quit happy with the way the rebar stayed in place and at the correct height. my main concern was having the rebar settling to the bottom which then it would become exposed through the finished top

after the concrete was set, I had to complete some grinding as some of the areas were very rough

I created a temporary enclosure as the grinder created alot of dust

just a photo of the edge which came out quit smoothly

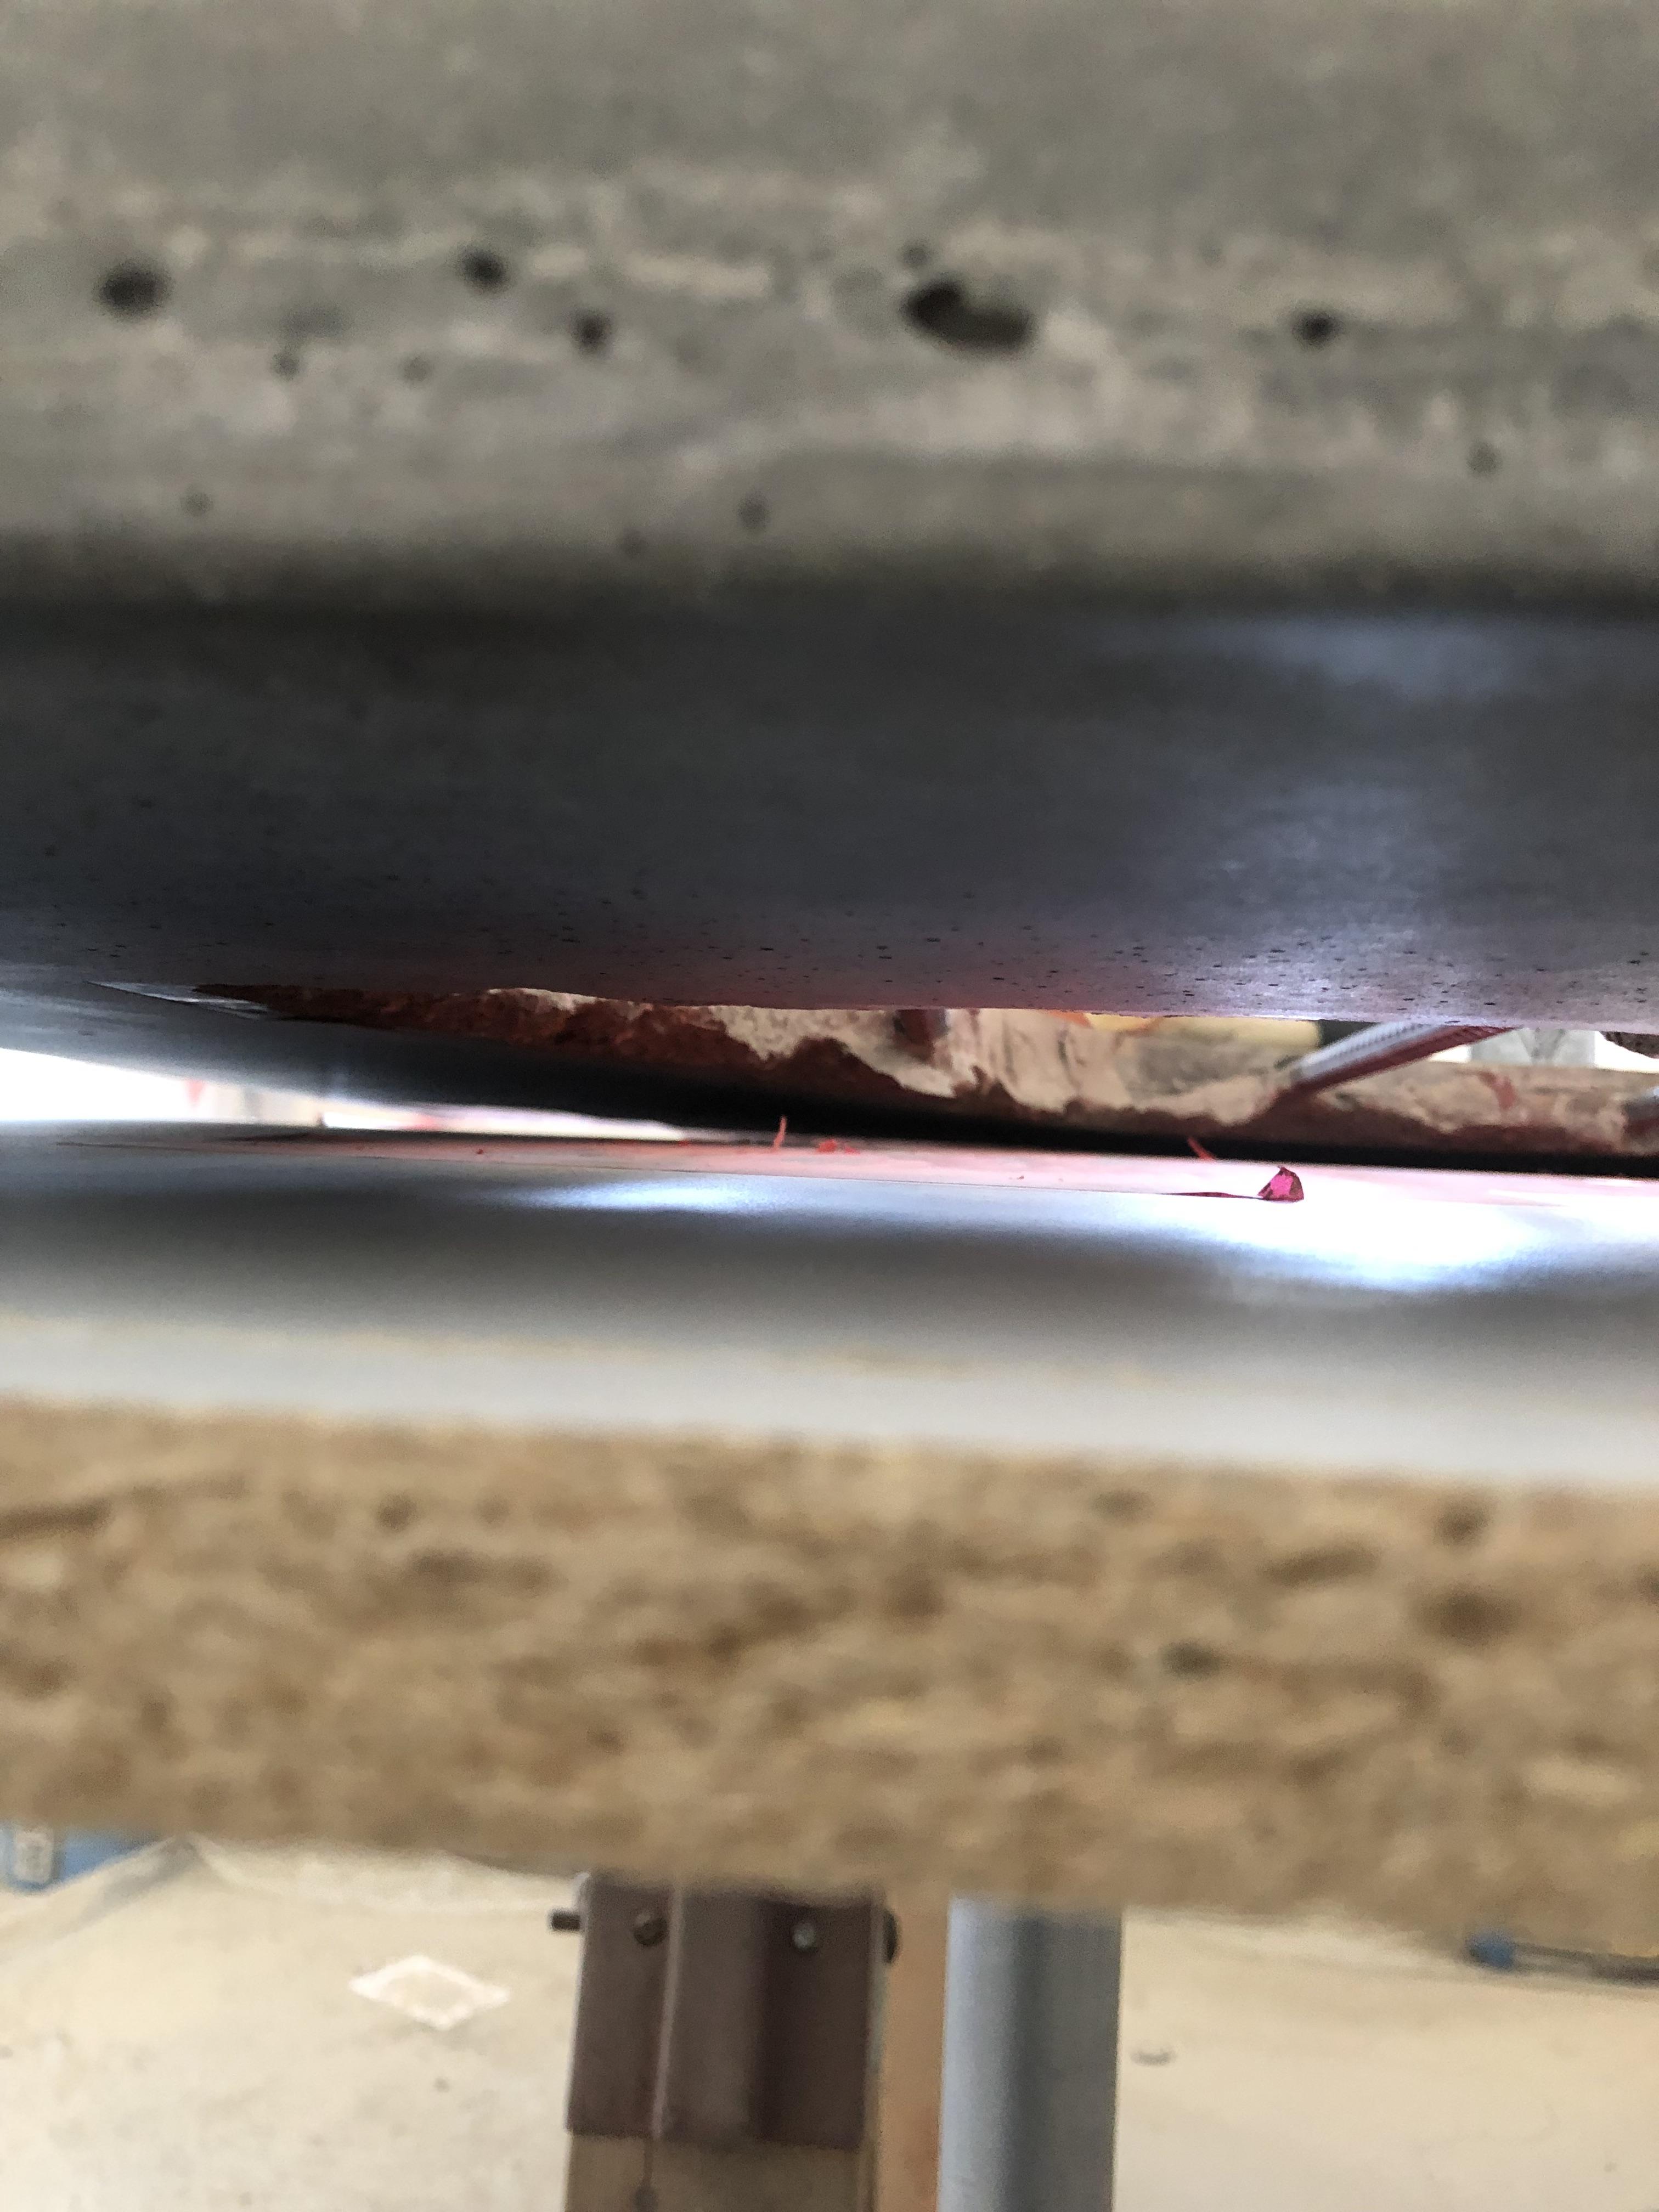
I lifted the concrete to checkout the underside which was very nice - but unfortunately lifting it was proven to be a major mistake - when the concrete was de-laminated from the form, it lost that natural seal - so when the epoxy was poured, alot of it seeped through and had to be scraped off - see photos coming up

finished the grinding and ready for the epoxy pour

the surface had to be carefully vacuumed and cleaned up as the epoxy is clear and everything would be seen through it

Didnt have a mixer so i had to improvise - added a bolt to the top end of a paint roller to mix the epoxy with

first layer of epoxy was poured

additional photos

completed several layers of the epoxy as it was NOT the specific product that allows multiple inches at a time - i beleive half inch was the limit for the product i used

I had to reform the edge thickening specifically for the epoxy

Due to the thickness at the edges, i had to do several layers on the edges as well

this is the finished product after the forms came off

some spillover but not an issue as its the underside

As previously mentioned, because i lifted the concrete from the base, it lost the seal and the epoxy seeped under the concrete at multiple locations


A scraper was used to peal off the epoxy as it was quit thin at the edges

the epoxy also stained the concrete but i wasnt too concerned with it as i knew there would be imperfections and i do like the rough, industrial look


so i found a few cracks - I couldnt tell if they were increasing or if they were just minor stress cracks. So i decided to tape a toothpick on each side of the crack with a mark on them. if the crack got bigger, the two pencil marks would move apart

the marks stayed together for about a week so i did not worry any further

other imperfections were some cavities at certain areas

i tried to fill those holes with slurry concrete without any aggregate

it didnt turnout great but it got the job 70% done so i was happy with this


Started sanding down the epoxy and concrete all at once in order to achieve a leveled surface

Added a sealer to the concrete as its a porous product

this was the recommended product that was available to me locally


once the concrete sealer was applied and dried, i also added food safe beeswax as this would be used as a dining table
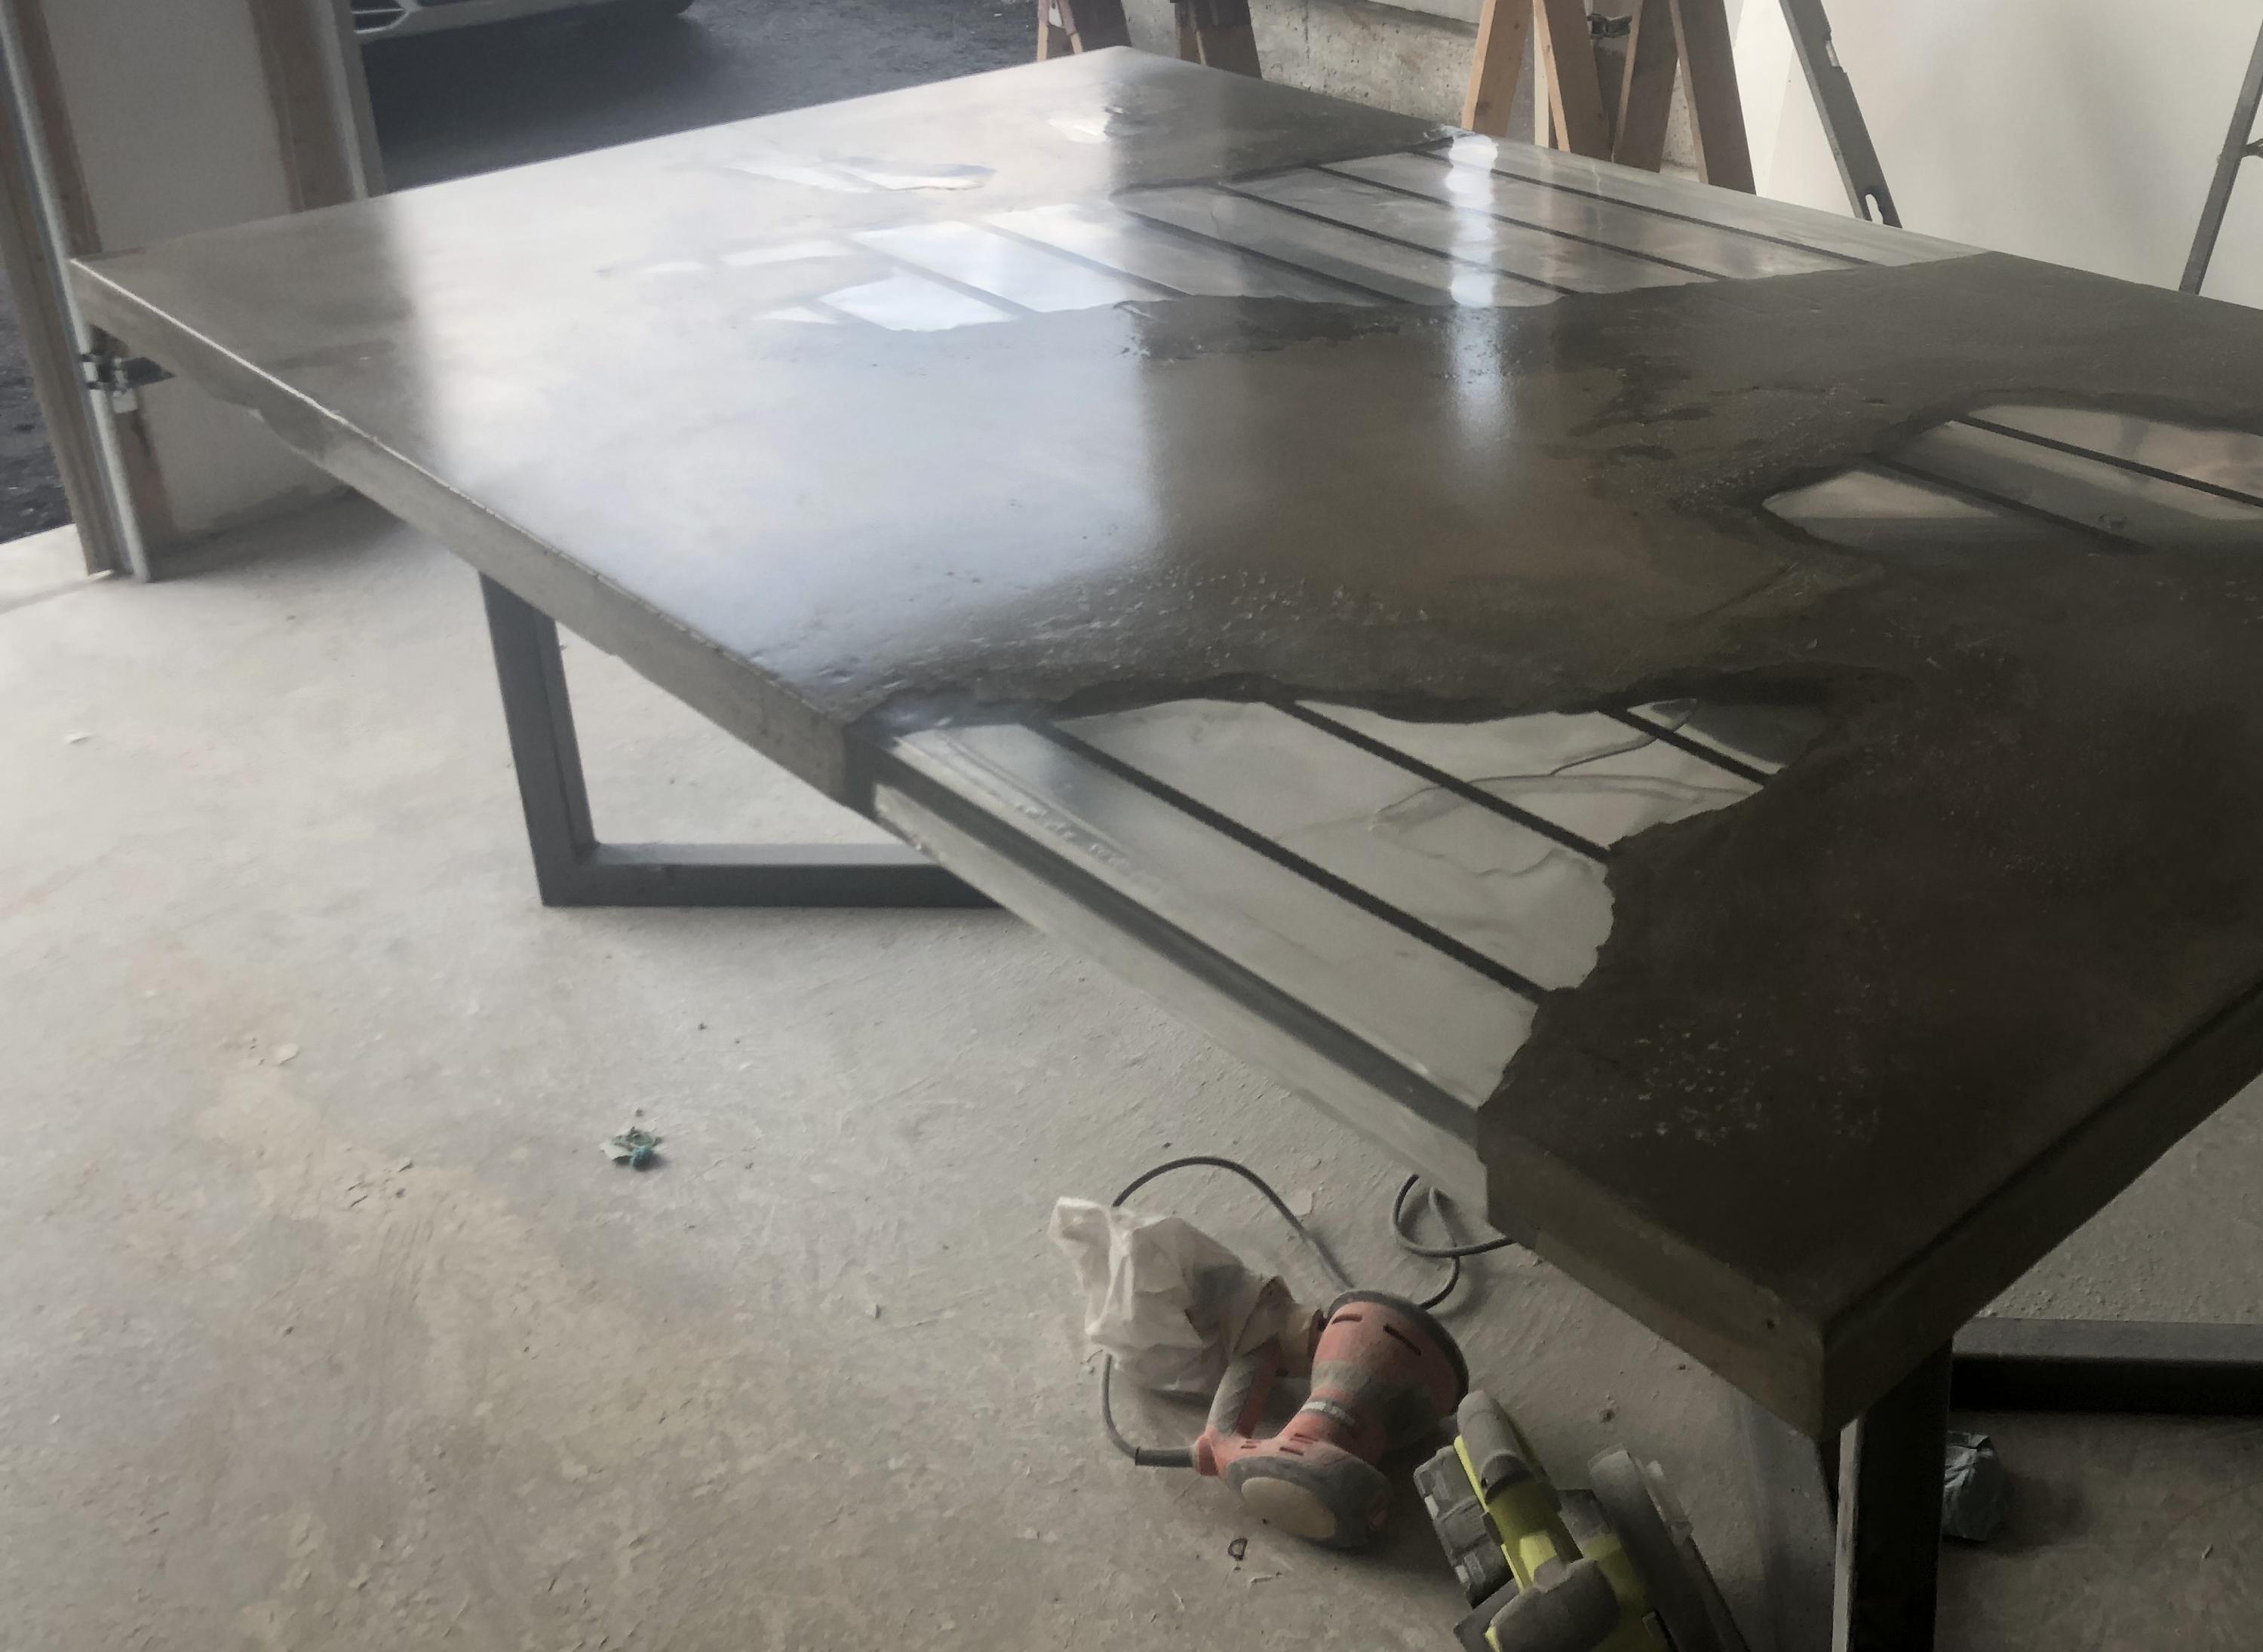
after the polishing/sanding was done, i could still see some scratches and uneven pours within the epoxy

so i flipped the table over and added one last layer of epoxy as this would fill any visible scratches, crevices, etc

with the help of 4 other friends, the table was brought into the house
OneMoreRide
So many things could have gone wrong along the build. You really pulled it off. This really speaks to me. I just might use your idea.
Harryteeters
Usually I use Tuck Tape to... nevermind.
BunchaCrunchOfHuman
Unique and unusual. Very nice
dogdays2025
Absolutely beautiful. I love it.
3141592pancake
cpiderman
Stonecare.com has some great concrete care items. They have a sealant that's food safe too.
alansghaderi
nice. ill be sure to check them out. thank you