
dsemin08159

43191

923

18
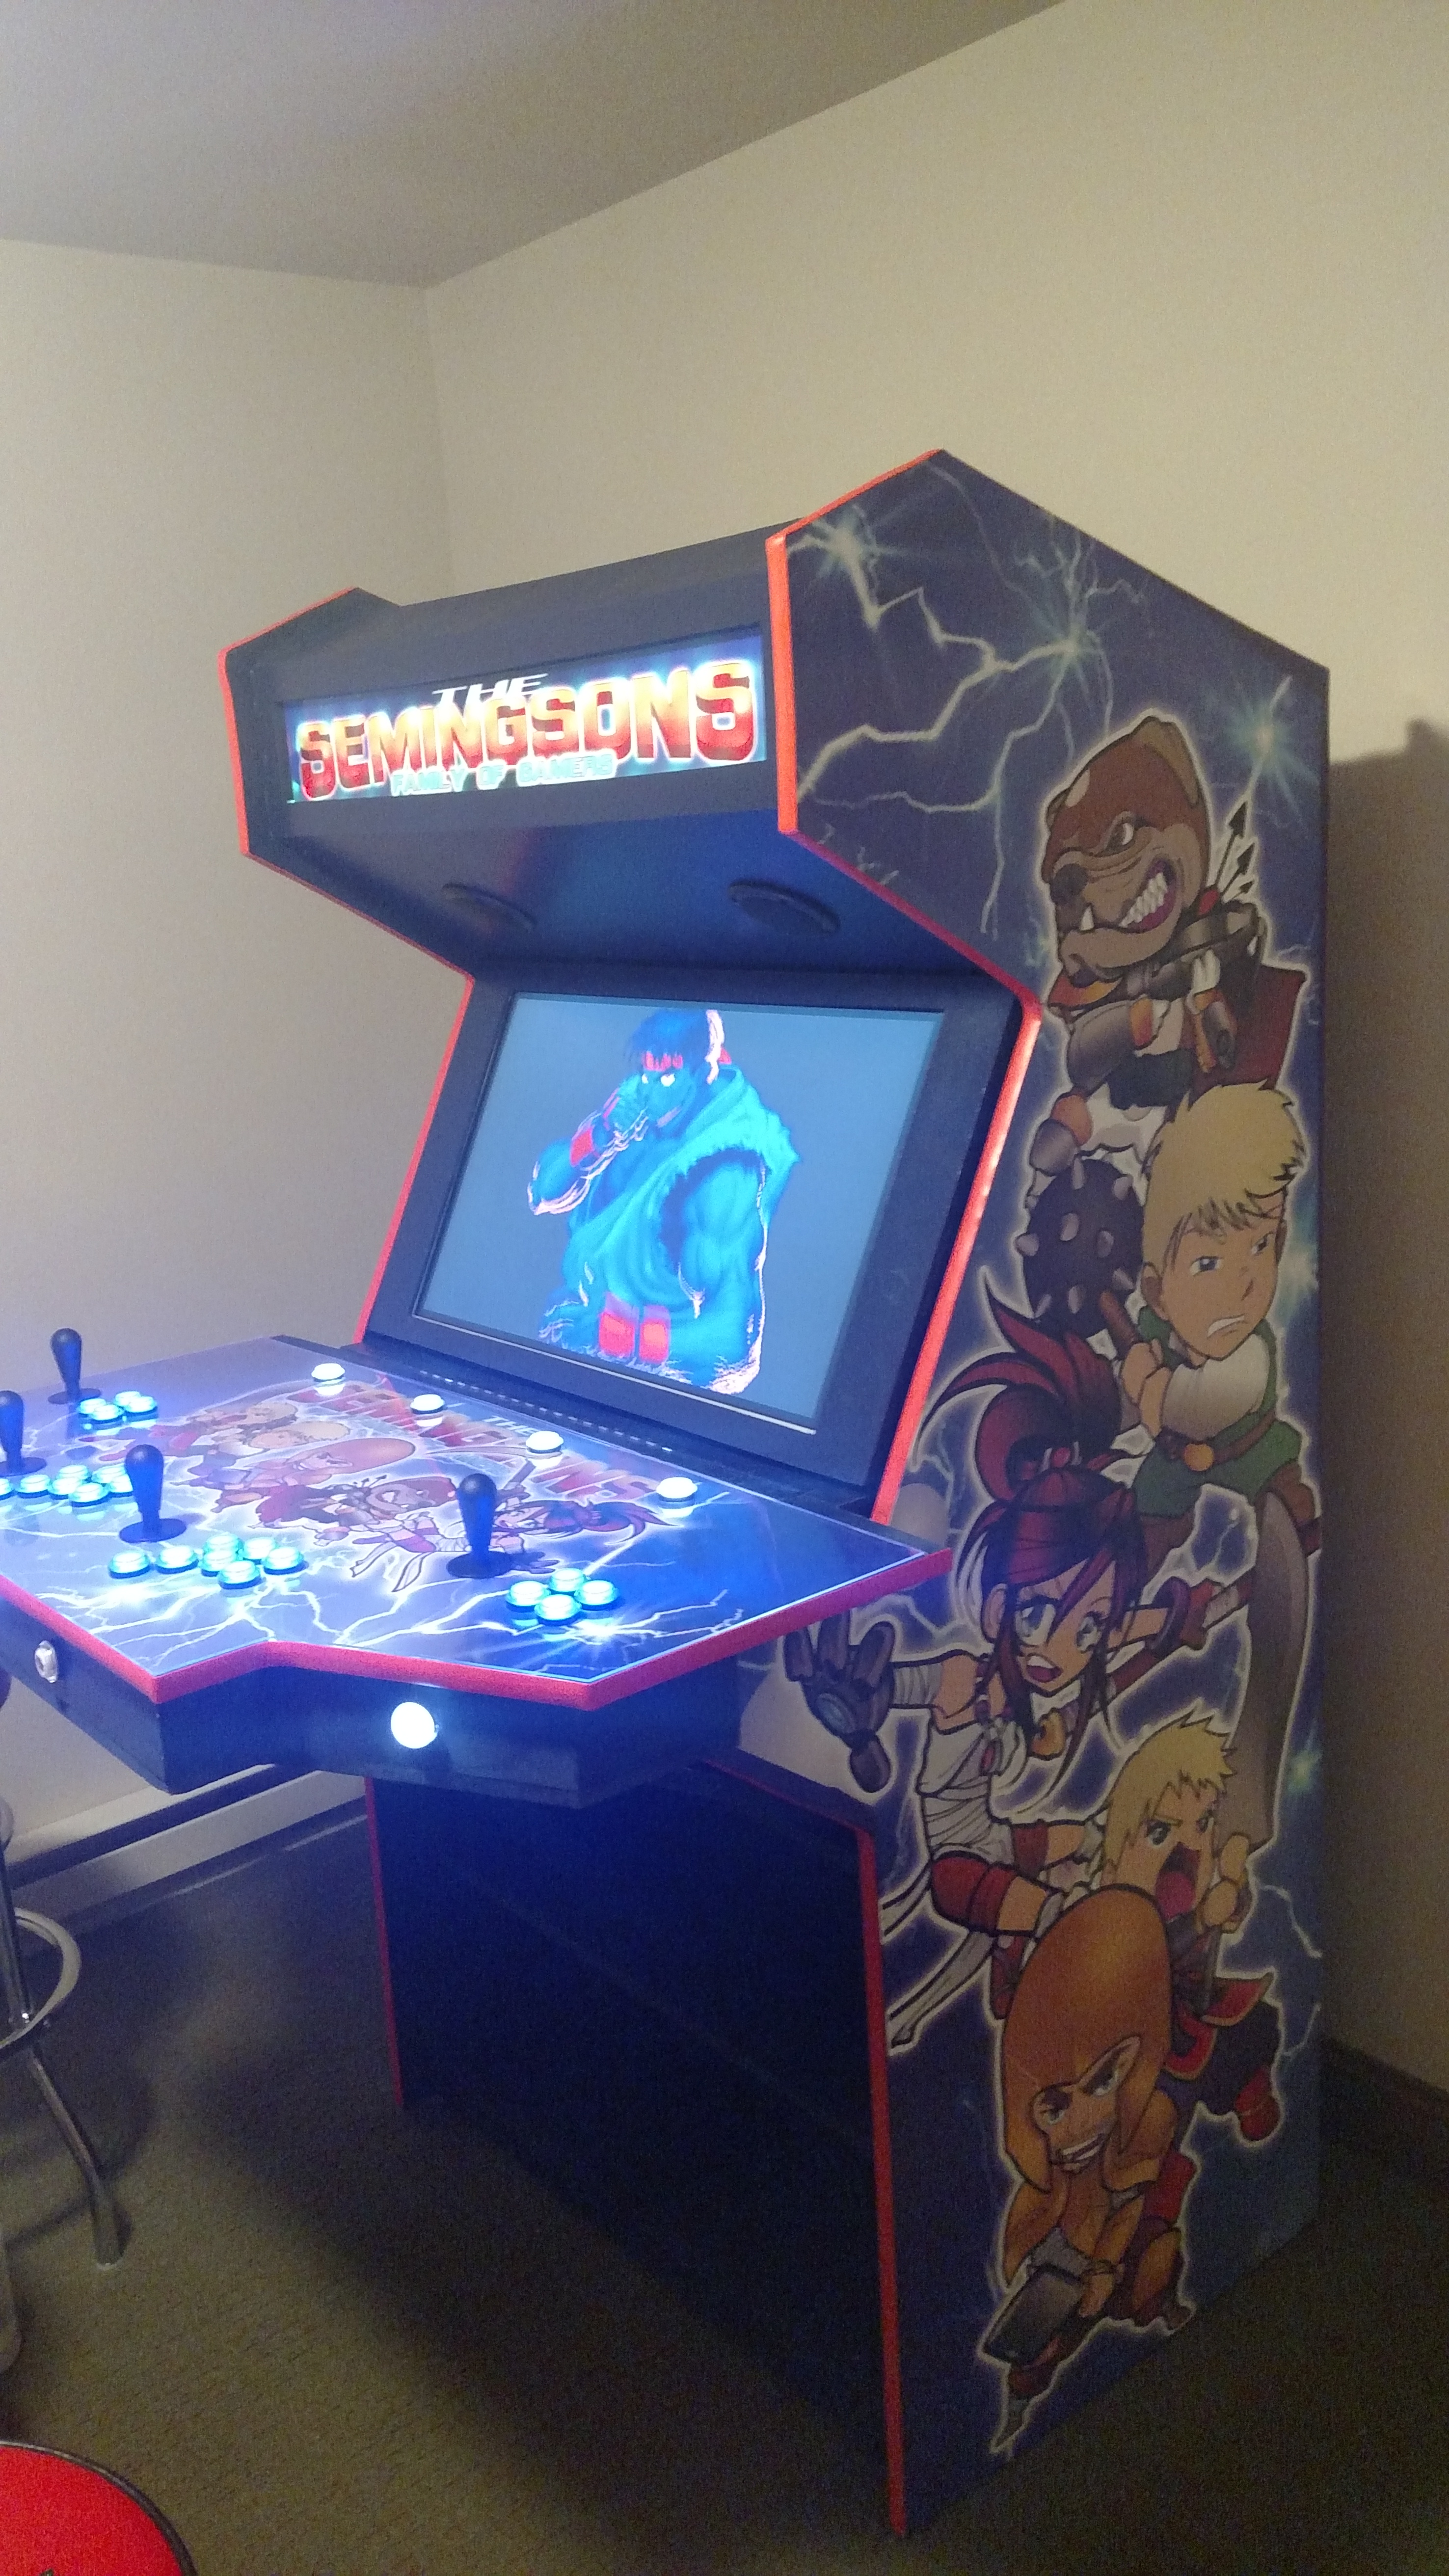
I made an arcade machine! Completed picture first. This had been a dream project of mine for the past few years but due to a lack of woodworking experience or understanding of MAME, I resigned myself to the fact that I would have to pay the thousands of dollars to have someone build my dream machine for me. Then, in July, I found the video series posted on YouTube from the "I Like To Make Stuff" channel. That guy is amazing and those videos inspired me to give it a try. Full of confidence and the woodworking knowledge I had gained 18 years ago in 10th grade woodworking class (the last time I built something) I paid $20 for his design plans, borrowed from family every tool that i would need, and set off on a 5 month adventure.

I screwed up the very first cut I made and needed to make alterations for the plans. I cut the side panels 2 inches short which had an impact on the cabinet space under the control panel. At that point I decided that I really wanted a 4 player control panel and a bigger screen. Being impulsive is not a good trait to possess when building an arcade machine.

Dimensions for the control panel and marquee. I spent a long time looking online for dimensions of a 4 player control panel but couldn't find them anywhere. Hopefully this image can help someone in the future.

I stopped taking pictures because I thought I was documenting a failing project, but then everything came together in this mock-up!

Button layout was stressful, it's crucial to the look of the machine and overall gameplay, I found lots of help for this on the MAME and R Cade sub-reddits.

Drilled holes through the plexiglass. The local TechEd teacher recommended painters tape to prevent chipping on all of my cuts through the plexiglass, it worked!

Control panel, the lines on the opposite side were mistakes in measuring, but i wish I would have designed the pattern to be cut like that.

This picture shows the shelves on the inside. The side panel is a door that hides the gaming components and extra storage space. The designs called for drawers instead of shelves, but my early failures scared me away from that. In the end I'm glad I went with shelves.

I'm lucky that everyone else in my family is handy because every tool I needed they had, including a spray paint gun. Here is my Dexter kill room for painting.

Paint job completed. I seriously underestimated how much paint I would need, having never worked with a sprayer before I didn't realize how thick it came out.

Major construction completed! It was at this point that I measured the doors and realized it wouldn't fit. Having had knee surgery a few months prior to this I called in my family to get my baby through the door. Measure your doors first.

At this point I was way over budget, so instead of buying a monitor I used a 10 year old, 32 inch flat screen monitor. Here's a picture of the back without the case or bezel. The components are glued to the back. I have a small fan behind the screen in the cabinet to keep it cool when running, this thing gets very warm without it.

Wiring complete. I'm too embarrassed to show my wire management inside. Someday I may go back and redo it, the wires are to tight in spots and I'm having issues with buttons coming unconnected. Also not shown here are the cuts from a router on the underside of the control panel. I had to use a router for the buttons and joysticks. I went with 3/4 inch plywood, that might have been overkill.

TV still works. Getting the bezel cut and applied was tricky, you can see a little of the monitor peeking through.

NBA Jam

The artwork! I went with the "I Like To Make Stuff" idea of having my family as super heroes. I went to outsource.com and posted my request for artwork. An artist by the name of John Boatwright designed everything. It came out so awesome! I can't recommend this guy enough.

Control panel artwork. Could not have been happier with how this turned out. If you want information on how to get in contact with John let me know.

The marquee is lit by colored LED lights that strobe, fade, or flicker. Such a cool feature for around $20.

Opened side door.
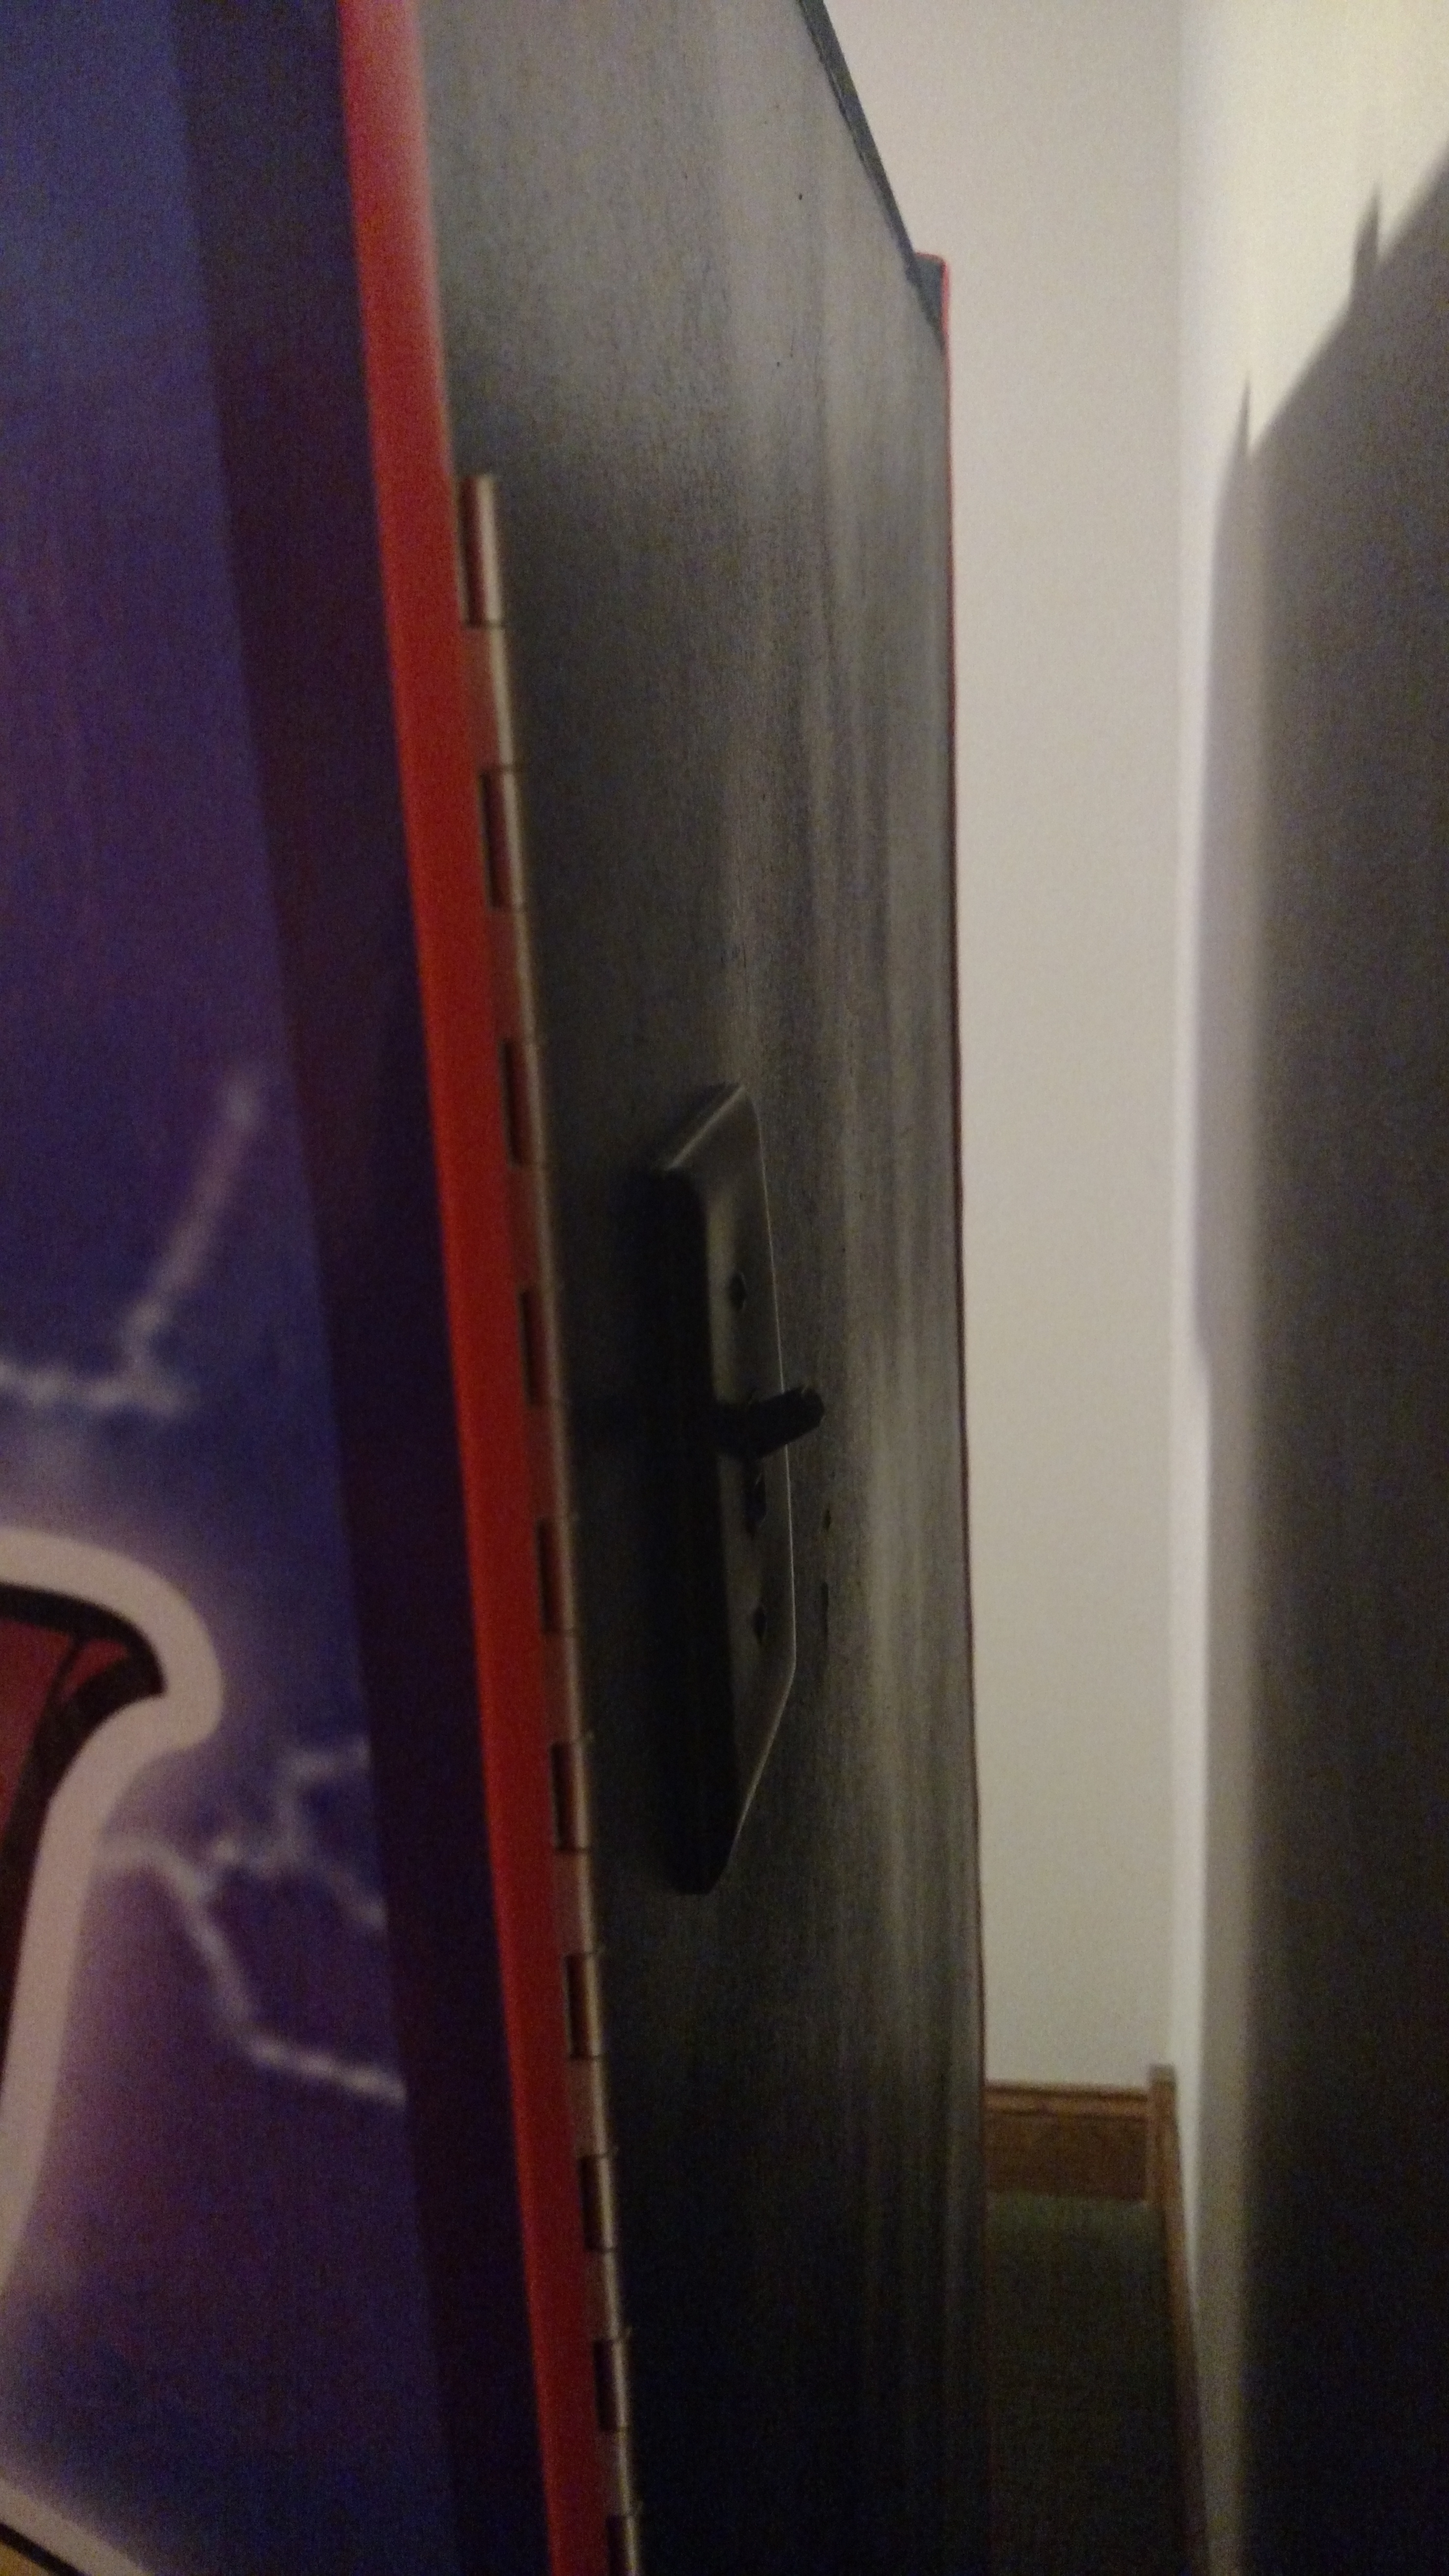
The machine is powered by a single light switch on the back of the cabinet.

Completed picture showing the LED lights on the machine and marquee.

Final shot. Kids playing Teenage Mutant Ninja Turtles the Arcade Game. This thing is so much fun.
AlbertFishFanClub
So cool!!! Great idea
twoamartist
You're kids hit the lottery having you as their Dad.
APerfidiousDane
At first I thought this was an arcade game called Semensons and I was very confused.
Coolbeano
Super cool
MissBrochacho
This is badass @op ! Congrats on the awesomeness
joseva
Awesome awesome!
RubberChickenTenders
That is a very cool build. Would love to do the same when my kids are older.
breakbottombrick
I'll take one
Illspecco
Wow, nice work @OP!
FullGrownChild
Holy shit, that thing is bad ass @OP! Do you have a cost/time breakdown you'd be willing to share?
dsemin08159
Yes. Without custom graphics you could do this machine for around $450/ with $700. I saved around $1,500 doing it myself.
AntiCircleJerker
Dude. I am making one based on your idea/design. Thanks, @OP. I have so many old laptops laying around. I can just part out to run EMUs. TY
dsemin08159
That's great!Patience, tools, & good designs are all I had and it came together. When you finish send me pics, I love seeing other cabinets.
fuz54
TanzaniteStar
wakbat
theherrings3
OP you da real MVP
dsemin08159
I should have posted the video from YouTube that started this project. https://youtu.be/K3QXLQ1UXqs It's a 3 part video series.
dsemin08159
I made a mistake in the spelling of the artists name, John Boatright is his name.
TheSabinator
OP helps the economy by promoting businesses which have done right by him. Be like OP.
PhenomenalCosmicPanda
chuckandthrow
So, players 3 and 4 only have 4 buttons. Any idea if this is gonna be an issue?
dsemin08159
Good question, I did admit of research into this and found that no 4 player games need more than 4 buttons. Could also use an Xbox controllr
chuckandthrow
Everytime I looked at building one, I realize I'd want to play PC games, too, so the whole cabinet and buttons would be a waste for me.
chuckandthrow
Awesome job, by the way.
Captain77
Did you use retropie? I built a similar machine.
dsemin08159
Yes, running it on a raspberry pi 3. Simple and easy way to get started with arcade gaming.
Captain77
what version of mame are you using, for me over half the games dont appear to run.
dsemin08159
I'm using the latest version of Retropie which came worth the latest versions of emulators. Advanced MAME has been the best so far.
Kharmashand
@op Quick question. What are you running as far as the games? Do you have a console in there, or a computer with emulators?
DrWillCunow
.
dsemin08159
Retropie on a raspberry pi 3. Its unbelievable what it can do. Eventually I'll use the extra space to upgrade to a gaming computer.
Oteneo
I was gonna say, it rp3 will do a lot but if you want to emulate anything beyond N64 you need a lot more horsepower. Awesome rig, btw!
mattrixk
You should post this to the RetroPie forum. They'll get a kick out of it.
Russianinvestigation
How much did u spend?
GUVMENTCHEEZE63
Also curious