
86888

2167

103
Overall Design

It's a 6-string baritone guitar, tuned BEADf#b. It has 26 frets and a 27" scale.
Neck build process

Neck beam lamination concept

Laminated body, woods chosen to complement the neck
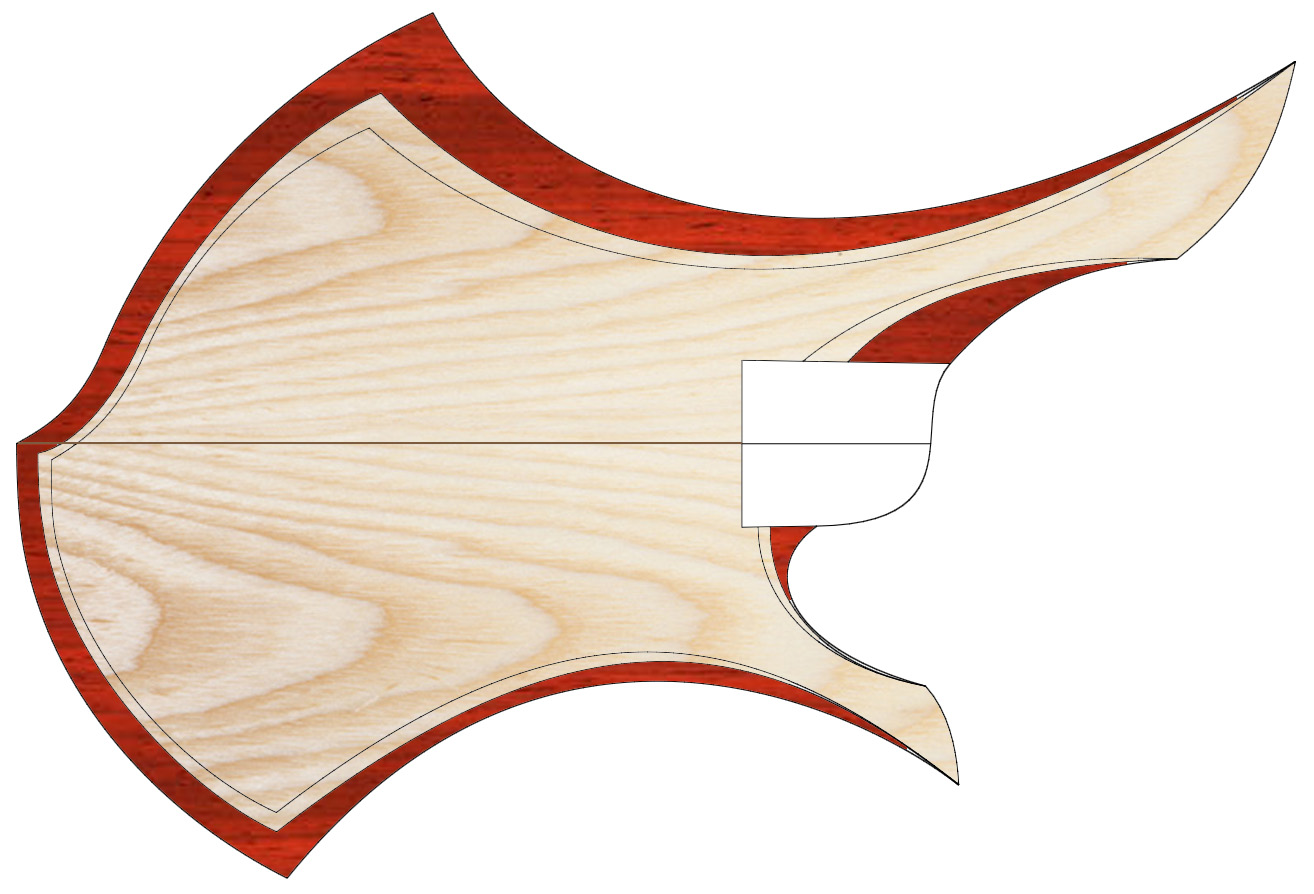
Neck layers ready for glue

Neck glued and planed flat.

Gluing together the neck detail laminate

Nut shelf routed

Fretboard slotted and tapered

Gluing the headstock assembly together

Preparing to route the scarf joint

Preparing to route the scarf joint, Mk II

Preparing to route the scarf joint, Mk III

Scarf joint routed

Scarf joint routed, Mk II

Pre-fabbing headstock before gluing it on

Some shaping operations are easier to do perform before the headstock is glued to the neck beam.
Transferring the dfesign

Shape traced, tuner centers punched

Preliminary headstock shaping complete

Sawed some of the excess thickness off
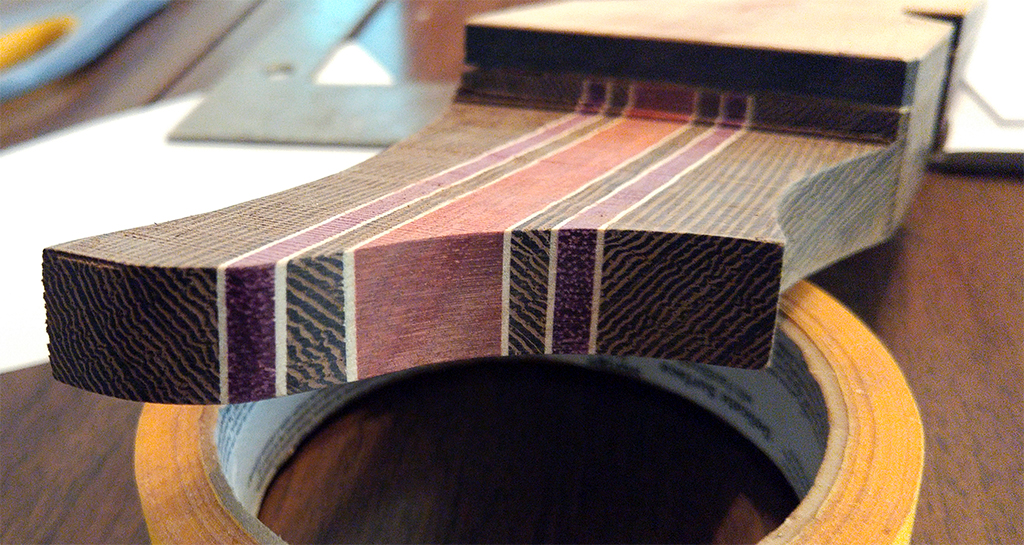
Preparing to glue the scarf joint
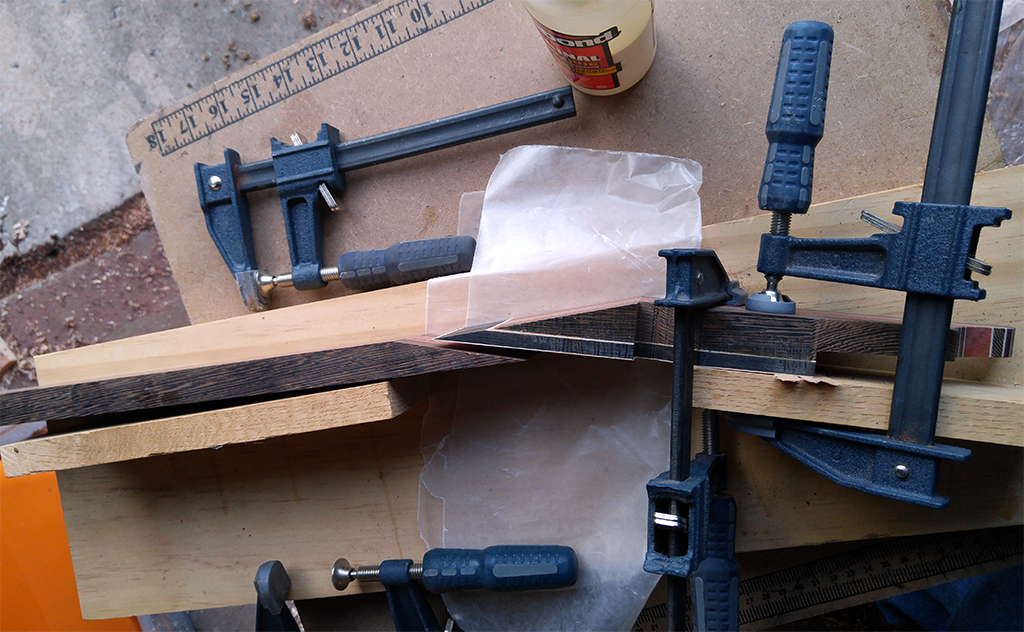
Preparing to glue the scarf joint, Mk II

Gluing the scarf joint

Gluing the scarf joint, Mk II

Headstock and neck beam successfully joined

Beginning the truss rod slot

Setting up the router table to cut the truss rod adjustment access sport

Truss rod slot routed

Truss rod slot routed, Mk II

Rod fits!
Gluing ears onto the headstock

African padauk (red) and American White ash (white)

Raw lumber
Headstock thicknessing jig 2

Setup 1
Headstock thicknessing jig 3

Setup 2
Headstock thicknessing jig 5

Router 2
Headstock thicknessing jig 6

Thicknessed
Thicknessed and planed

Ash headplate looks nice!

Beginnings of the volute
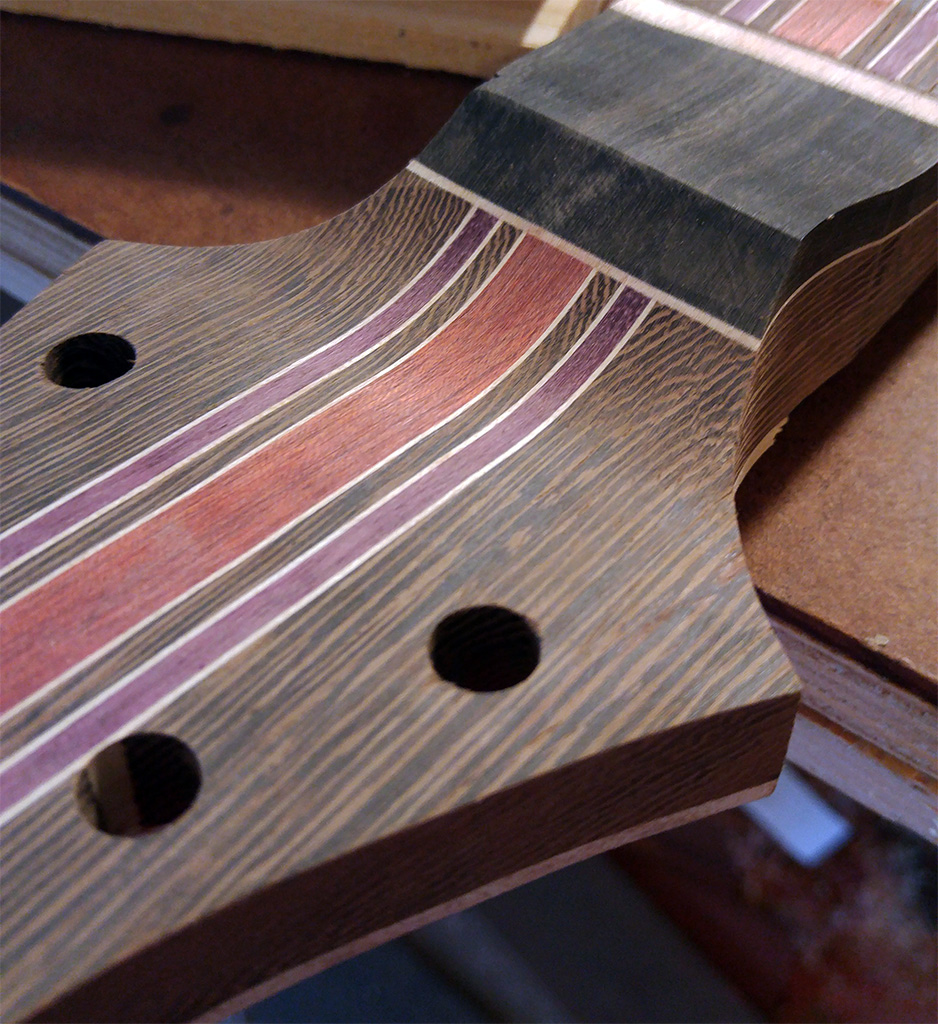
Preparing the body slab for glueup

I like to pre-route wiring tunnels, because it's a lot harder to do after everything's glued together. So first I marked where the tunnels need to be.
Preparing the body slab for glueup, Mk II

Then I made the cuts. When the body is glued together and the pickup and control cavities are routed, they will be conveniently connected so that I don't have to try to drill it out afterward.
Gluing the body together

This is part 1 of a 3-part process. This is the treble side of the body.
Gluing the body together, Mk II

This is part 2 of a 3-part process. This is the bass side of the body.
Making the control cavity cover

Rough-cut the plastic, attach to template
Making the control cavity cover, Mk II

Trim plastic to template with router table, remove from template.
Making the control cavity cover, Mk III

Check fitment with cavity recess template. Looks good.
Side dot materials arrived

3/32" aluminum tube and 1/16" carbon fiber rod. When glued in and sanded flush, it'll be a silver circle around a black dot.
Gluing the body together

This is part 3 of a 3-part process, and the last glue joint of this project.
Hand Plane Action

The body center laminate was a bit proud of the surface, so I punished its hubris with a Stanley low angle block plane.
Body slab ready for routing and cutting

Next step is the neck pocket.
Made the neck pocket template

A tight fit is critical.
Marked the body where the neck pocket goes

Attach template to body

Neck pocket routed

The body is liberated from the slab
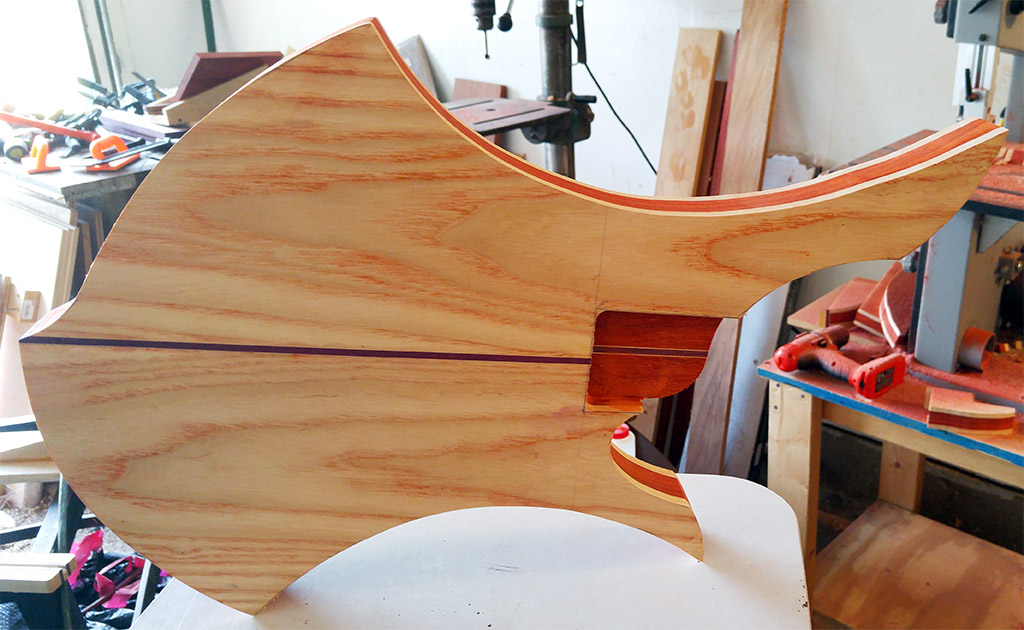
The neck pocket is chiseled square

The neck fits

Pre-routed wiring tunnels revealed

After routing the control cavity, the pre-routed wiring tunnels are revealed
Carving tools

Body carving

Shaped the neck heel joint

Rear control-side bevels shaped

Rear bout bevels shaped

Tummy cut shaped

Tummy cut shaped, Mk II

More body shaping

More body shaping, Mk II
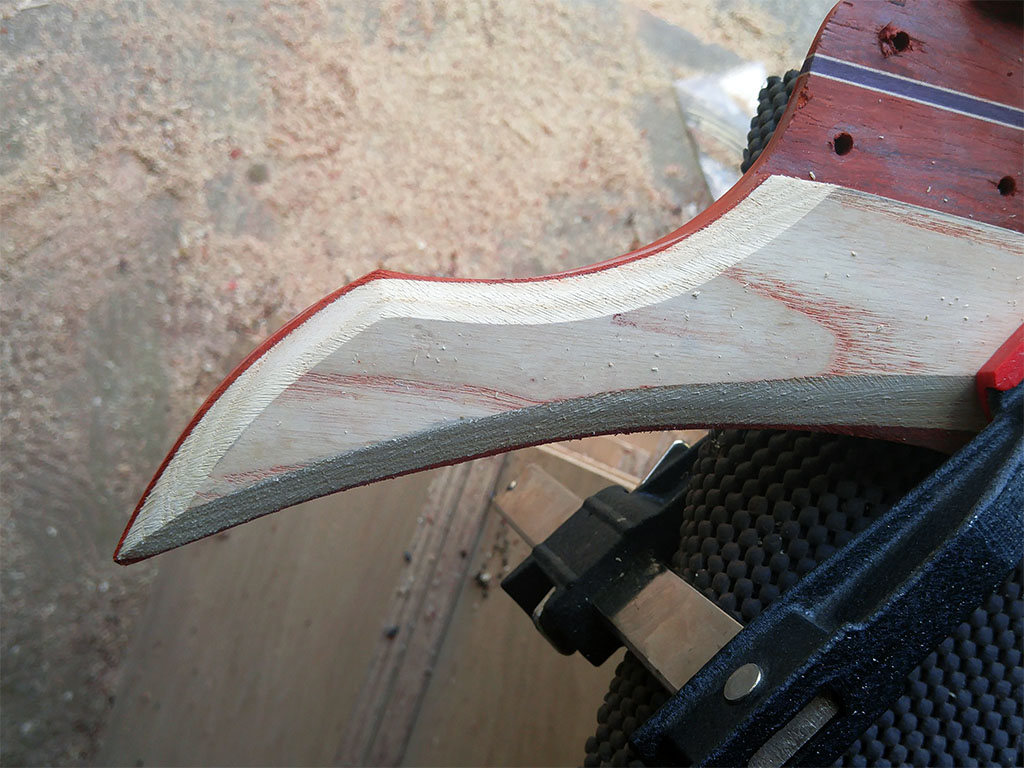
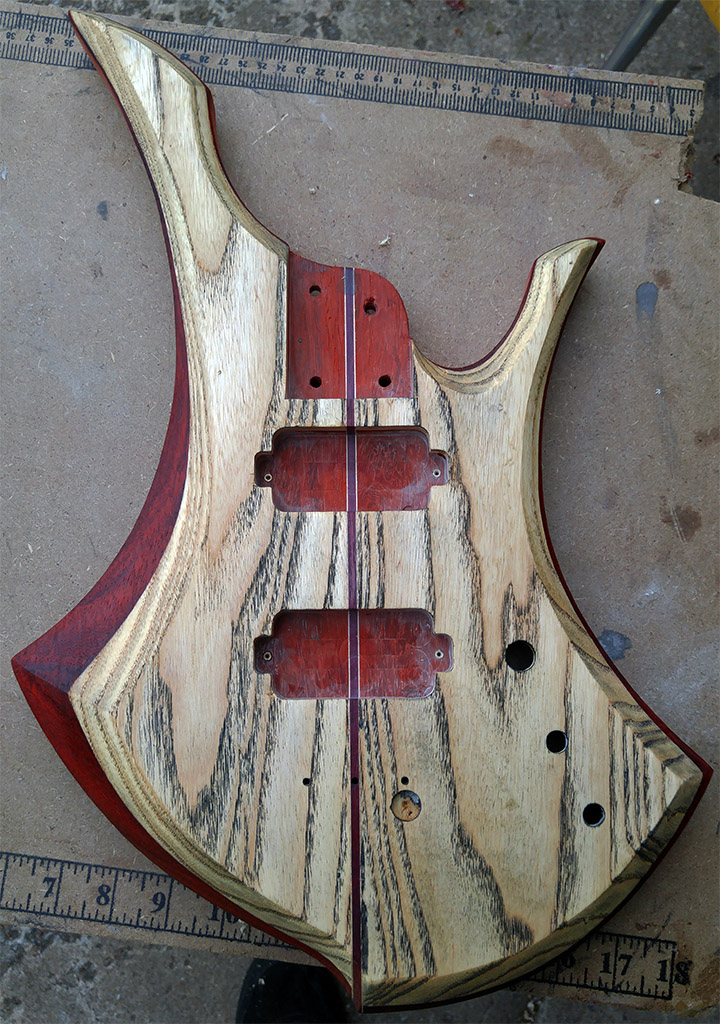
Determining optimal pickup and bridge positions

Setting up the pickup template

Hogging out the wood

Forstner bits are cheaper than router bits, so I remove the bulk of the wood with a forstner, so the router bit has less work to do
Pre-routing wiring tunnels exposed.

This one had a little bit of tearout. It's easily fixed, and will be invisible when the guitar is assembled anyway.
Cavities routed

Threaded inserts and control holes

Threaded inserts

Side dots

Headstock ready for shaping
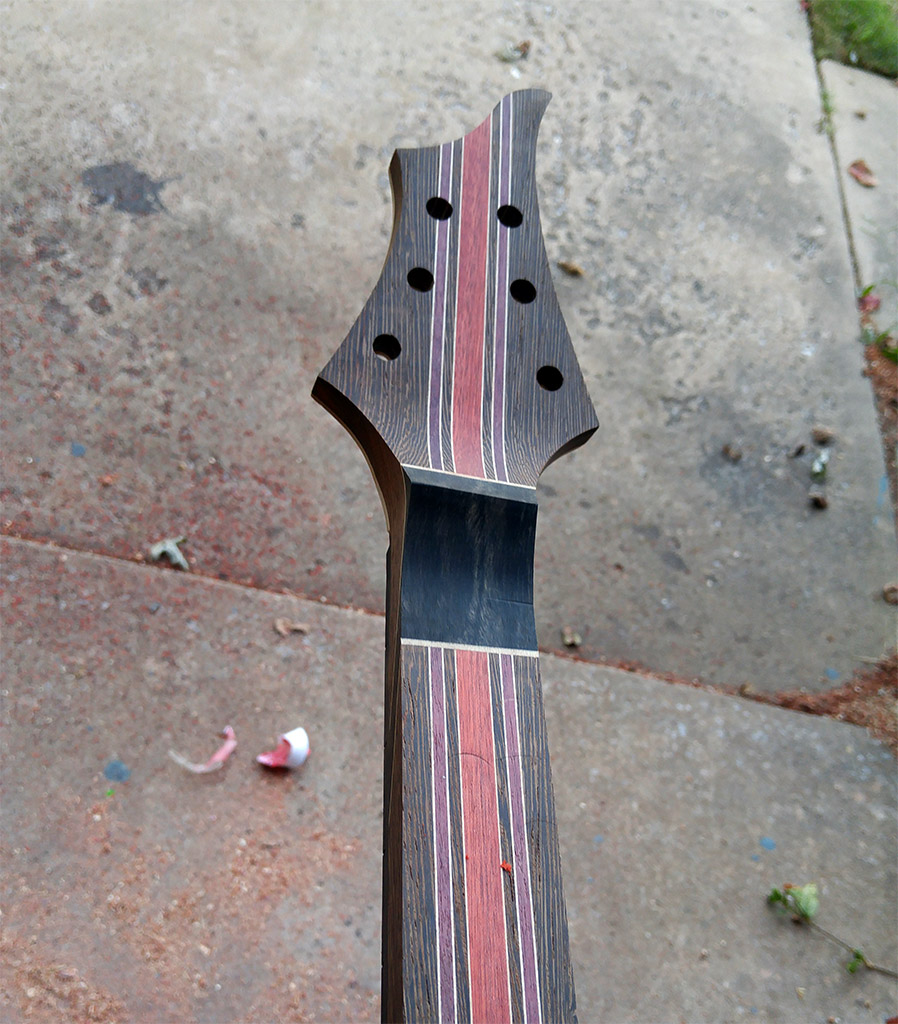
Neck ready for shaping

Beginning shaping

Finished rough shaping

Working on fine shaping

Headstock

The headstock is 9/16" thick, which is .5625", or about 14mm.
Marking the head for carving

The head will be lightly profiled so some of the laminations are visible from the front.
Headstock Carved - Front

Headstock Carved - Rear

Control Cavity Threaded Inserts

This evening, I went about installing the threaded inserts for the control cavity cover.
Truss rod cover, Mk. II

Pickups

Seymour-Duncan Nazgul at the bridge, and Sentient at the neck.
Beginning Wiring

Soldering done!
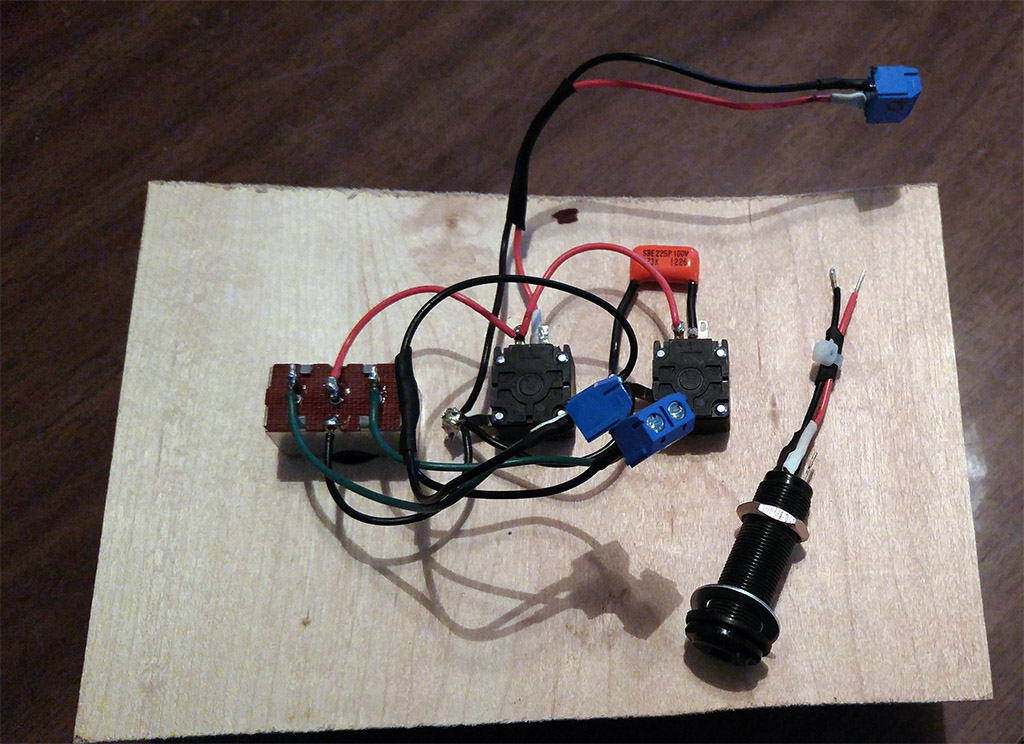
Bridge ground tail

Bridge ground recess, Mk II

Bridge ground wire in control cavity

Status as of 5 October

Scraping instead of sanding

Instead of sanding, which I hate doing, I decided to get this guitar finish-ready with some cabinet scrapers.
Scrapers use a slicing action instead of an abrasive action, so they leave a cleaner, smoother surface.
It's also faster, and less of a chore.
Scraping instead of sanding, Mk II

Another advantage if scraping is that it doesn't generate dust. Instead, less-than-paper-thin curls of wood come off. This means that a very 'bleedy' wood like padauk can be made to not stain a very porous wood like ash.
Sanding would drive padauk dust into the ash pores. Scraping does not.
Scraping instead of sanding, Mk III

It leaves the wood just so smooth and glossy. Fuck sandpaper.
Interesting grain in the Padauk

Body is ready for finishing, font

Body is ready for finishing, bacl

Pore filler and danish oil go on fast.
Pickup cavities shielded

Control cavity shielded

Bridge ground tail in place

Bridge ground and output jack in place

Control wiring harness installed

Pickups, controls, output, and bridge ground installed and wired

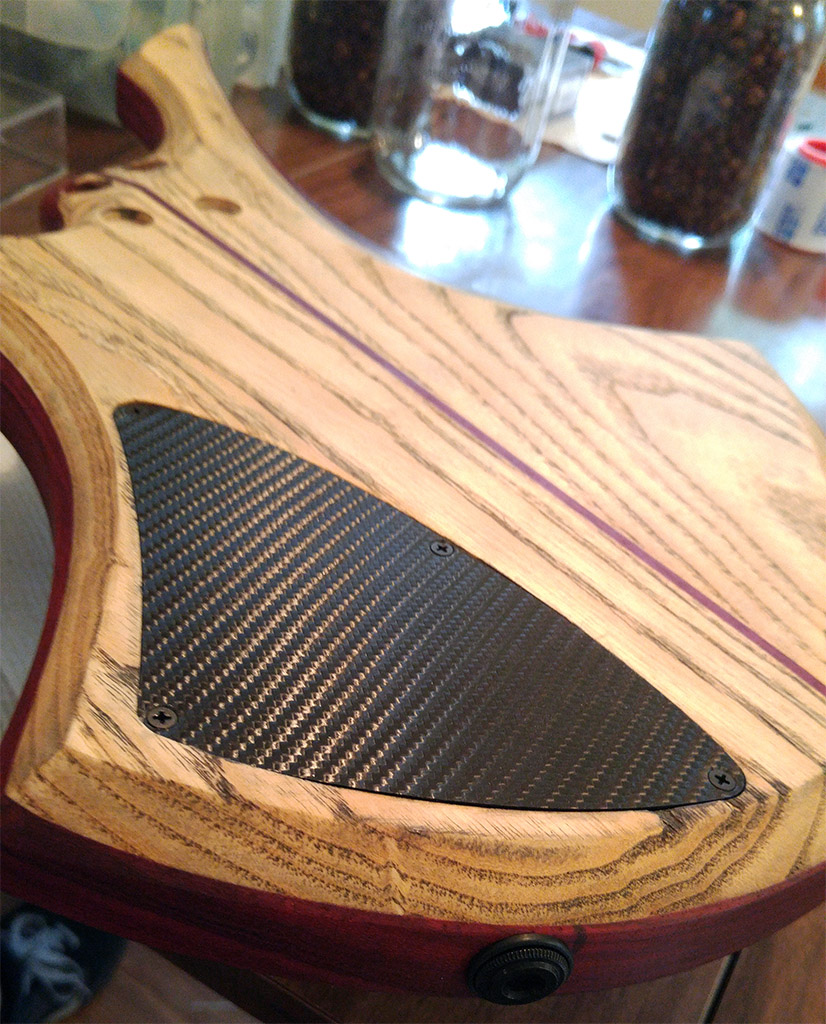
Control cavity cover installed
Body assembled

Frets are in

They still need to be levels, crowned, and polished.
Teaser

A kiss before dying...
Done: front

Done: head front

The truss rod access cover I made ended up being way too thick. I'll remake it.
Done: body back

Done: head back

Done: body front

Done: back

omfgmuffins
Captain's Log 10/10/15: halfway through gallery. Set up base camp. No sign of civilization in sight.
MrEdwardGrey
jesus christ!!!
sevenstringprog
As someone who's about to start building, thank you so much for this. Incredible job, man. Guitar looks amazing!
nattyfiishi
I never understood why some instruments were so expensive. This changed my mind. Thanks for an inside look of the hard work +1
Deathfrombelow
I'm glad it's a baritone. There just aren't enough of those.
MasterWaynee
Me irl https://youtu.be/mjqgliGgvt0
BenderBendingRrodriguez
Jesus, by the time I finished this he built another guitar
MulletCrusader
You're a damned fine craftsman! Patience is an art form not a virtue. Keep up the good work!
FruitCakeRonin
Does that bridge ground tail work well? Soldering the ground cable to the bottom om the bridge almost had me flipping tables.
cr4sh0verride
The drawings made it look like it would be really uncomfortable to play. The finished shape doesn't look so bad. Really nice work.
Schmidtya55
Guitar lover here an I think I just came
DrySocket
Slower you slut.
TheHoleShebang
As a fellow professional luthier, this is bad ass.
MacDaddyCheesus
Video for how it sounds? That's sweet.
SelesnyaInTheStreetsRakdosInTheSheets
I want to hear this monster growl.
thatoneyanderezelda
...meow
astupidcat
I made a paper airplane once. It wasn't very good.
chillwavve
Anyway, here's Wonderwall.
tazthedestroyer
oh my fucking god i am so angry right now jesus christ you caught me off guard
mvlon
sick reference yo
sevenstringprog
As someone who's about to start building, thank you so much for this. Incredible job, man. Guitar looks amazing!
whyarealltheusernamestakenquestionmark
That's some good looking wood.
Kougeru
Cosmetically, a wonderful job. Not my style personally, but amazing nonetheless. Would love to hear it.
SpiceBot
Beautiful work! What else have you built? Your techniques are a little advanced for this to be your first axe.
dreaalldai
Oh, and roughly if you were to sale this. How much would it cost.. In US DOLLARS
zatgal
In us dollars? An approximate shit ton.
KRoLLIN
You should take a hundred more pics . . .
jwhh2AwwJumper
PainterBot
lol Nut shelf
TheSkinnyDrummer
As someone who builds drums, this is highly impressive. Great job OP
MisssChanandlerBong
I'd like to see you post something similar with making drums if you can!
ultimatejosh
Do a drum build post! You have my +1
goonandjuice
Do you make your own shells?
YellowBedWetter
Please post!
kzrrz
+1 for luthiers on Imgur
likeaniguanna
Any one else giggle at "a tight fit is critical"... but so cool +1 for you!
dreaalldai
Now play freebird
glitterwank
Who else saw the first picture and then scrolled down faster than they ever have done in their life to get to the end?
shock6906
I took in each individual picture. I had no desire to rush through.
shiyal
Honestly I drooled slowly over every picture savory by the journey. Glorious.
Vertron
Same, that was way better than I thought it would be at the start.
Caketarts
Totally
goonandjuice
I hate when people put the finished photo first. Nothing better than seeing raw materials get turned into the finished product.
AspiringToBeADog
Fucking mobile. This is why we suggest posting finished picture within top 10!